artteacher
now browsing by tag
How Many More School Days Until Summer??
by Jessica Alesso
Oh, the holidays. A great time of excitement, joy, and revelry for most, paired with a bit of stress, busyness and travel, too much food and drink, and perhaps not as relaxing as we all had hoped. BUT, we as teachers crave this mid-year break, right? We are all anxiously—students and teachers alike—counting the minutes until that bell rings on the last day before vacation starts. We try desperately to keep them all engaged right up until the end, despite their antics and their evident desire to also be out of the building, sleeping in, opening presents, and enjoying this chance to recharge our batteries, at least a little bit.
I always have the greatest intention to bring a ton of grading home, but I inevitably push it off until the last day, and then have less-than-zero motivation to do it. Instead, I spend my time on Pinterest and YouTube, watching gelatin printing and mixed media videos and plotting how to use the techniques in my classroom. I also spend a fair amount of time “art-ing,” retreating to the studio, and refocusing my artistic energy into productivity rather than regretting the amount of carbs I’ve ingested and the amount of money I (over) spent. I often find myself making plans to continue my art mojo throughout the year too, as the creative momentum I build over the break will wane. As artists and as teachers, we need this time to just be, to think, to plan, and to live in the process, until the magic happens. After all, isn’t that precisely what we teach our students to do? So, as we count down the precious moments until we have to return to the daily grind and to help our darling students make artistic magic, let’s reflect on how we can keep our own juices flowing, until those last few days in June (that’s still six months away, right? Oh, boy).
-
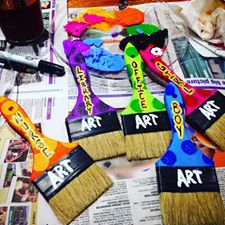
Start a new art journal or sketchbook
One of my favorite ways to reinvigorate my artistic practice is to start a new art journal. A go-to gift that my family knows will please me is a gift card to my favorite art supply store. So I usually pick out my next sketchbook well in advance of Christmas, in preparation for that virtual money to start burning a hole in my pocket! That fresh, clean paper nearly screams to be covered in watercolor and acrylic, in chalk and graphite, and my latest material obsession: Distress Inks.
-
Sign up for an online workshop or class
I didn’t even realize how many options there were for this until a friend of mine suggested that we do one together. There are TONS of options out there, focusing on materials such as watercolor or fluid acrylic, paper arts, or polymer clay, or centering on processes such as collage, printmaking, abstract painting…not to mention those that are concept-based, such as “reclaiming your creative feminine energy” or “designing installations.” Just do some searching! Seriously, just Google “online art workshops about ______.” Whatever floats your boat, you will be able to find an online experience to suit you. If you don’t have the cash for that option, plan to view some PAEA WebinARTs! Check for new content by clicking here: WebinArts
-
Set aside time for creative goal-setting
This is one I struggle to do sometimes, but I always have a more productive year of art-making when I do it. Before the crazy of the latter half of the school year starts, set aside a weekend day or evening to look ahead for upcoming opportunities. My local art museum has an adjudicated spring show, in which I have sporadically participated over the last decade, and I know if I planned ahead for it, I’d be motivated to make more work. A few summers ago, some friends and I planned a group show for a small local venue. Having the accountability of a group was essential for me to push through and make art, and ultimately, I came up with some of the best work I’ve made in several years. If you can dream it, you can do it, right? I know I’ve had that quote on a poster in my classroom at some point. Walk the talk.
-
Make time for art in your week
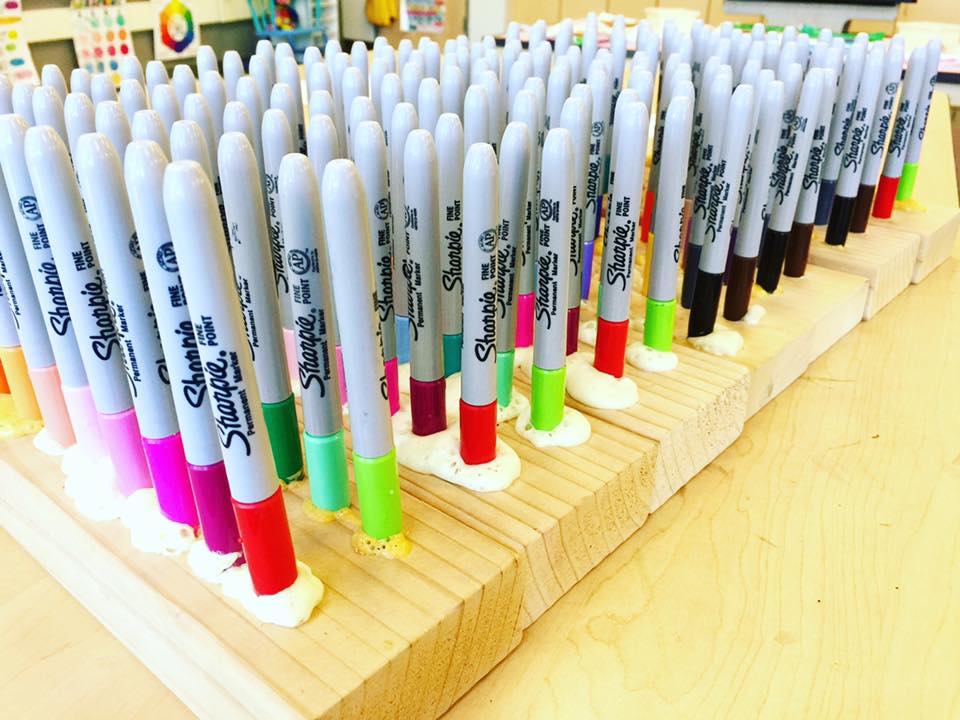
This is a practice that has made a world of difference for me this past year. In June, I had breast-reduction surgery, and I was laid up for almost the rest of the summer. Making art was about the only thing I had energy for during those first few weeks post-surgery, so I was forced to indulge myself in painting, Gelli printing, playing with watercolors and the myriad markers I’ve stockpiled. I even revamped my art website (well, started it anyway…that takes FOREVER, and I have miles to go). When school started, I made a point to continue my studio time for at least one day a week. Though it may only be for 20 minutes here and there, I’ve kept at it and nearly filled an entire sketchbook.

-
Find (and engage with) your tribe
This is one of my favorite “art” practices, and I always feel justified making time to hang out with my art/art teacher friends, since I’m supporting my creative identity and satisfying my penchant for being a social butterfly. Finding those people who get us, and who get what we do on a daily basis, can be a huge benefit for us; energetically, spiritually, emotionally, and practically. Most of the inspiration I get for my own art is from collaboration with friends and colleagues. This is perhaps the main reason I attend the PAEA conference. Not only do we get Act 48 hours and great insights into new methods and materials, but we also get to hang out with our tribe, our people, and art-nerd out together!
Jessica Alesso is a secondary art teacher in Erie, PA and the Region 2 Representative for PAEA. Jessica is also the co-chair for the 2020 PAEA conference committee and is excited to welcome Pennsylvania’s art teachers to Erie in the fall.
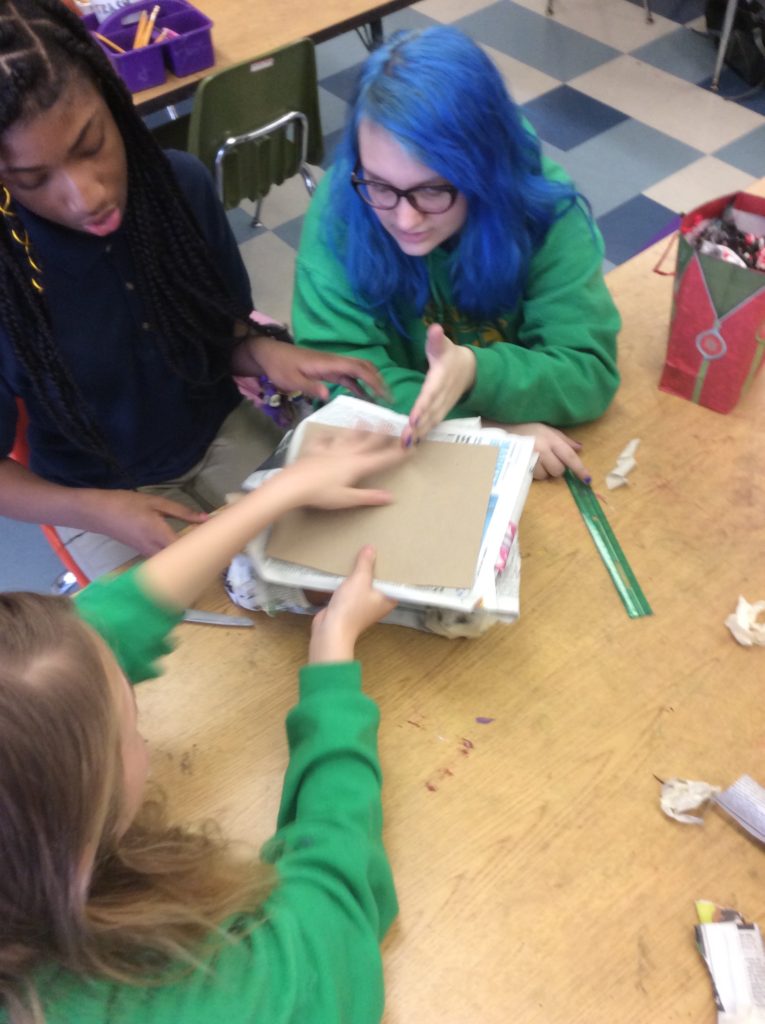
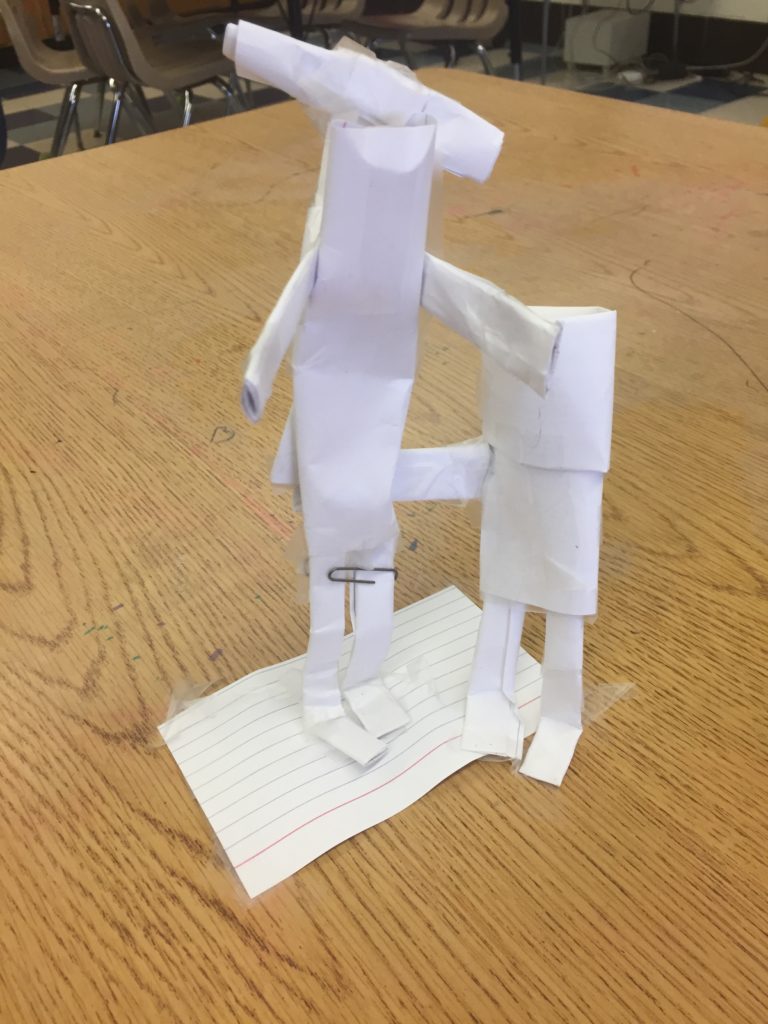
“Make It Work, Artists!” : Mini Design Challenges for the Art Room
Sunnylee Mowery, PAEA Secretary and art teacher extraordinaire at Greenfield Elementary in Philadelphia, shares her ideas on using mini “Design Challenges” to encourage collaboration and increase spontaneity between traditional lessons. Great for half days and early dismissals! Sunny shares with members her experience and provides readers with a few easy, no mess, minimal prep ideas.

The digital clock counts down! Sweat drips for the contestants’ foreheads! Expert judges lined up at a table to offer cut-throat feedback! By this point we’re all familiar with reality competition TV shows and most recently, I’m sure you’ve noticed the evolving trend of our kids creating their own idiosyncratic challenges. Epically perfect water bottle flip onto table edge, anyone? In an effort to harness the energy behind our human desire to compete, I started implementing “Mini Design Challenges” into my art curriculum and my students have responded with rave reviews!
So what is it? A design challenge is a brief, yet intriguing art prompt that students work to complete as a team. Design challenges are great for encouraging collaboration and increasing spontaneity between traditional lessons. They are a great fit for all grade levels, and demonstrate that the work of an artist isn’t just about making a masterpiece with strong elements and principles.
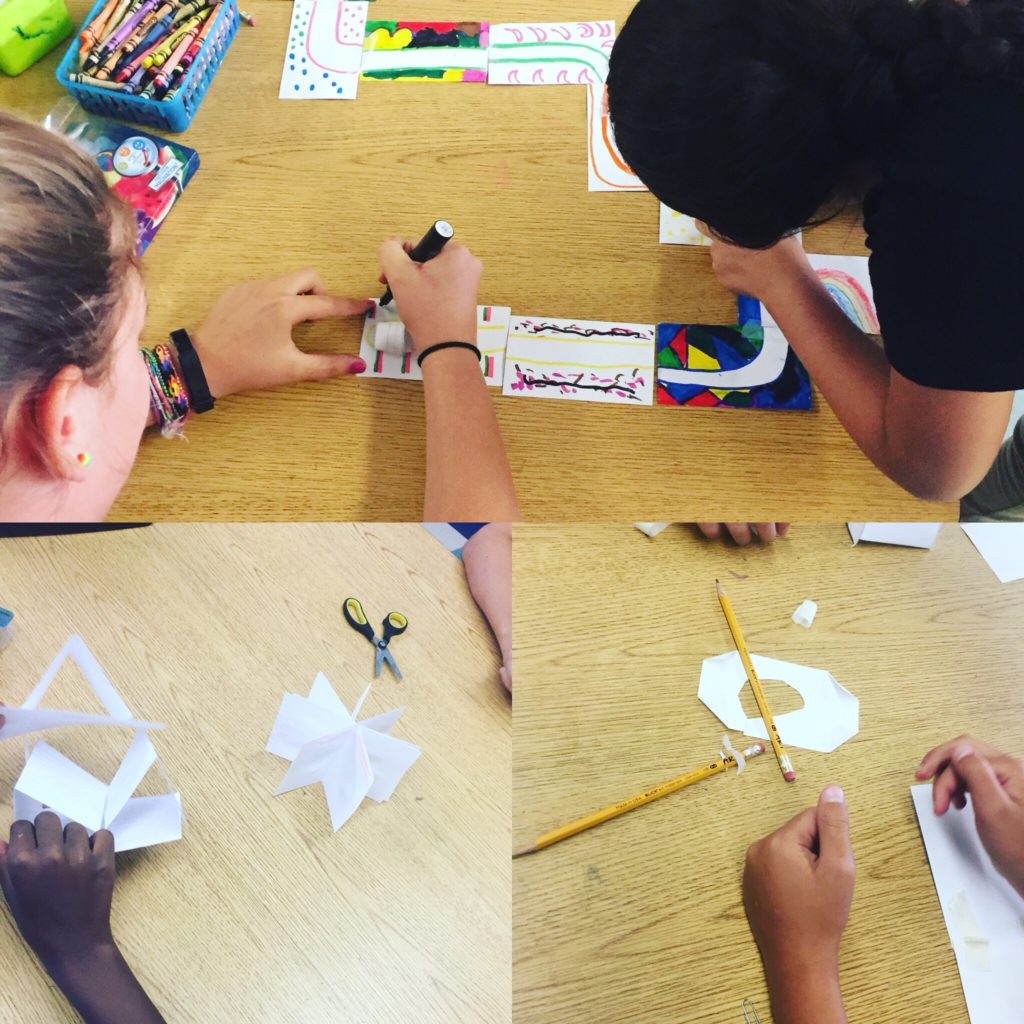
What I love most is that the design challenge format flips the traditional art room modus operandi on it’s head. Instead of coming to art and embarking on a personal journey of completing project objectives, I design my challenges to get kids up out of their seat and collaborating. Disclaimer: A successful design challenge may result in a room that’s louder and messier than normal! It also requires a fair share of masking tape. But for most design challenges, all you need are some recycled materials which is great for ye old budget and a boatload of fun.
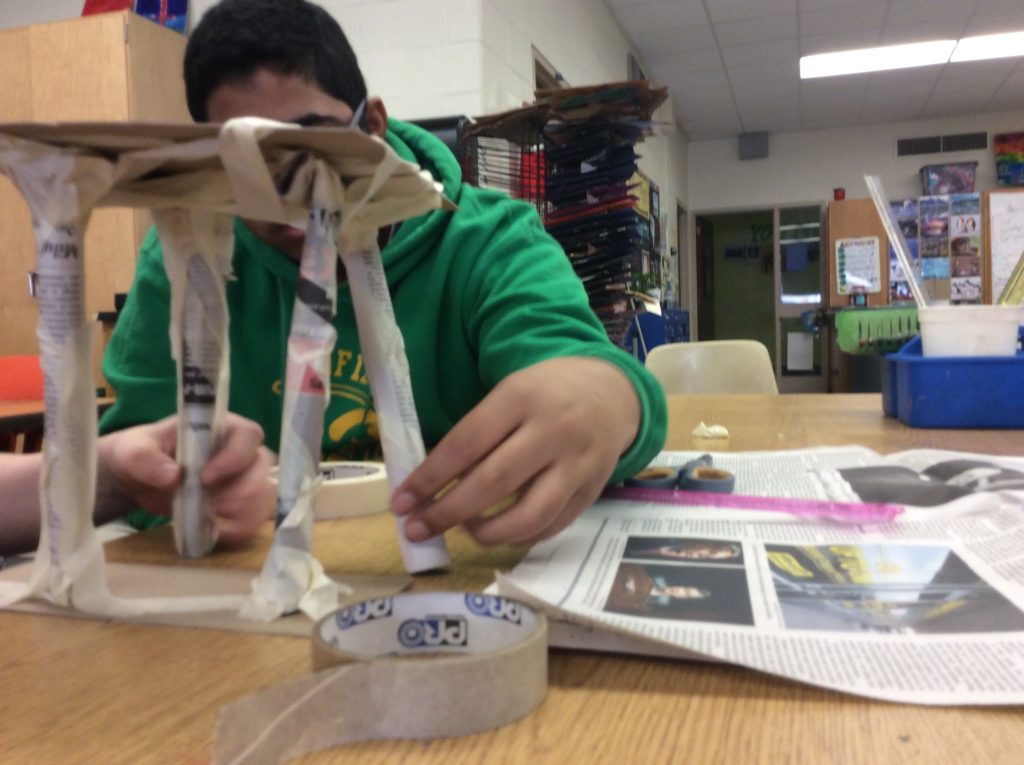
I try to announce the prompt, material guidelines, and rules in less than one minute (time is of the essence!) and I make sure to provide a visual of all the parameters on the board for those that have any questions. And then boom, it’s on your mark, get set, let’s go!
Below is a list to my go-to art design challenges:
· Build a shoe out of newspaper!
· Build a table out of recycled materials that can support the weight of a dictionary.
· Create a kinetic sculpture out of 20 blank index cards.
· Create the longest line you can using only three sheets of paper and tape.
· Create a hat you would wear if you were a style icon.
· Work as a team to use each material in the “Mystery Bag” at your table to create one, complete masterpiece!
· Marshmallow Spaghetti Challenge: Using only tape and 20 piece of spaghetti, build a sculpture that support the weight of a marshmallow.
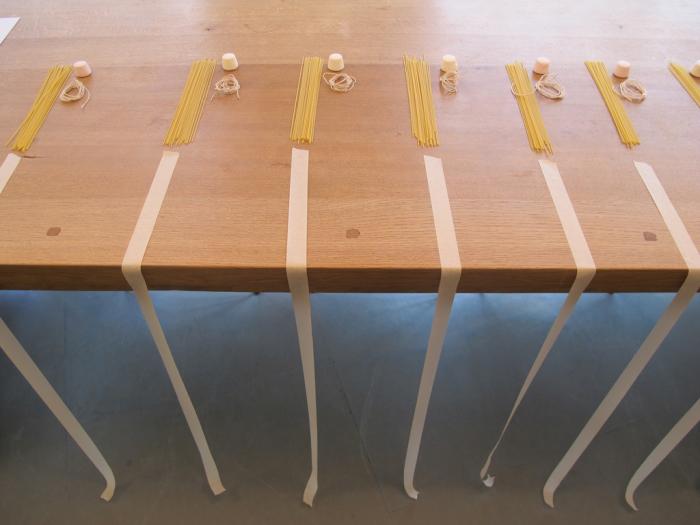
Kiddos usually get 20 minutes to complete each challenge. this chance to work as a team encourages peer to peer dialogue. Kids are forced to negotiate group troubleshooting and solve problems together on the spot. These kind of artistic endeavors help them build social skills in a low-stakes, fun oriented environment.
My favorite part of each day is the big reveal and the debrief! It’s important at the end of each design challenge to take a moment and let the students observe the way other teams solved the problem. There are so many gorgeous moments of delight and exclamations of reverie.

To prompt reflection-related dialogue, I usually wrap up with three simple questions:
· What was the easiest part of this challenge?
· What challenges did you encounter? How did you solve these?
· How did you break up the job with your teammates?
My students have come to expect four design team challenges each year. I like to throw them in on half days when classes are condensed to 30 minutes. I keep the stakes low, no one is voted off the island and no one is asked to pack their knives and go. Sometimes there are obvious “winners” and sometimes none of the teams complete the challenge prompt completely. Both results are okay. If I did a good job as a teacher, my students walk away knowing the joy of just engaging in the design process.
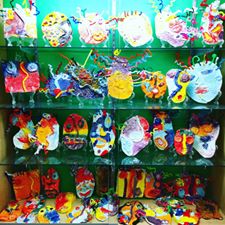
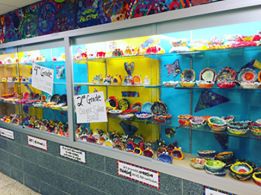
Organization in the Art Room
The following query was posted to our PAEA Facebook Page. Members chimed in, and their responses are below for your benefit and organizational enjoyment! I’m getting goose pimples already thinking about the wonderful ways to organize!!!!
“Please share some of your unique and successful classroom organizational devices/structures. How do you store 2-D work? How do you store 3-D work? What do you feel is necessary to always have on the table? What are your art room life hacks? Etc…”
Marita Fitzpatrick of Bodine High School in Philadelphia suggests: “For small 3d (our recent stuffed toys): I have a copy paper box for each class. The students put their work in manila envelopes, write their names on them and I have one person from each table collect the envelopes and return them to the box. For 2d, each table puts their work in folders marked w the table color (tables are color-coded) and that goes in the copy paper box. This box is marked, period 1, period 2, etc. I have a closet of shelves for ceramics and each kid gets a shoe box to store their stuff in. It keeps the others from touching the work and breaking it. Students wrap their work in dry cleaning plastic to keep it moist. I regularly have kids empty the drying rack, sort the work and put it in the copy paper boxes. I keep nothing on the tables, because the stuff disappears and they put trash in the containers. I store markers and colored pencils in plastic pencil boxes on open shelves in the room and number them. I never look at the numbers or count them, but the kids think I do, so nothing disappears. On those shelves, I also have scissors and other frequently used supplies that students have open access to.”
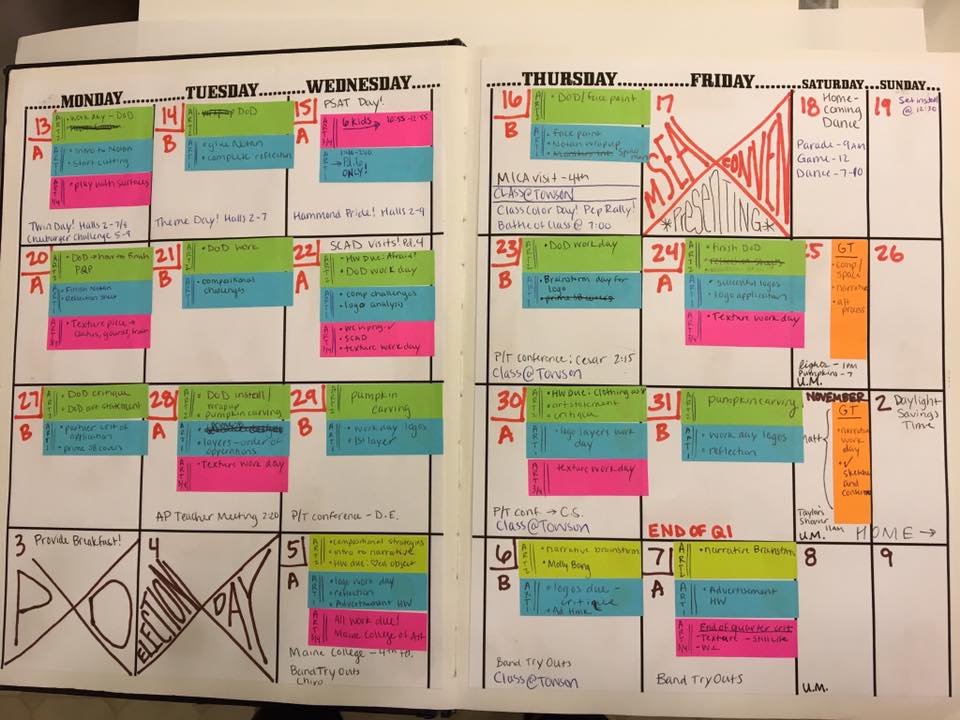
Alison Elizabeth of Lancaster, PA shares her planning strategy: “Each class I teach is a different colored sticky note. This calendar is glued into the front of my sketchbook (which I use for all of my demos, meeting notes, and conference notes). It’s all with me and ready to go at all times.”
Linda Keels suggests making the investment in folding tables from the local hardware store (she uses 3) for about $30-40 a piece—there is room to hold up to 6 classes worth of work (she teaches 12) which forces her to keep it moving and the kids to stay on track for 3-D things.
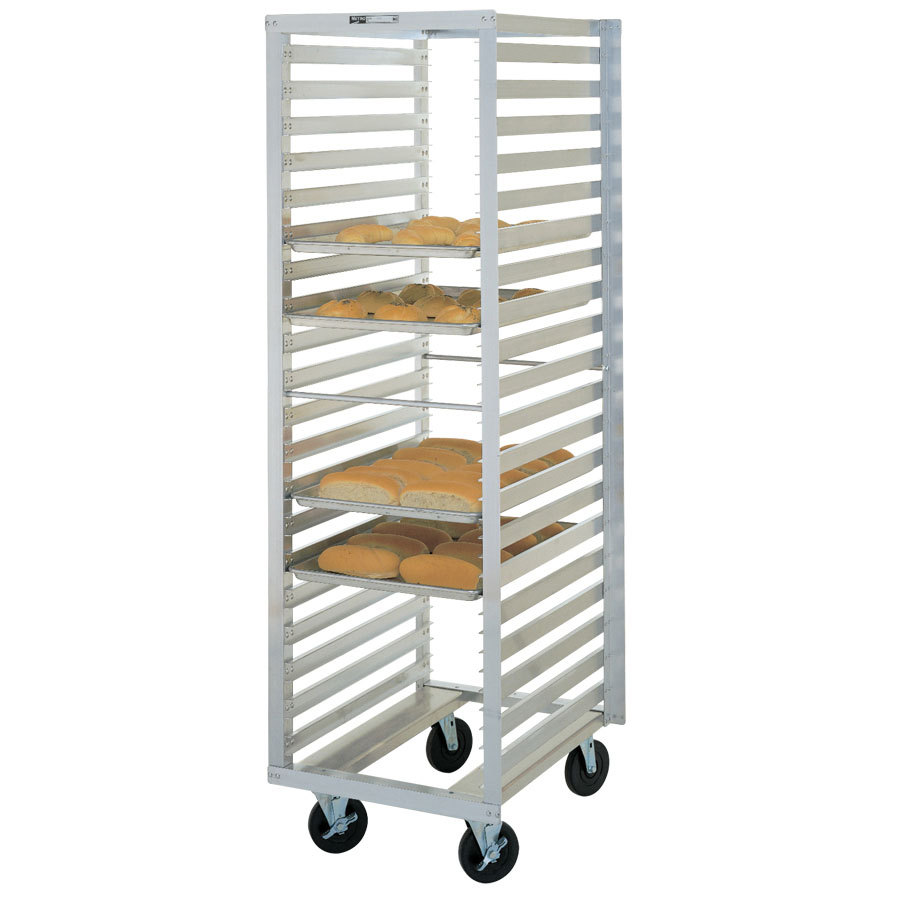
Eleanor A-Evans For stores 3D work, such as clay sculptures and paper mache on ‘mobile pan racks’ (like the one in the photo- thanking Google image search). Depending on your supplies resources, the cost on the average is under $90, and can be the solution for saving space and stowing away the masterpieces!
Julie Schedin share with us how her students creatively tackle this issue with a little design thinking! “My Crafts class yarn bombs a coat hanger. They own the airspace above their seat, and hang all work (basket weavings, etc) from the coat hanger in the drop ceiling. The room develops a type of “rainforest canopy” but a least we can keep 3d projects organized and handy.”
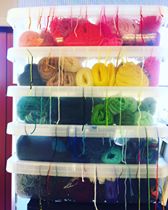
Judi Treffinger of Carlisle, and formerly the Carlisle Area School districts has an idea for yarn storage! “You know all those large gallon sized plastic food containers your cafeteria gets when they purchase food? I duct tape then together with the open sides up and use them to store and separate skeins of yarn. They can sit on a counter top, or stash neatly in a cupboard with open ends facing out- all colors are visible and yarn doesn’t get tangled!”
Moore College of Art and Design Alumni, Autumn Rae suggests art teachers to follow her Instagram: mrsdow_artroom where shes posts things about classroom display and specific grade levels k-5 . She posts lots of classroom things about organization what materials I use.
Autumn also shares:
“- Container store bins are the best!
– It needs to be organized and colorful for me to function. I cannot stand messes or piles.
– I keep messes at the middle table whenever possible.
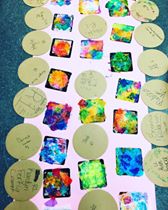
– I use my drying rack when I can but I actually love rolling out a sheet of paper and either working on the floor with the kiddos or having them dry their work flat and organized on a sheet of paper. Work great for printmaking each student gets a row for all their prints.
– All my notes are on my Instagram that describe each photo and what it relates to classroom, display, or a grade level.”

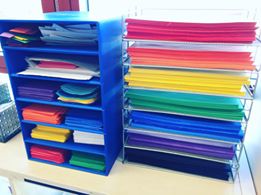

Autumn teaches art to 881 students k-5 students. She describes, “We are an emotional support school with a high ESL population and also a title 1 school. I have put lots of my own money into my class but once the upfront cost is paid off then I have all these organizational systems in place for years to come. I need everything organized like I said but also kid friendly. I have created two closets for classroom teachers and stock it at the beginning of the year so they don’t ask me for supplies I need for my own classes.”


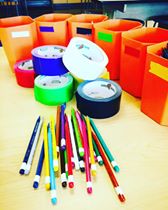
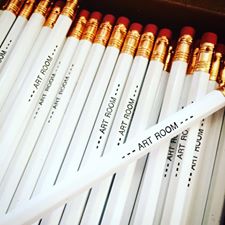
Woah Autumn! Thanks for all of that!!! Loooooove the colors!!! And there is no denying where those pencils came from!!
Daisy Konowal uses a system of table color folders. 2 sets- one for work in progress and one completed work. Also, Daisy uses sheets/fabric/blankets to cover her shelves to limit access to shelves.
Sunnylee Mowery of Philadelphia’s Greenfield Public School strives to make my classroom organization methods so easy a kid can do it! Each table is color coded and this helpful chart rotates at the start of each week so everyone knows who is in charge of what. The artists are expected to pass out work and supplies, monitor volume, tidy table bins and floors, and even call each other to line at the end of class.
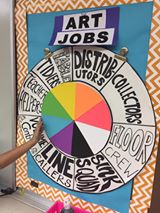
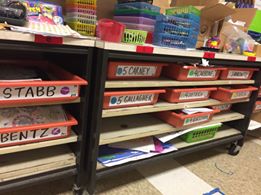
Sunnylee has clearly labeled bins with teacher name are organized by grade level. All supplies that accompany the project are placed above in their grade section.
Sunny poses the question, “How do students monitor sound, you ask? The volume giro migrates to the table in charge of volume each week. If the room gets too noisy, the students “ring” the giro to signal to the class to quiet down. If we get 3 giro rings, we lose the privilege to talk.”Click Here for a link to the video of the magical giro sounds that have the power to quiet students!
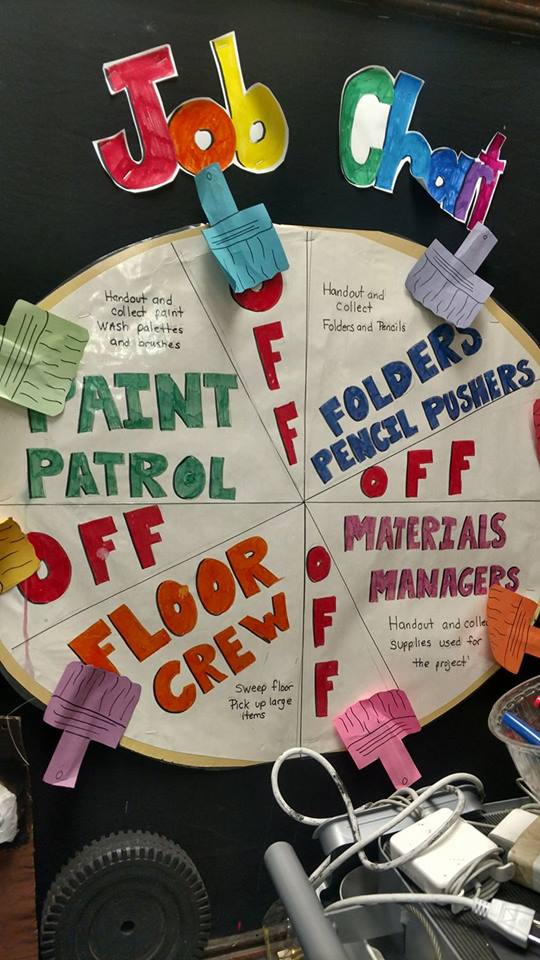
Kim Horan Colasante, art teacher in the School District of Philadelphia shares, “My routine is very much the same as Sunny’s. Each table has a color, table folders or student folders are matched to the table they sit at. I have a job chart, students give out folders, supplies, paint patrol, and floor sweepers. Jobs rotate weekly according to table colors. Supplies are located in front of the room and Barney’s Cleanup song plays at the end of every class 10 minutes to go. The students know to stop, put their work away and do their jobs. The ones that are done sing to barney. (I teach middle school) they dab to it also. It only plays for a minute so work must be away by the time song is done. then folders are collected and floors swept etc. 3D work is done a bit differently due to lack of space in classroom. When Barney plays each table brings me their 3d work and I place it in a special section so that they may retrieve it the following day. Clay is kept in large Rubbermaid containers until in it ready for drying.”

What do you do in your classroom?????
 D5 Creation