Sketchbook Construction for Elementary Classrooms

CJ Matz (he/him) teaches elementary and middle school art in the Whitehall-Coplay School District (Region 10). He is a contracted writer for Davis Publications and PAEA’s Youth Art Month Chairperson.
I am a huge advocate for using sketchbooks in the art classroom! Aside from a canvas on which to work, sketchbooks provide a place for students to brainstorm, map, document, plan, draw, reflect, and communicate. In my classroom, they are an essential tool that students utilize daily in both my elementary and middle school classrooms.
In fact, the first project we complete each year is, you guessed it: a sketchbook.
As many of us deal with ever-shrinking budgets, purchasing sketchbooks for all of our students is often an impossibility. Creating a sketchbook is a great way to save money, but also a fantastic way to teach about book-making processes and engage students in constructing a resource they will need and use throughout the school year.
I have found, over the years, that many teachers view bookmaking as a very complex process unable to be incorporated into an elementary curriculum. As with any media, it most certainly can be complex, but it does not have to be. It can easily be explored with younger students. The sketchbooks I am introducing below are simple, quick ways to teach students about bookmaking while incorporating the practice into their skill set.
Additionally, as we face continued uncertainty with how and where students will be learning in the fall, I opted to include designs that can be created using minimal materials. Best of all, they are glue-free, so there is no need to wait for the books to dry between classes!
A few notes before we begin:
- For sketchbooks, I use 9×12” white drawing paper, but you can adjust the size and type to suit your needs.
- For books that are bound together with yarn, I use about 27” of yarn per student. It is often way more than they will need, but I recycle the leftovers in my yarn bin for other projects. You can play around with a length that works best for you.
- I usually have my students design covers for their sketchbooks. I believe that it is their book, so they should get to choose how it looks. For this blog post, I did not include covers. You may opt to add one or just have students decorate the outermost sheet!
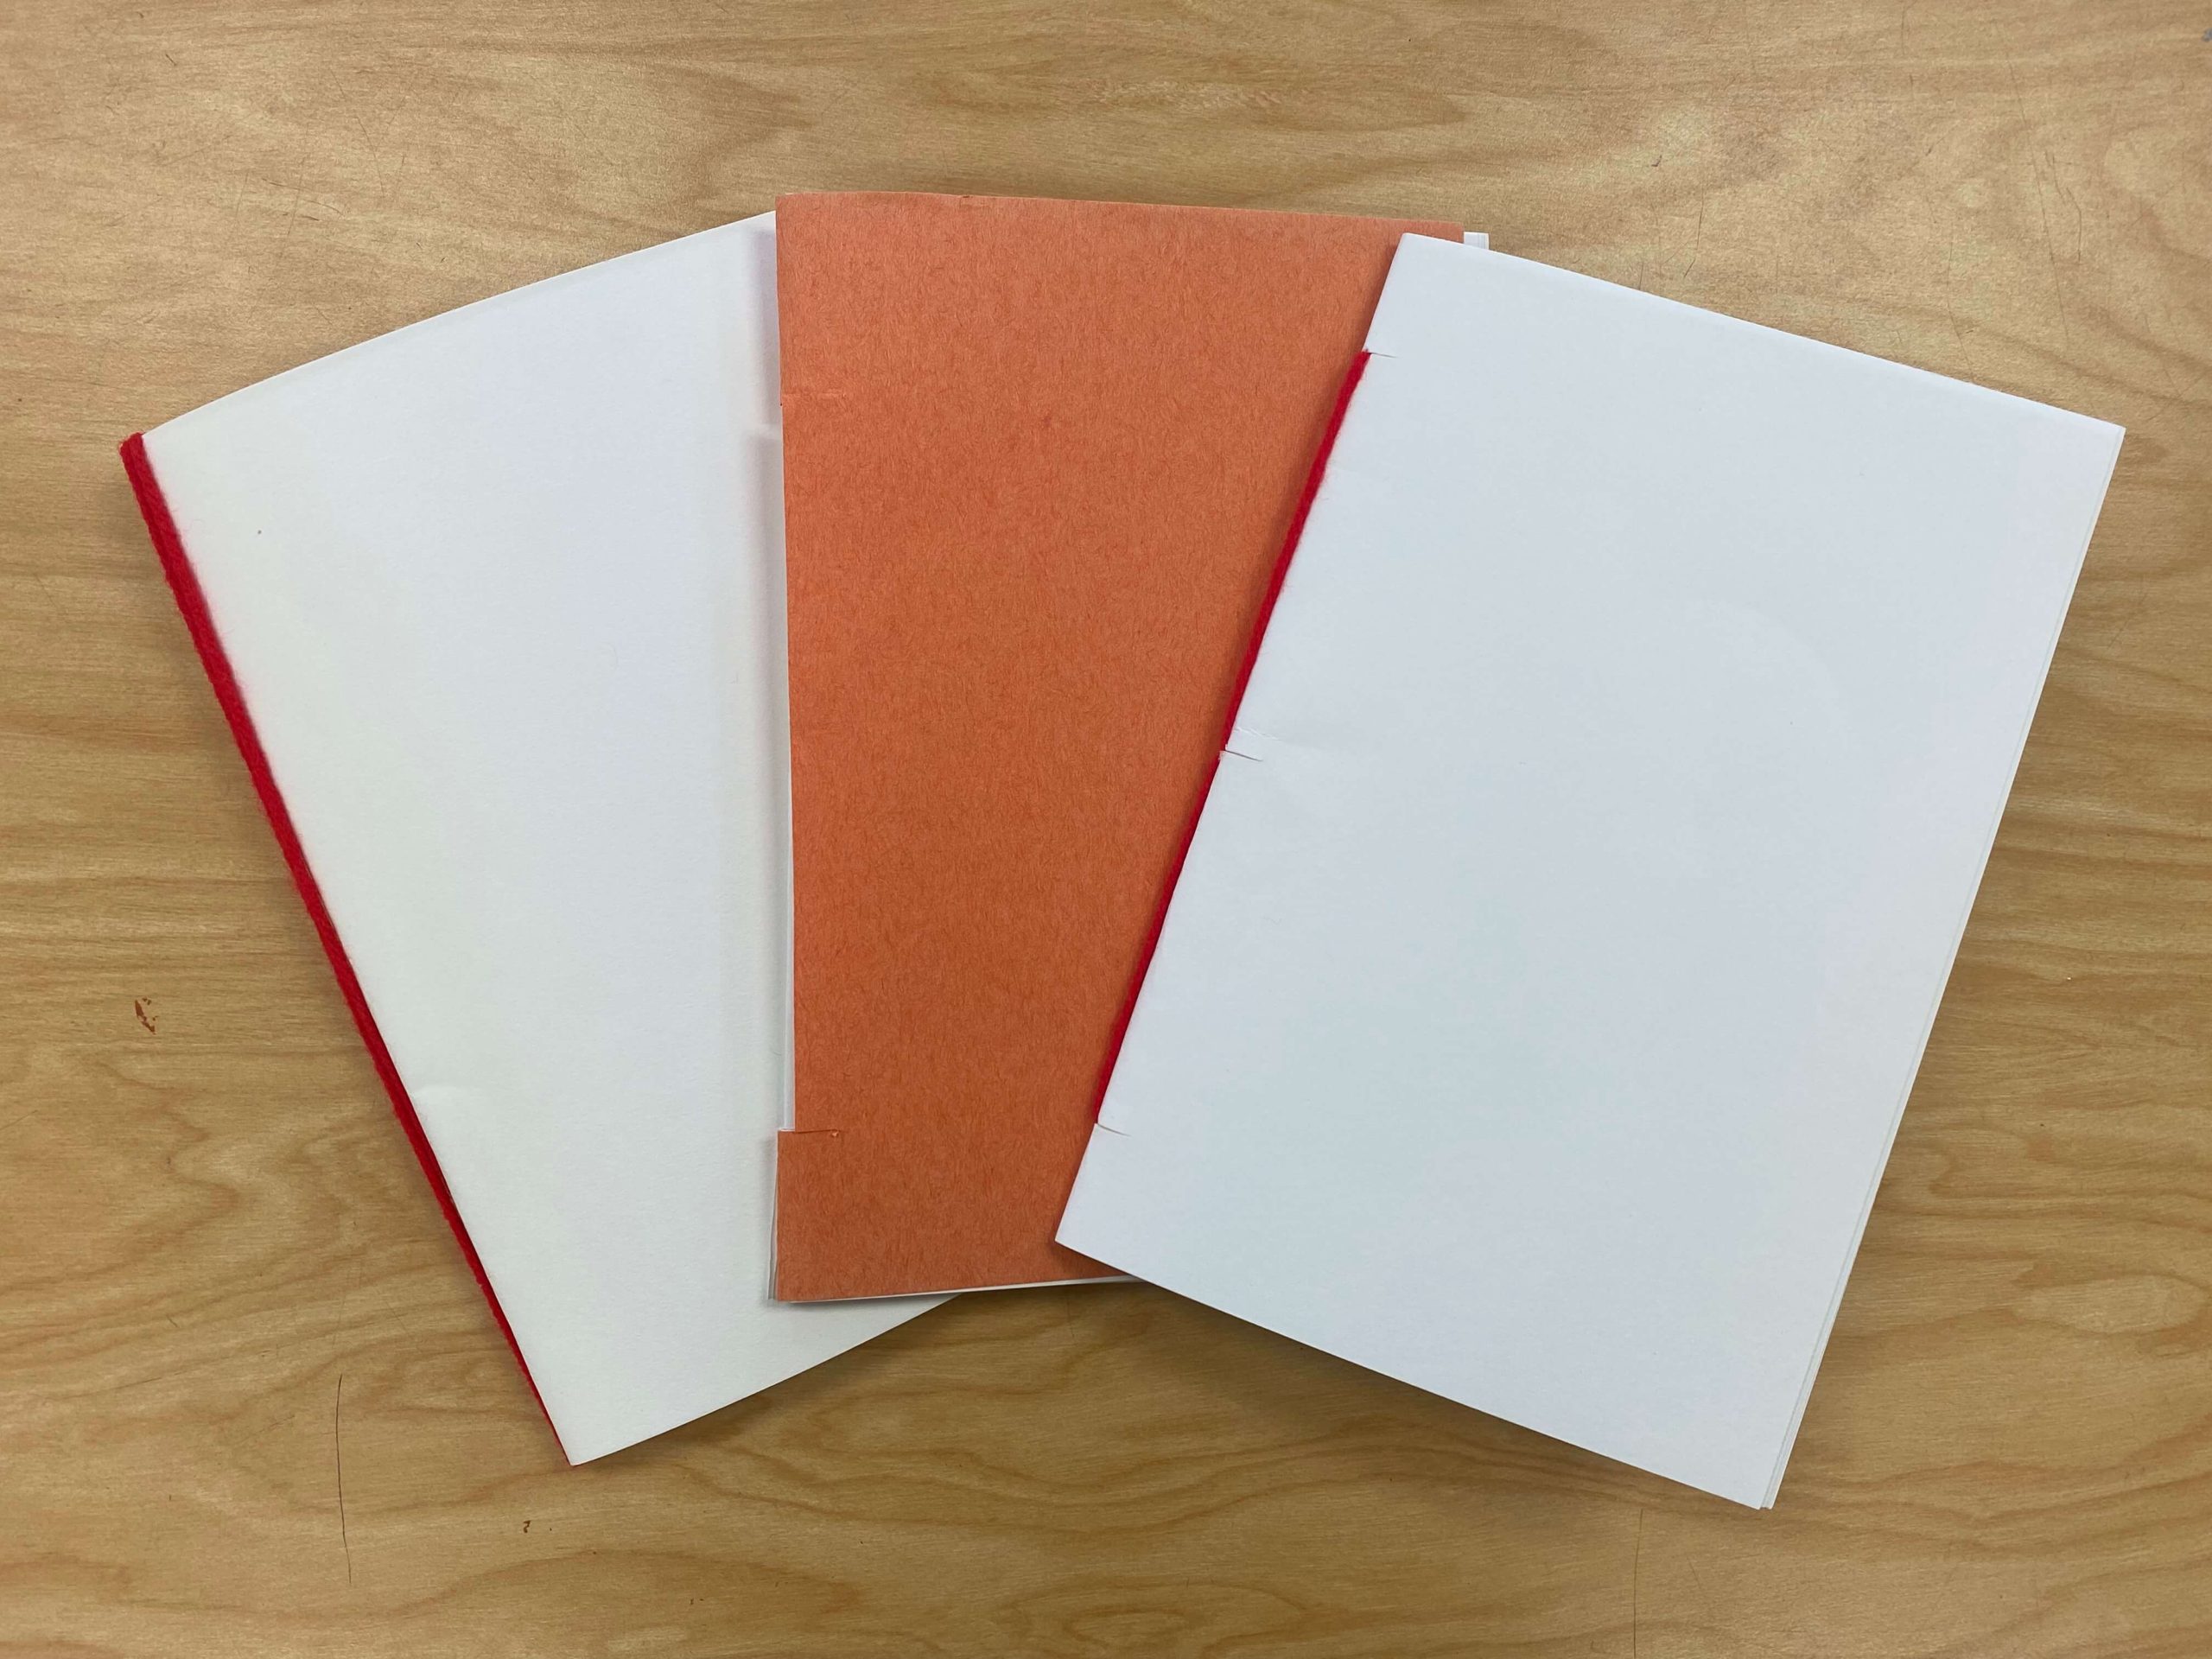

Book 1: No-Sew Pamphlet Sketchbook
Supplies:
- A few sheets of paper
- Scissors
- Yarn
Steps:
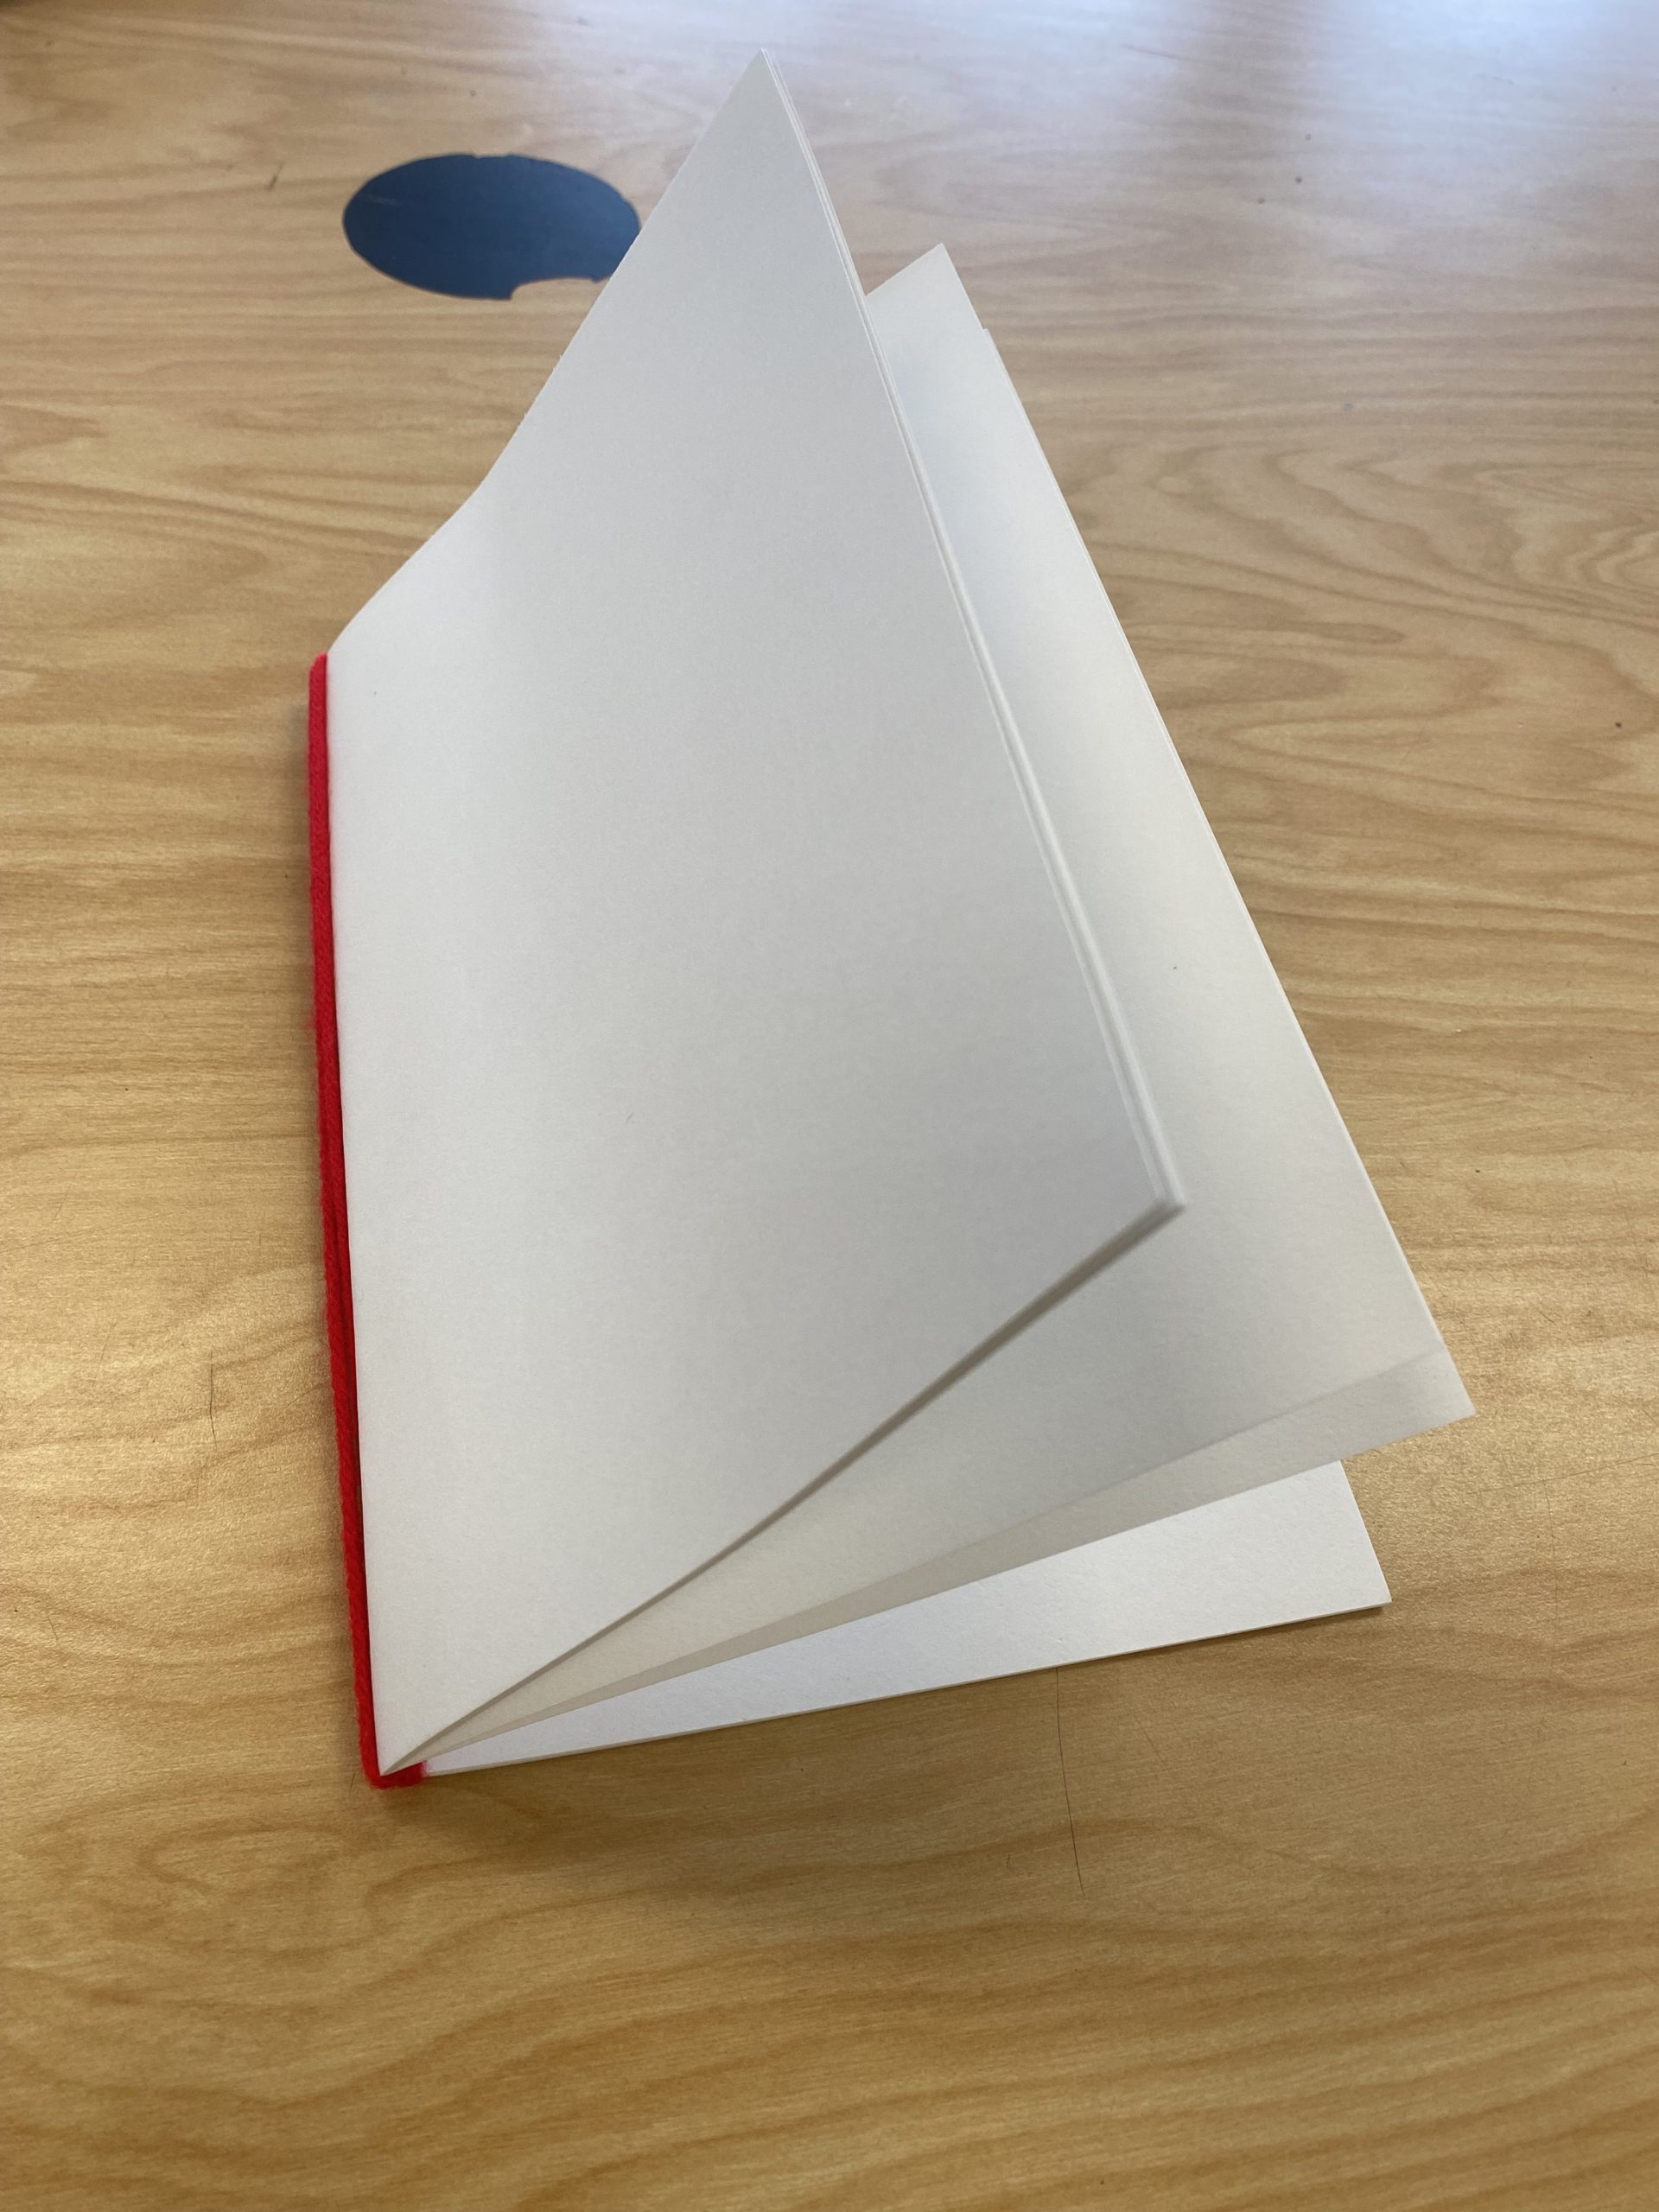
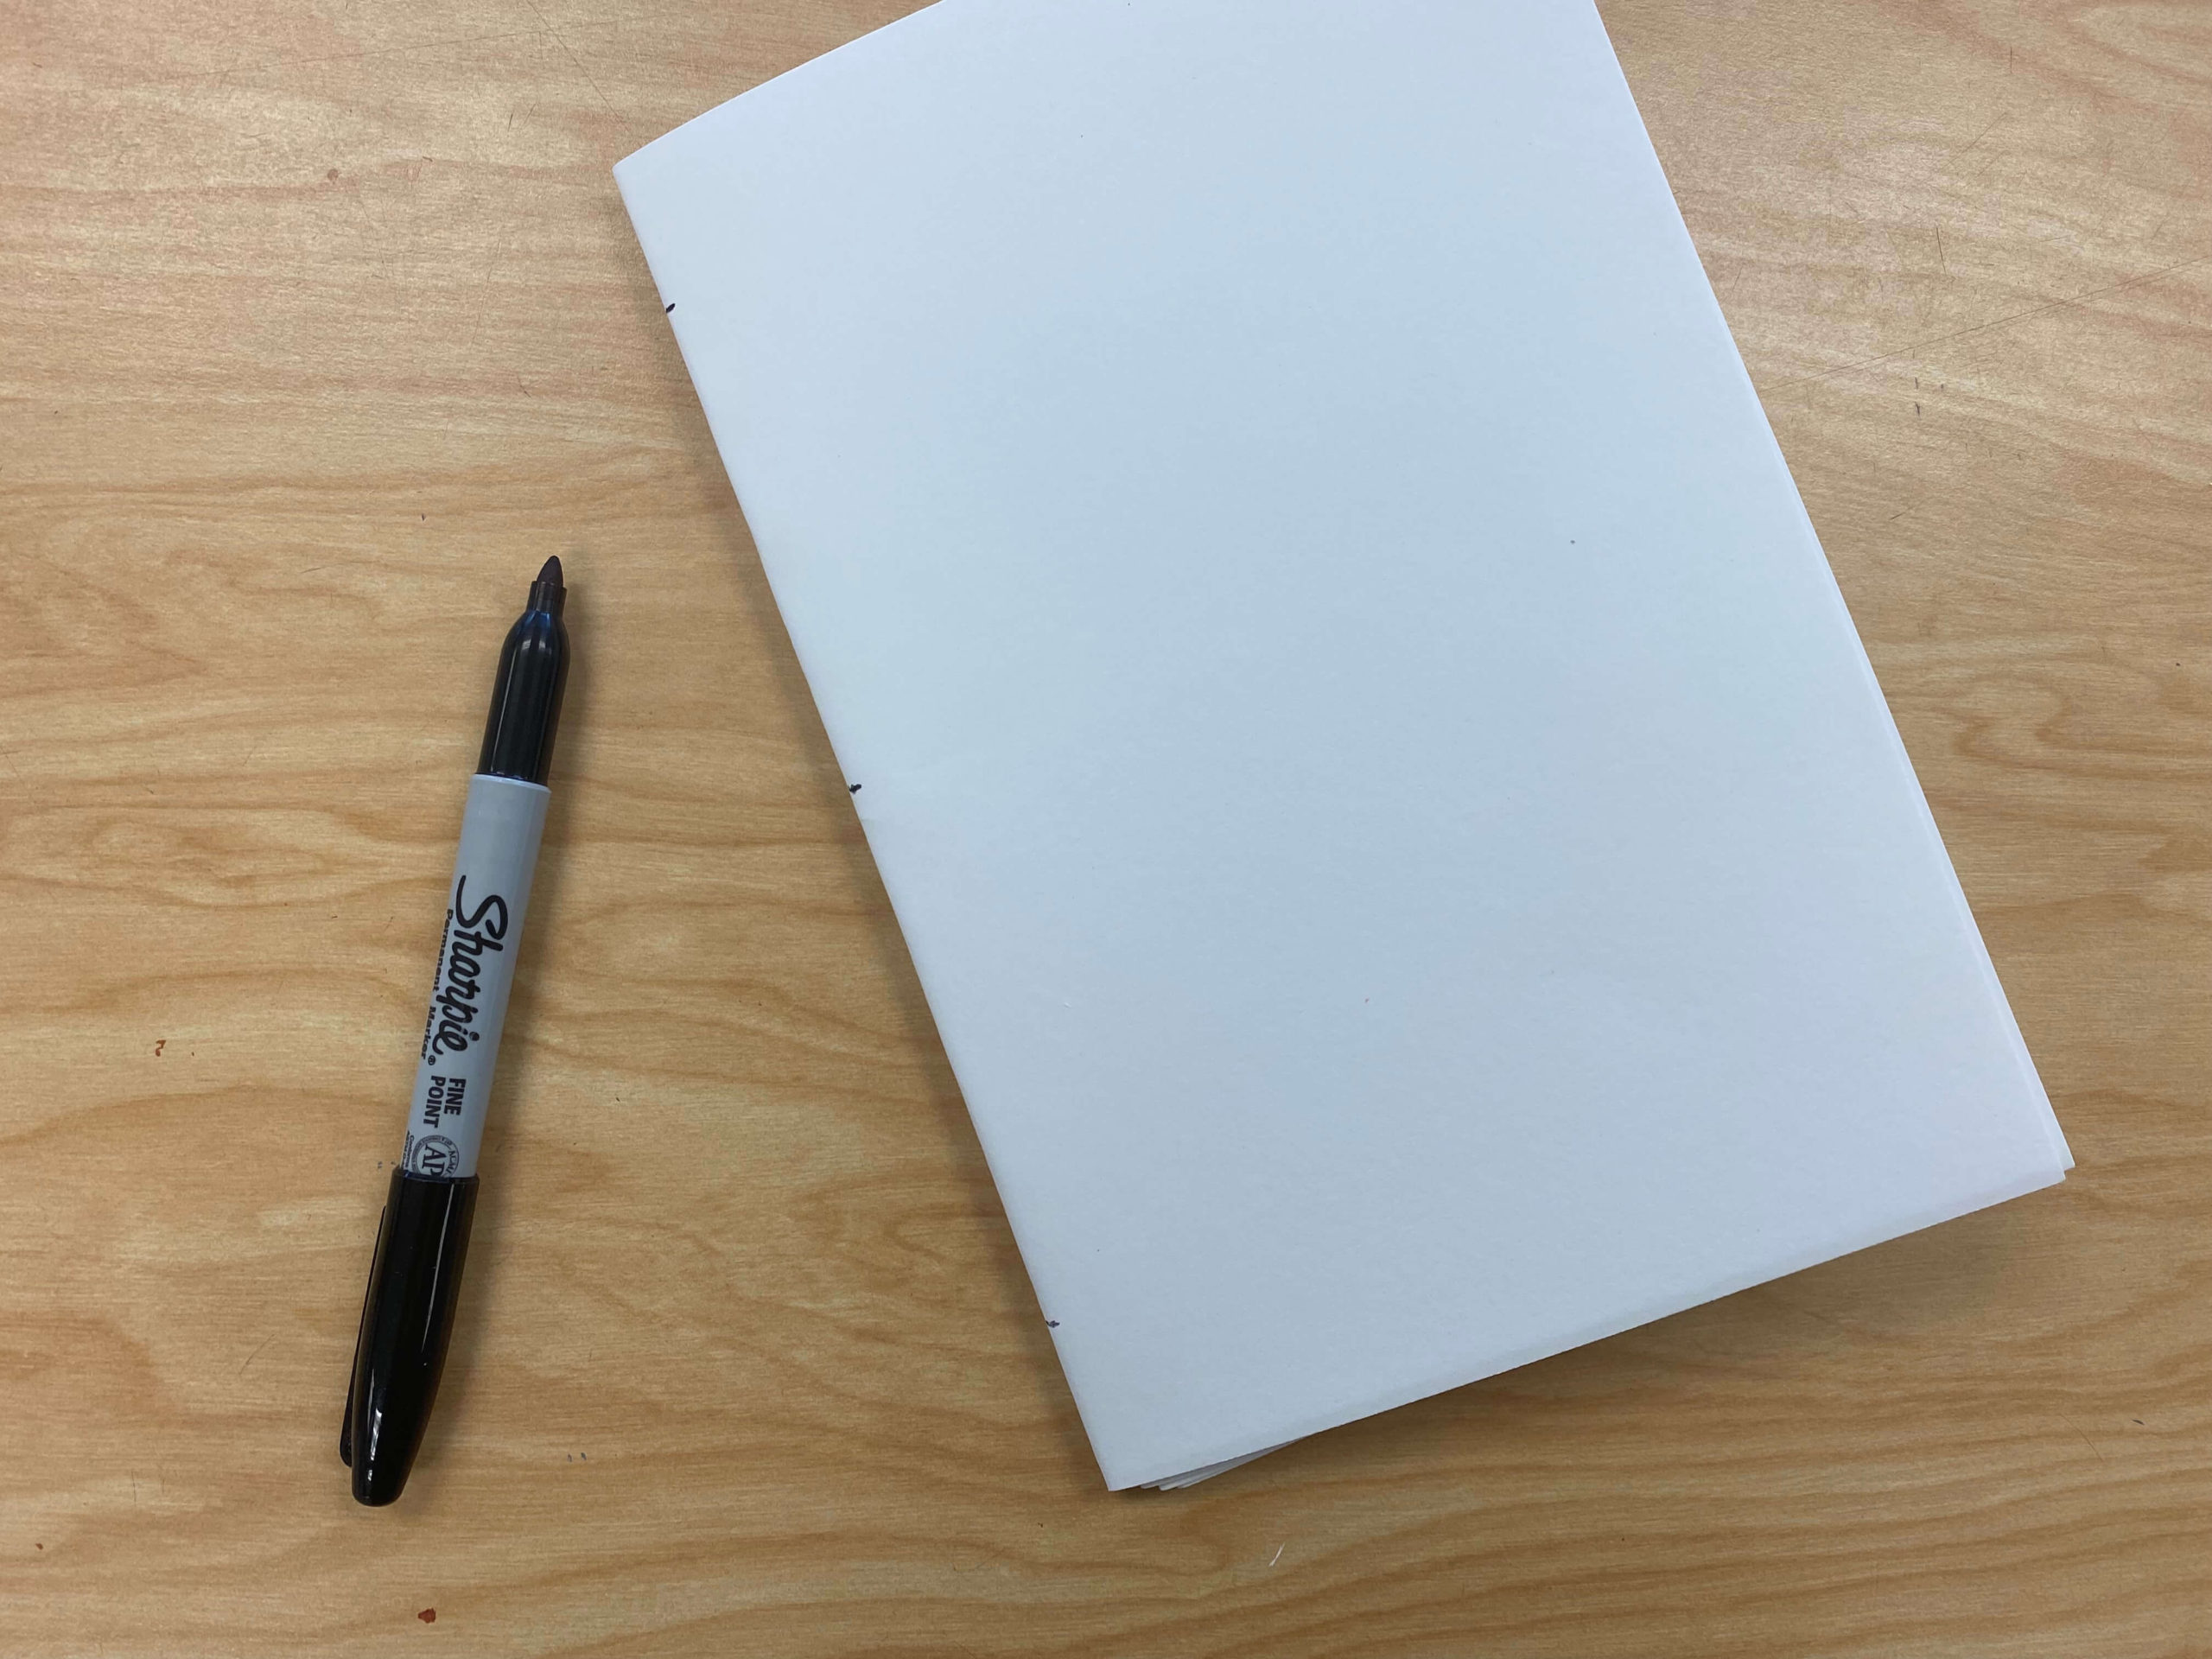
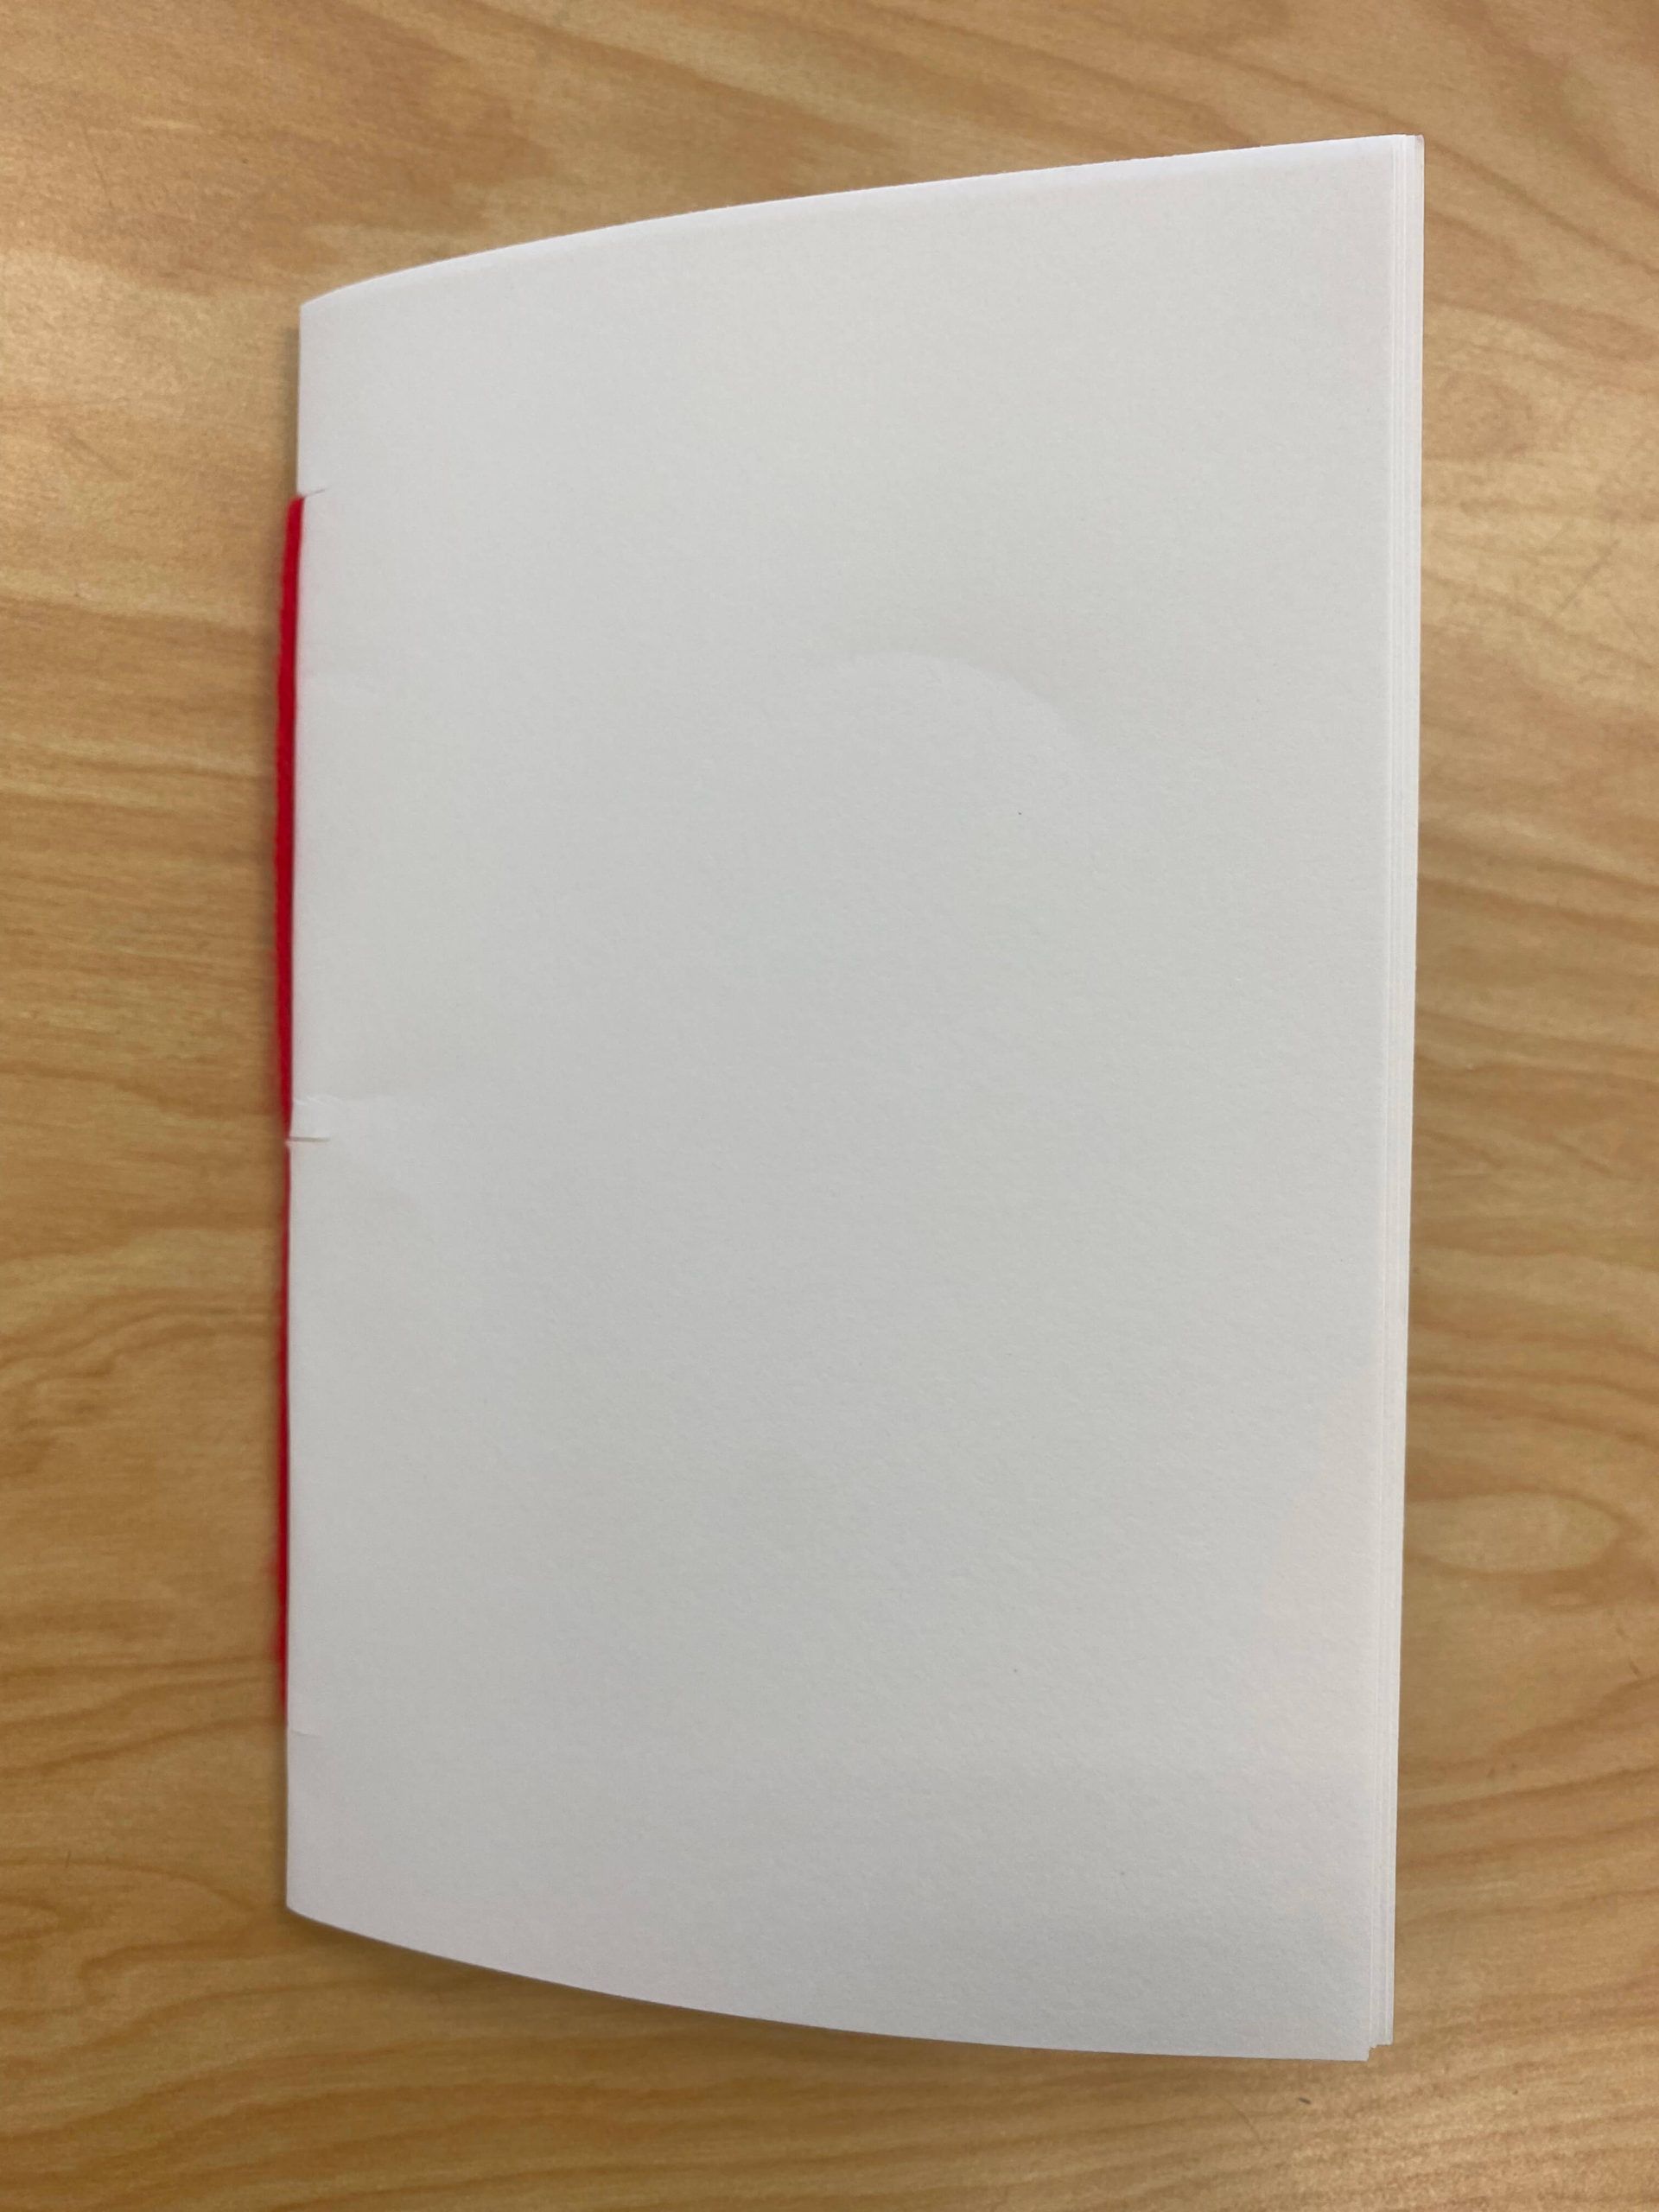
- Pile the papers together and fold them in half. I work with elementary students, so we still call it the “hamburger” way.

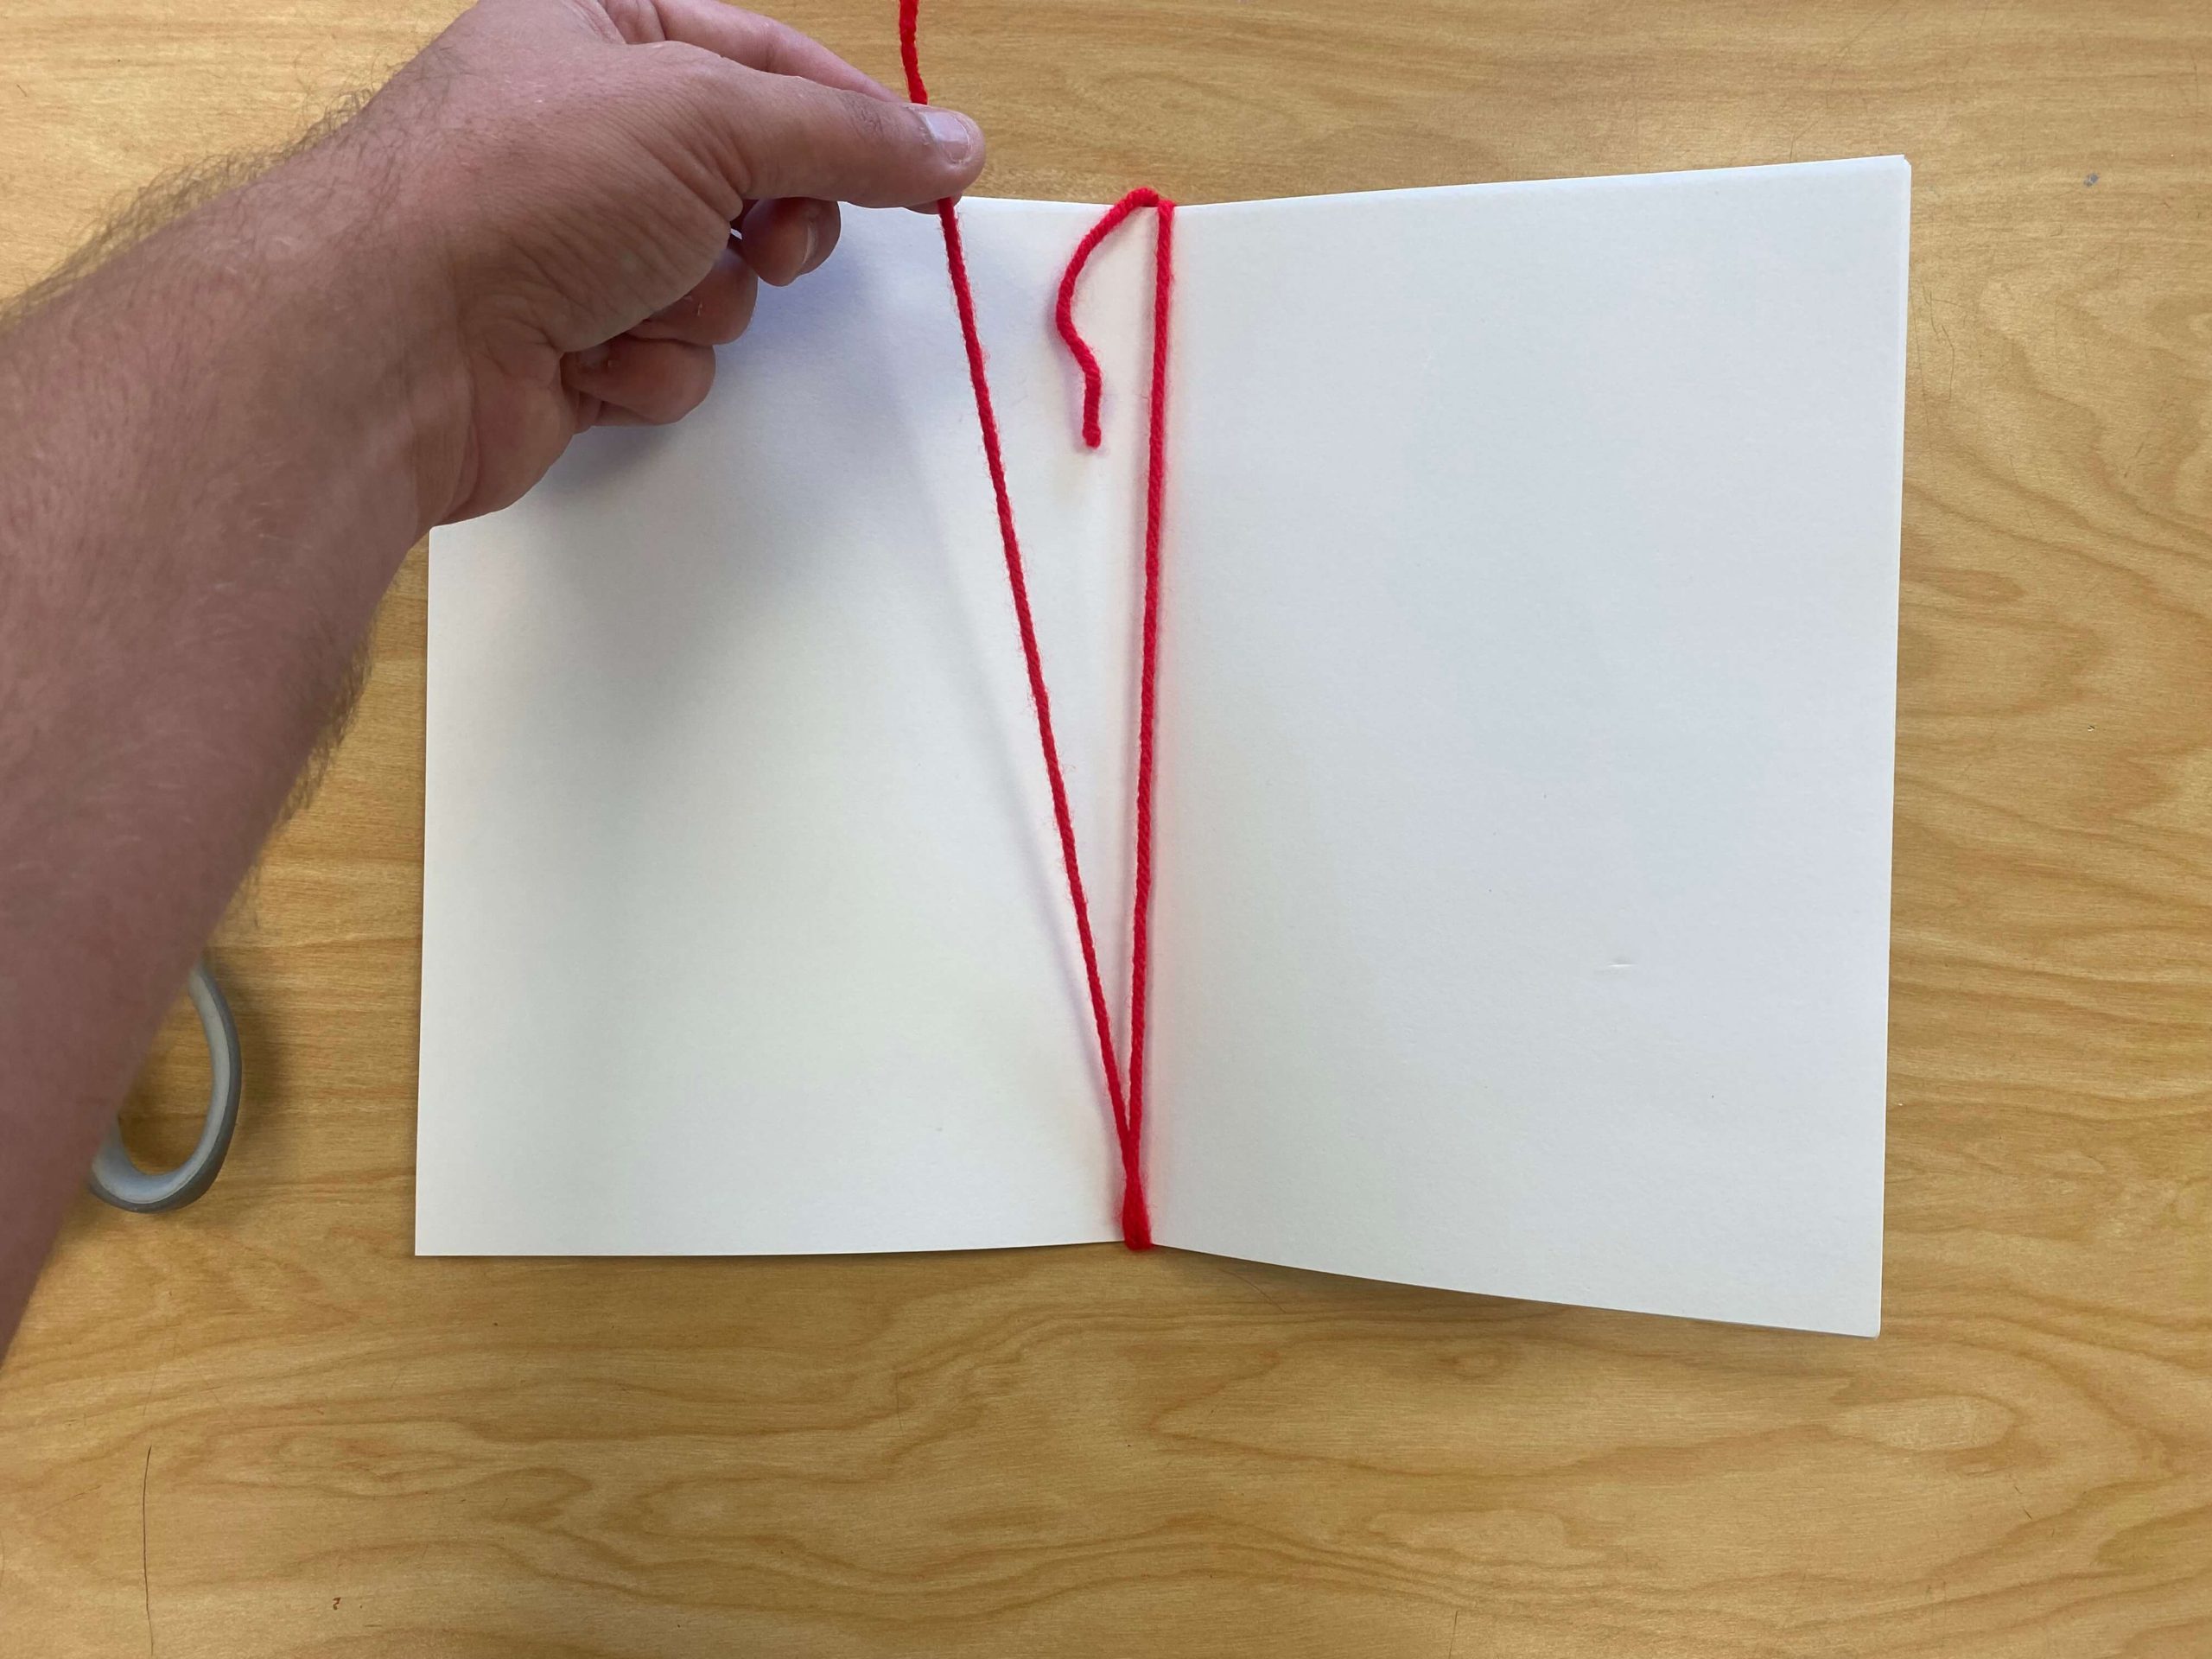
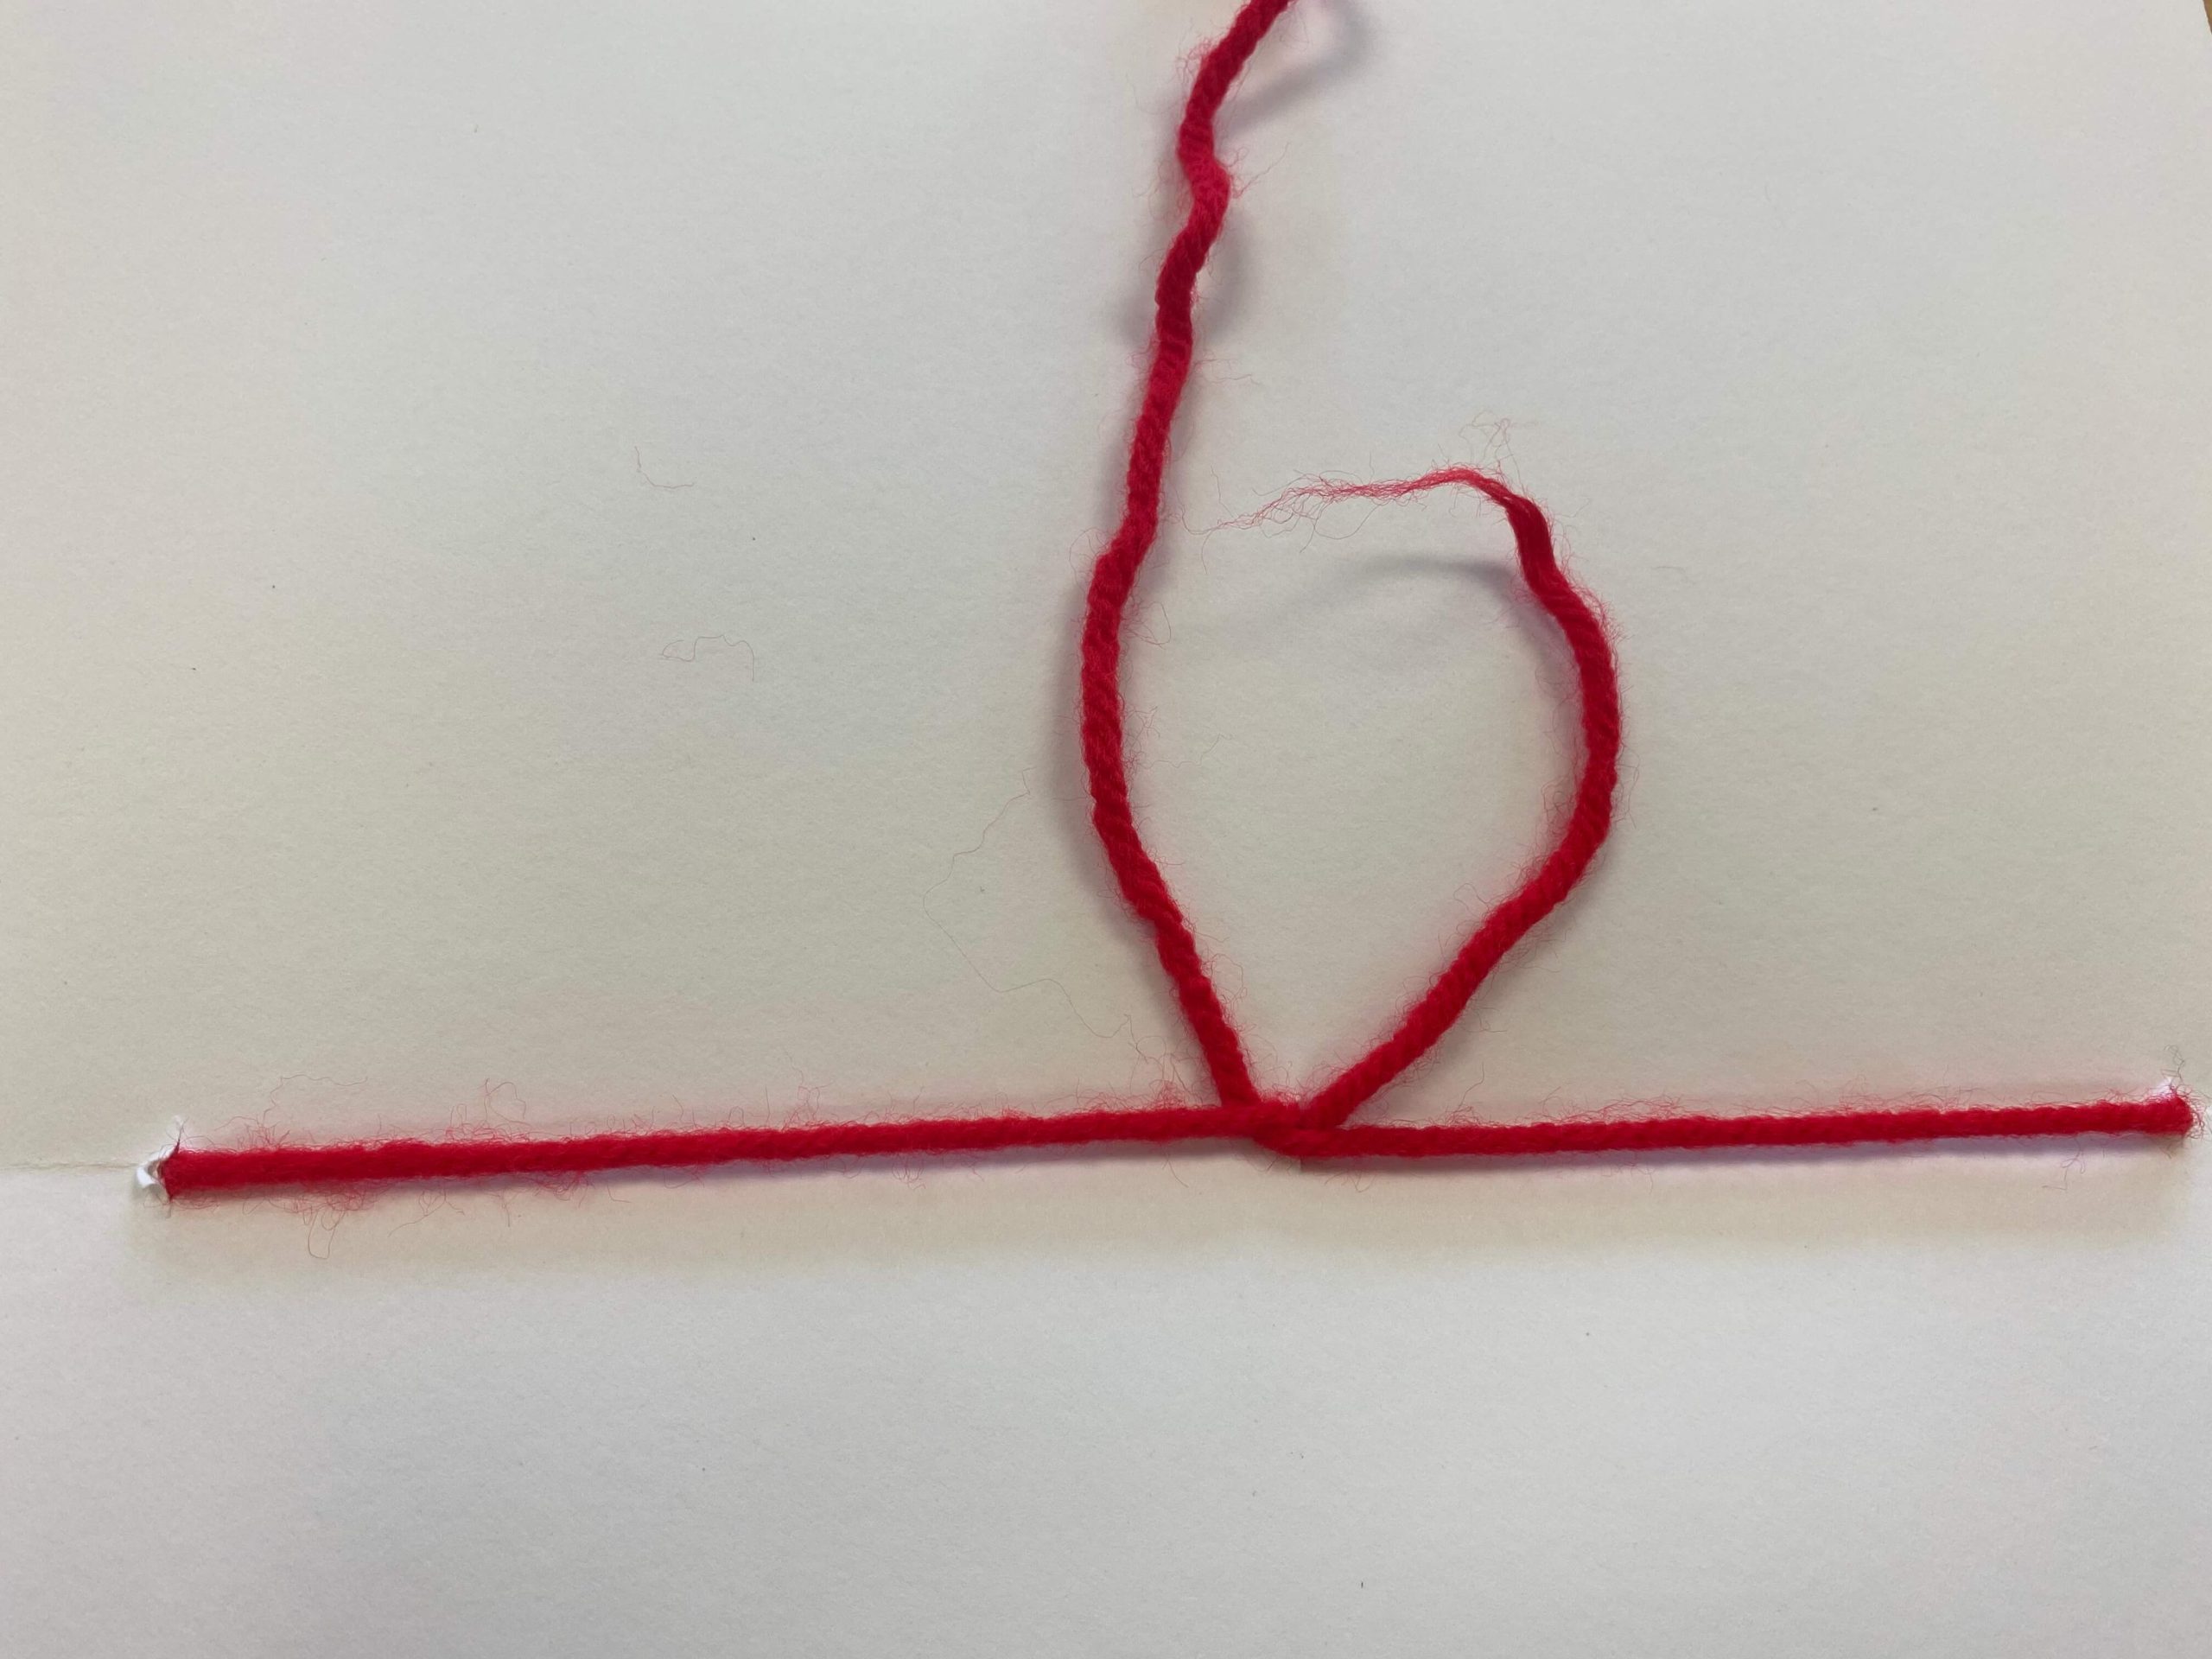
- Open the book to the very center. You will see the crease down the middle of the page.
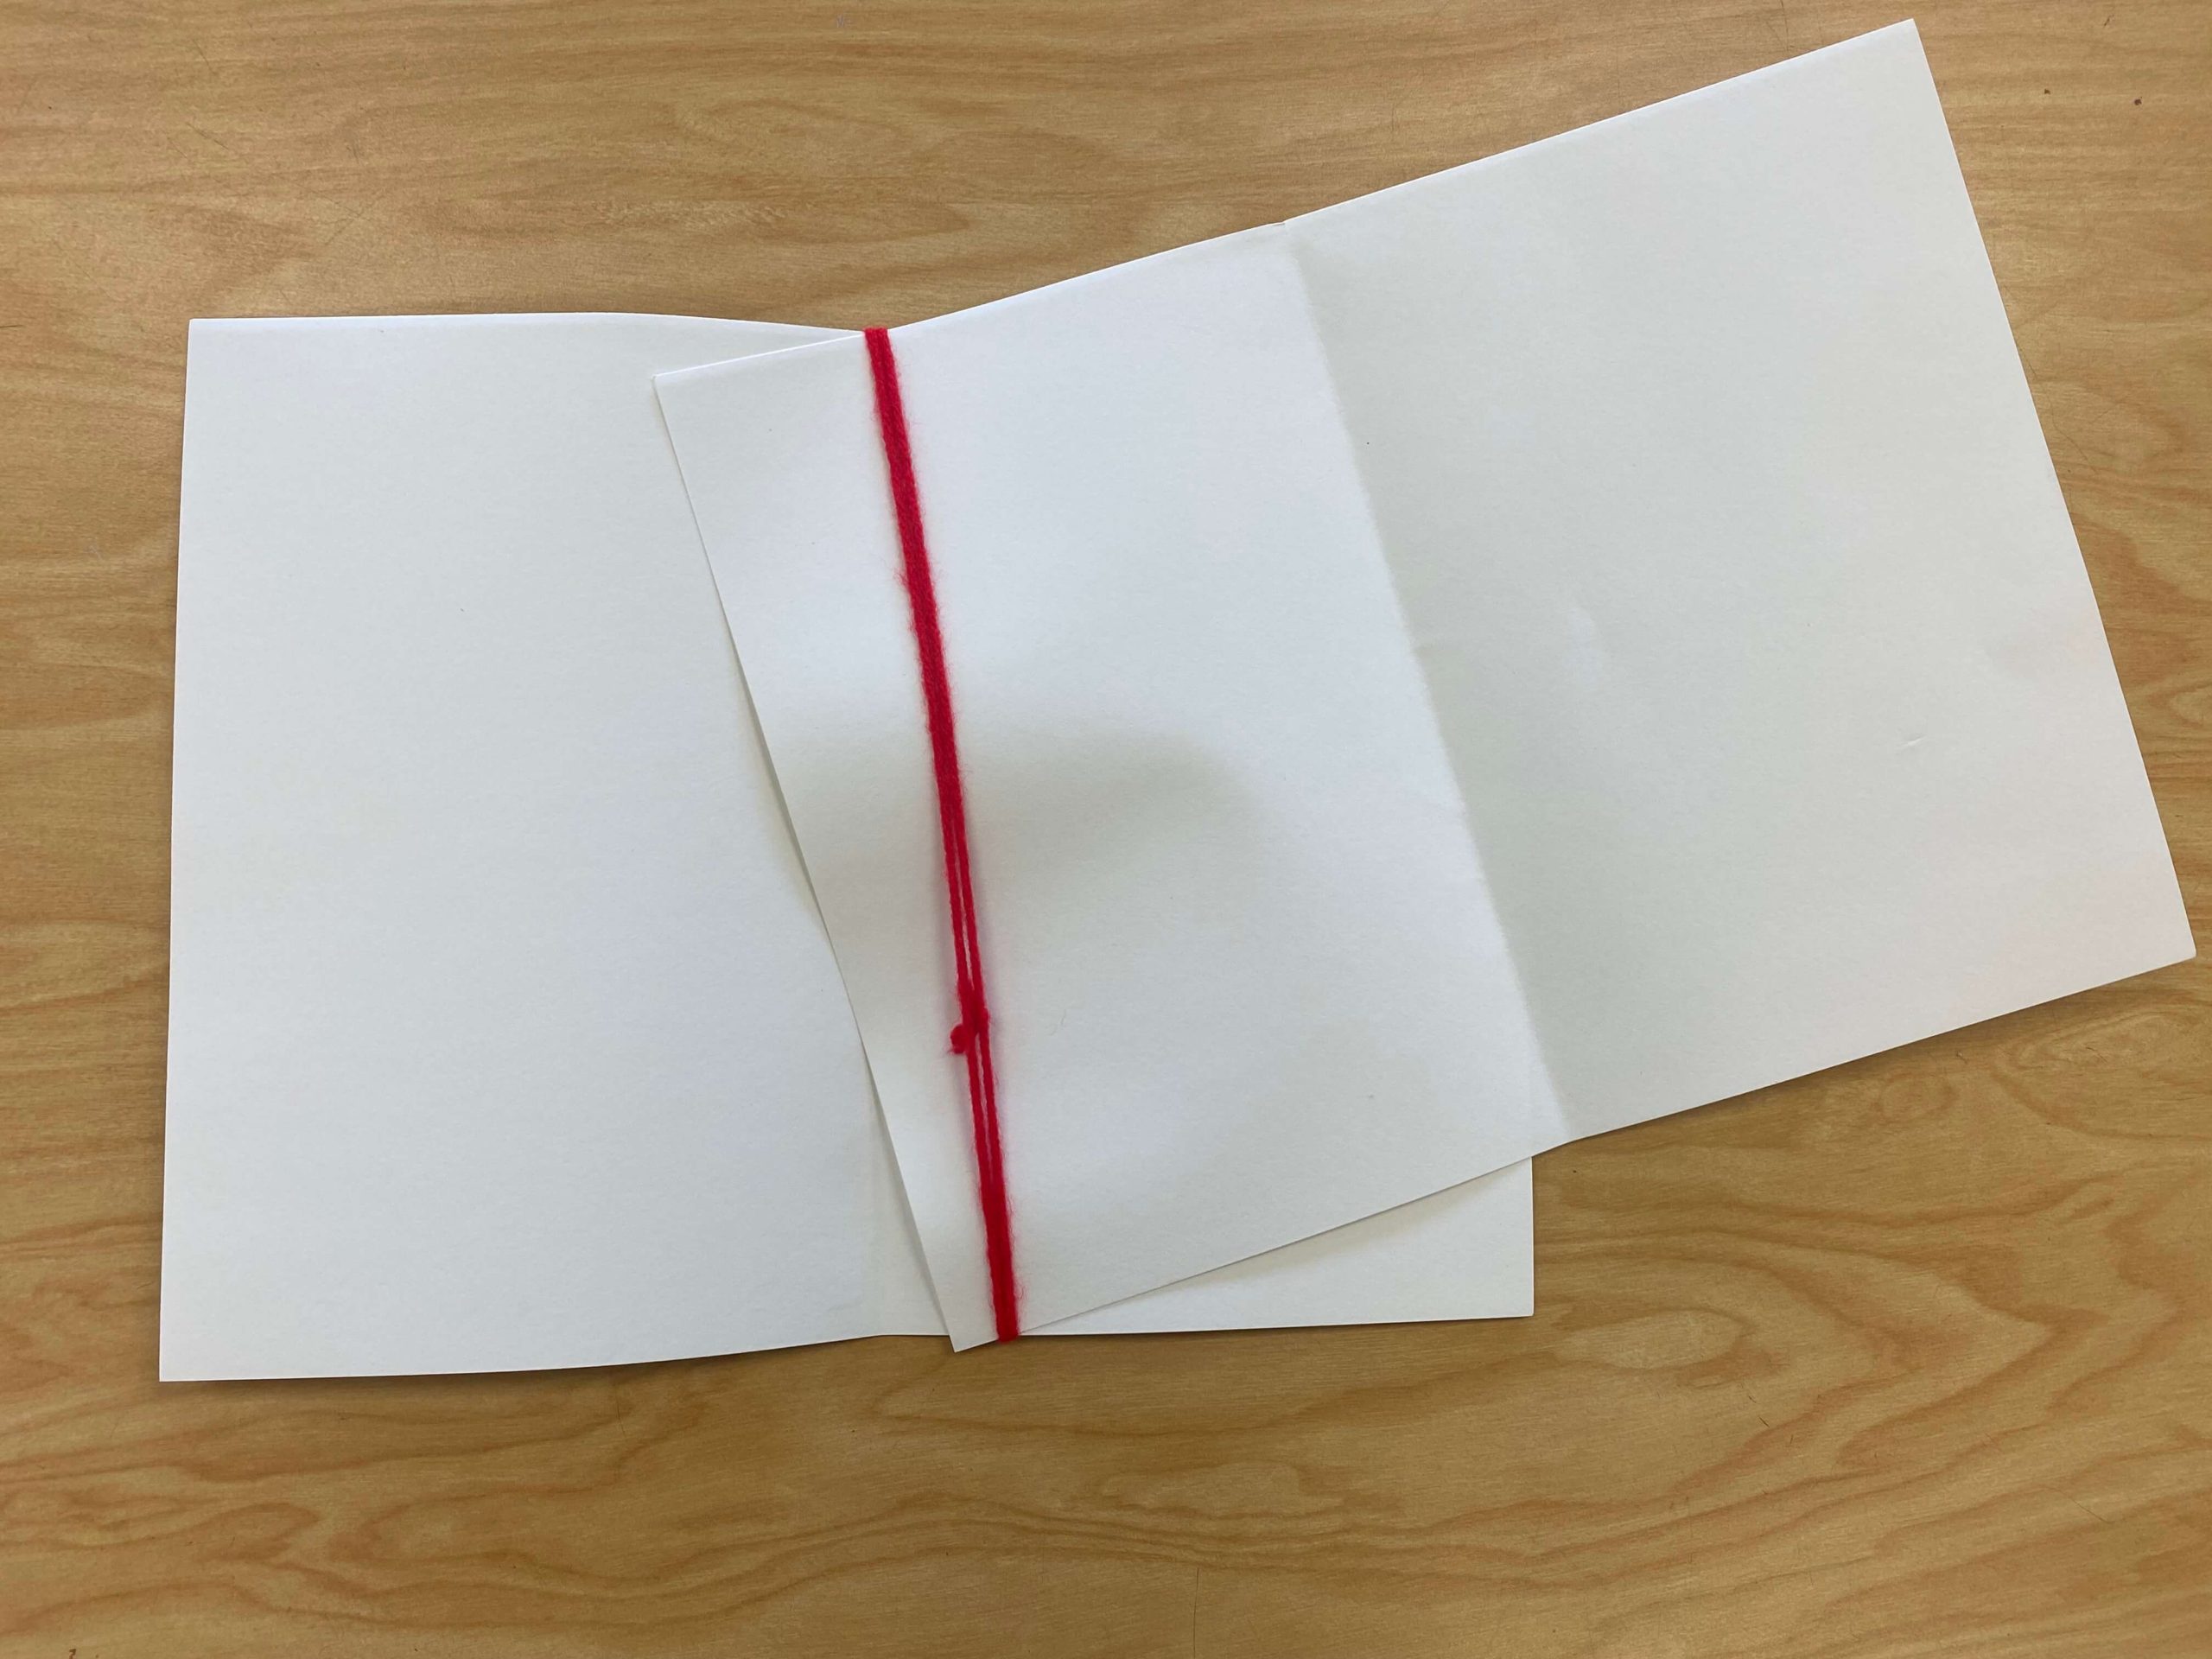
- Tightly wrap the yarn around the book until you run out. I usually have my students hold (or tape) the end of the yarn with one hand as they wrap with the other.
- The yarn should be tightly wrapped around the book, but not tight enough to bend the paper.
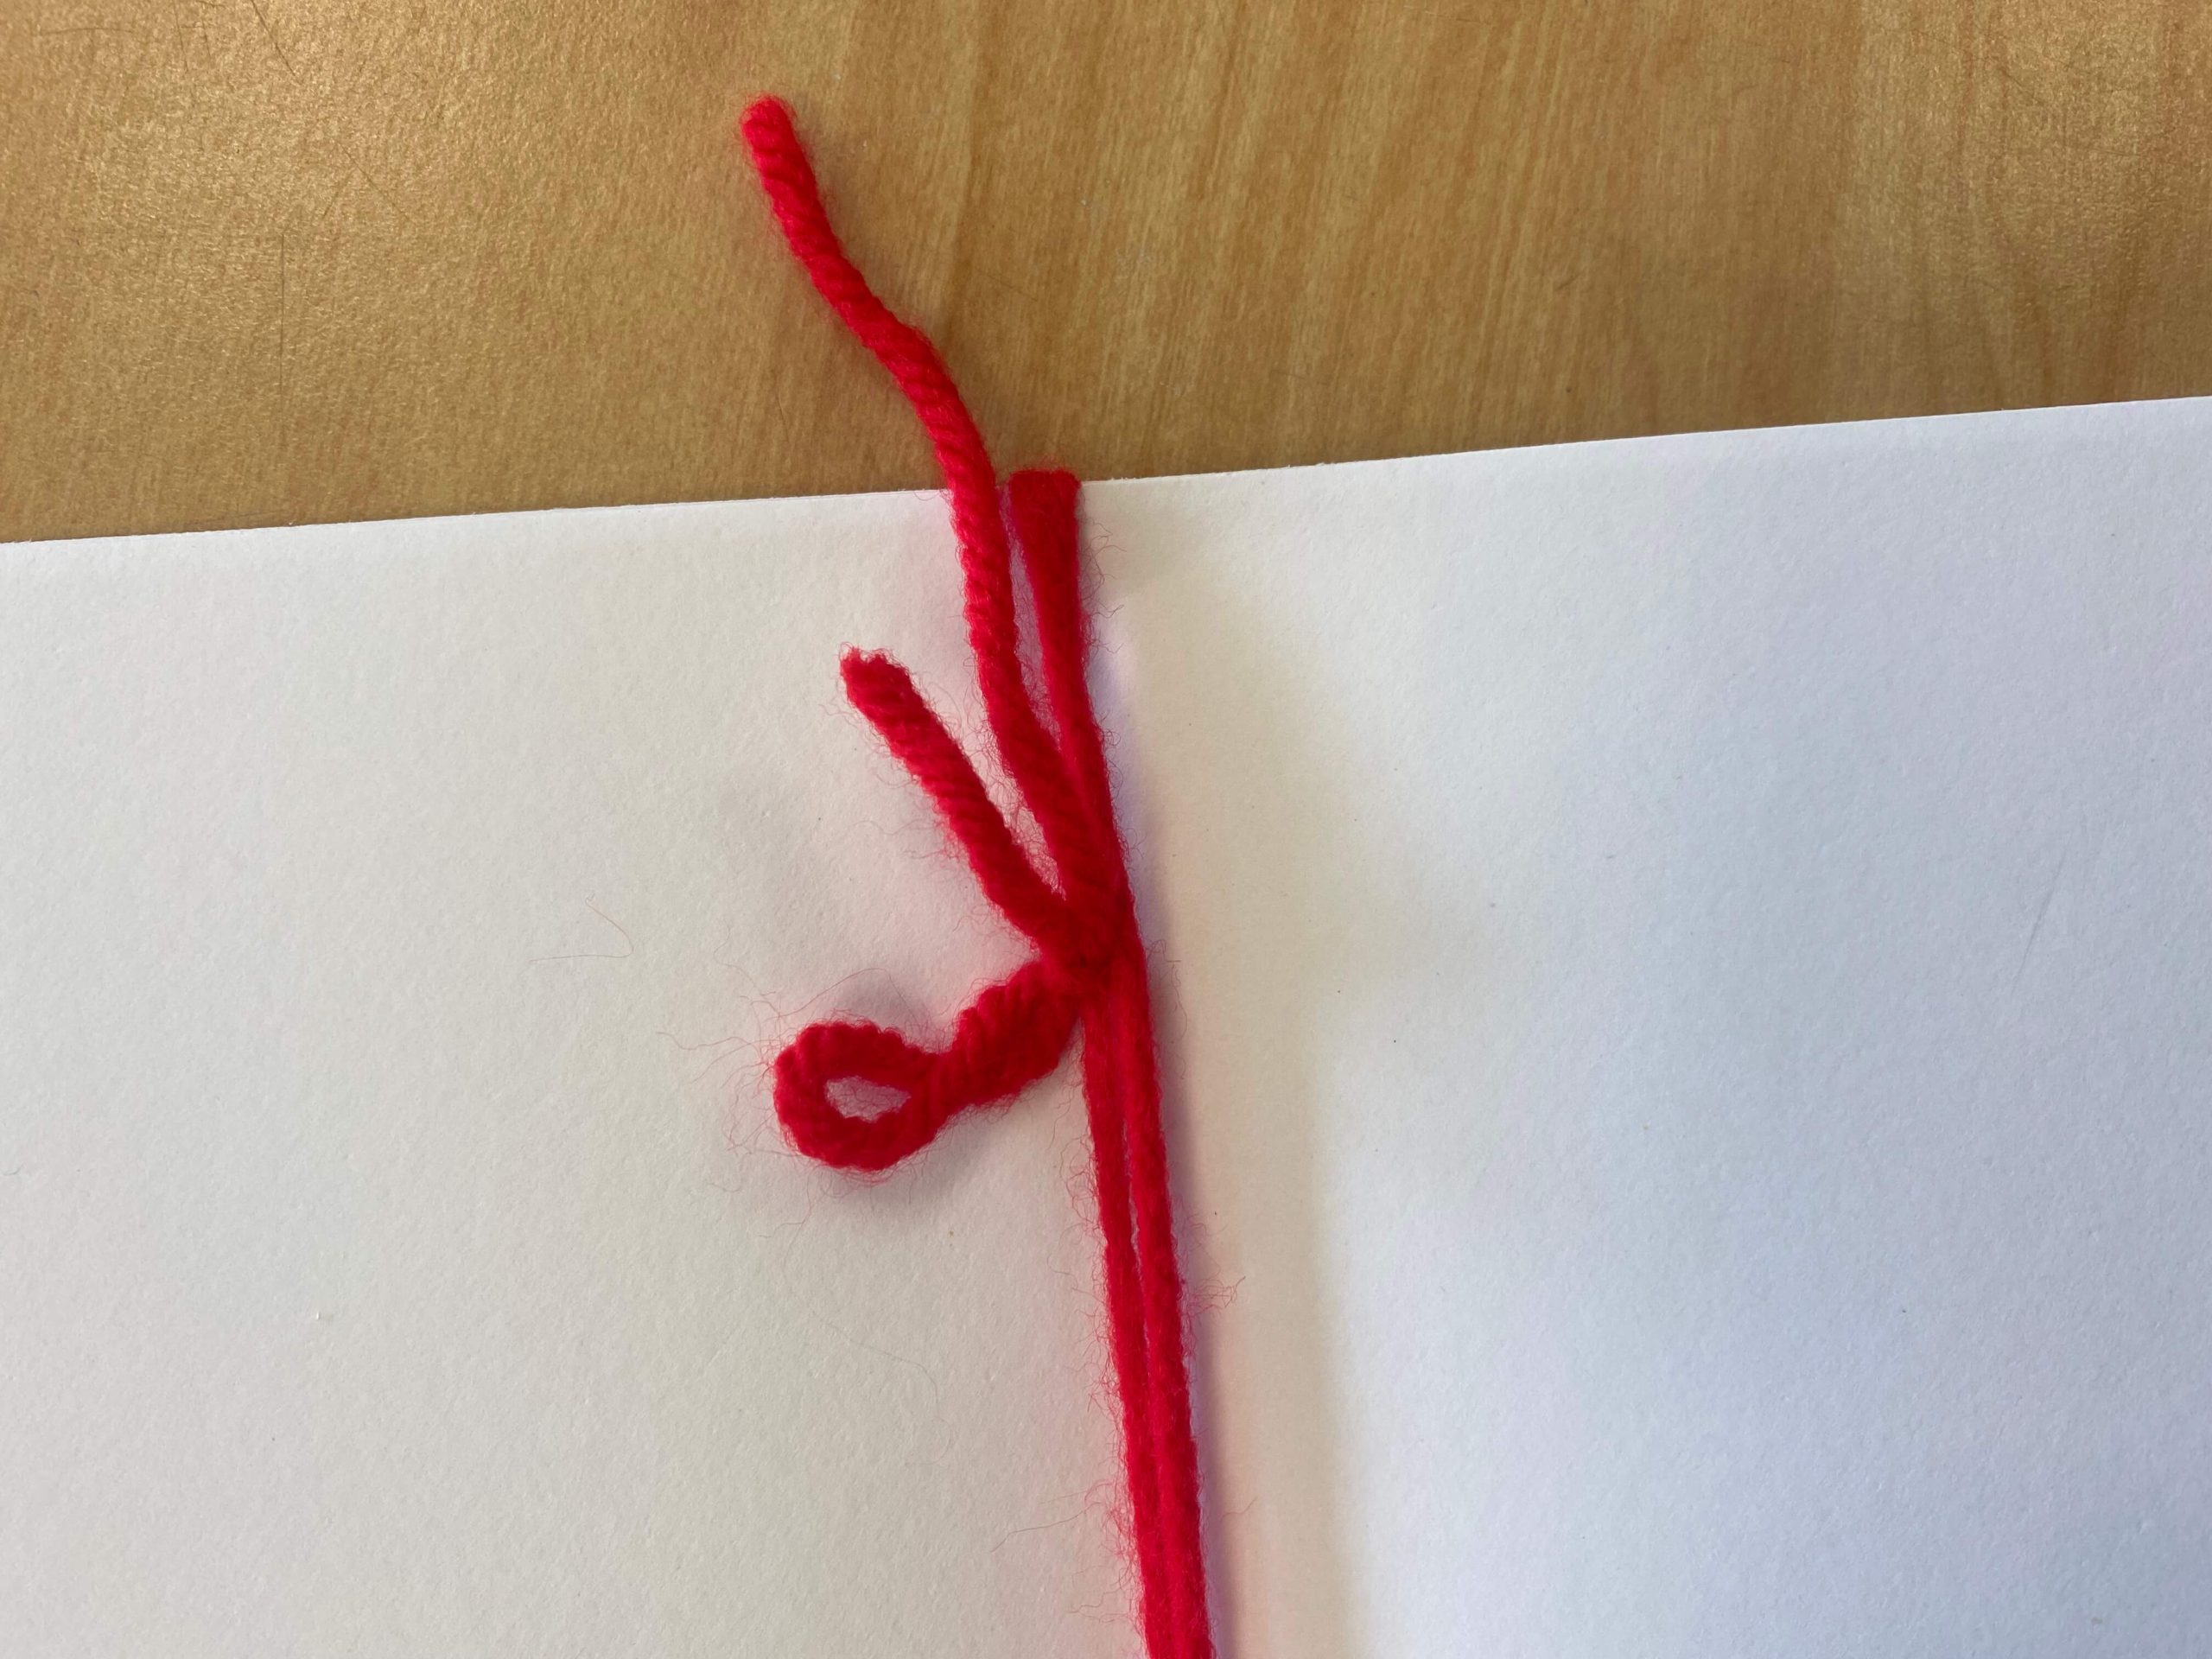
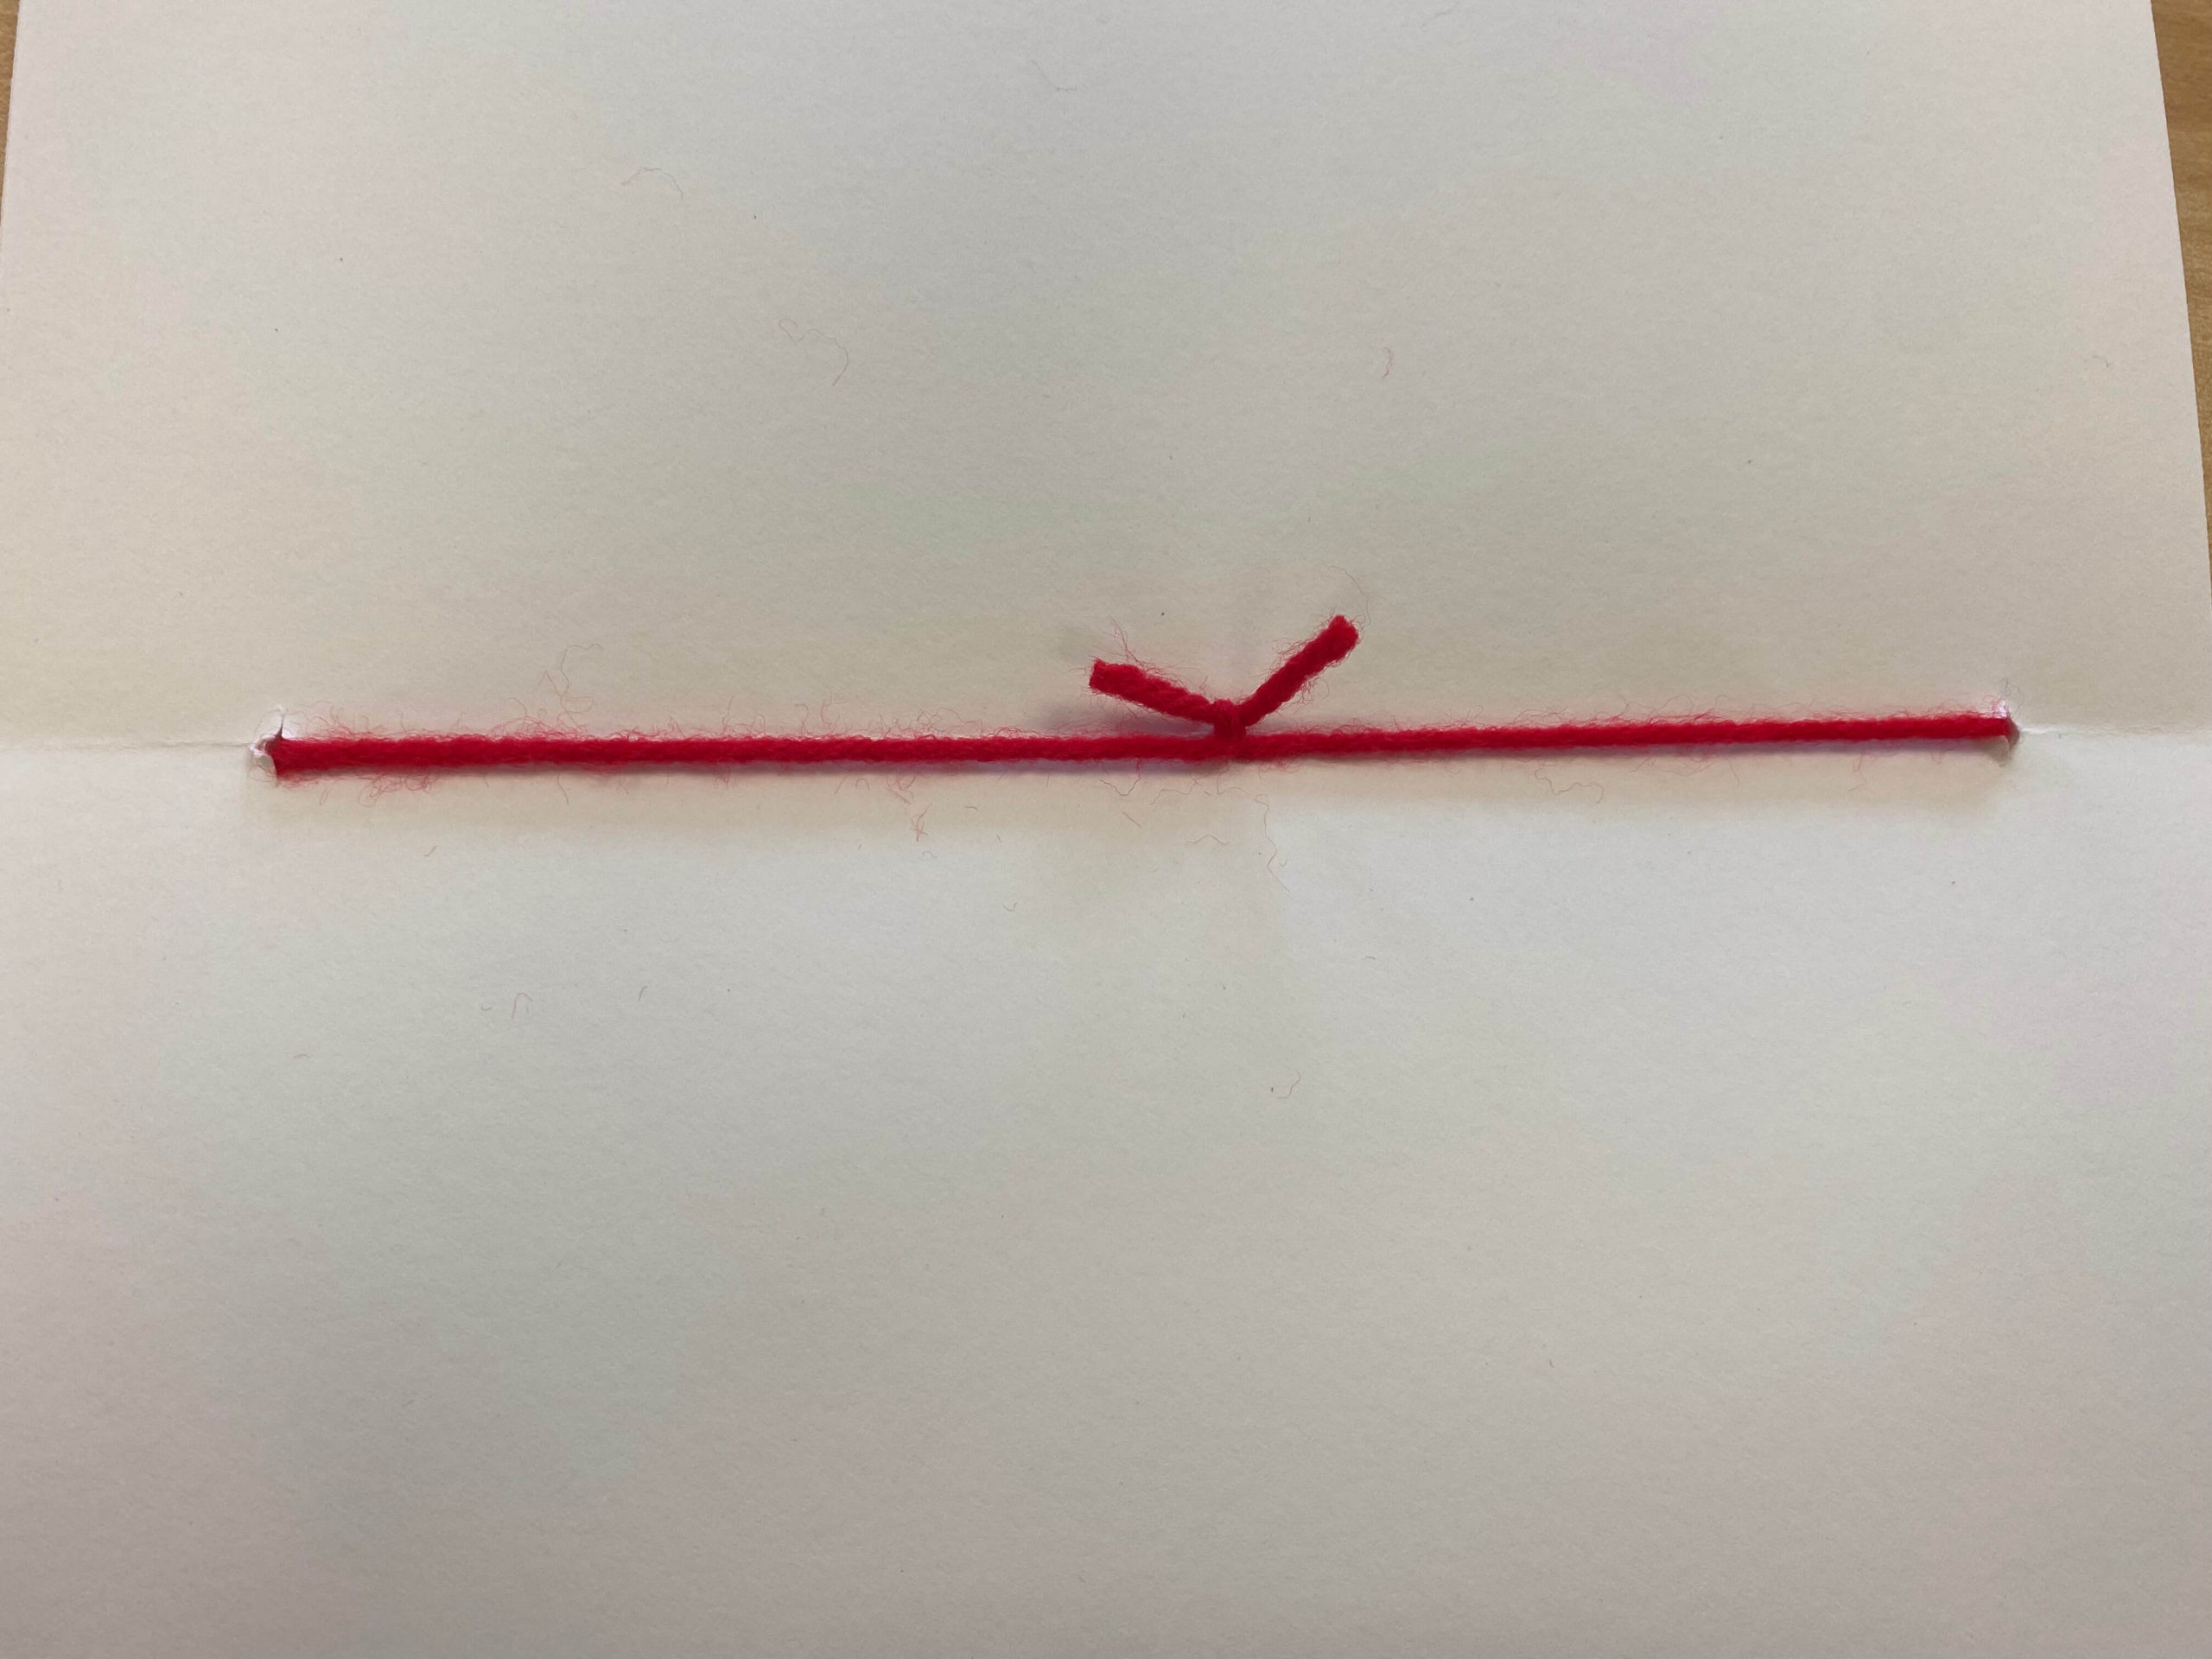
- Tie off the beginning and end of the yarn.
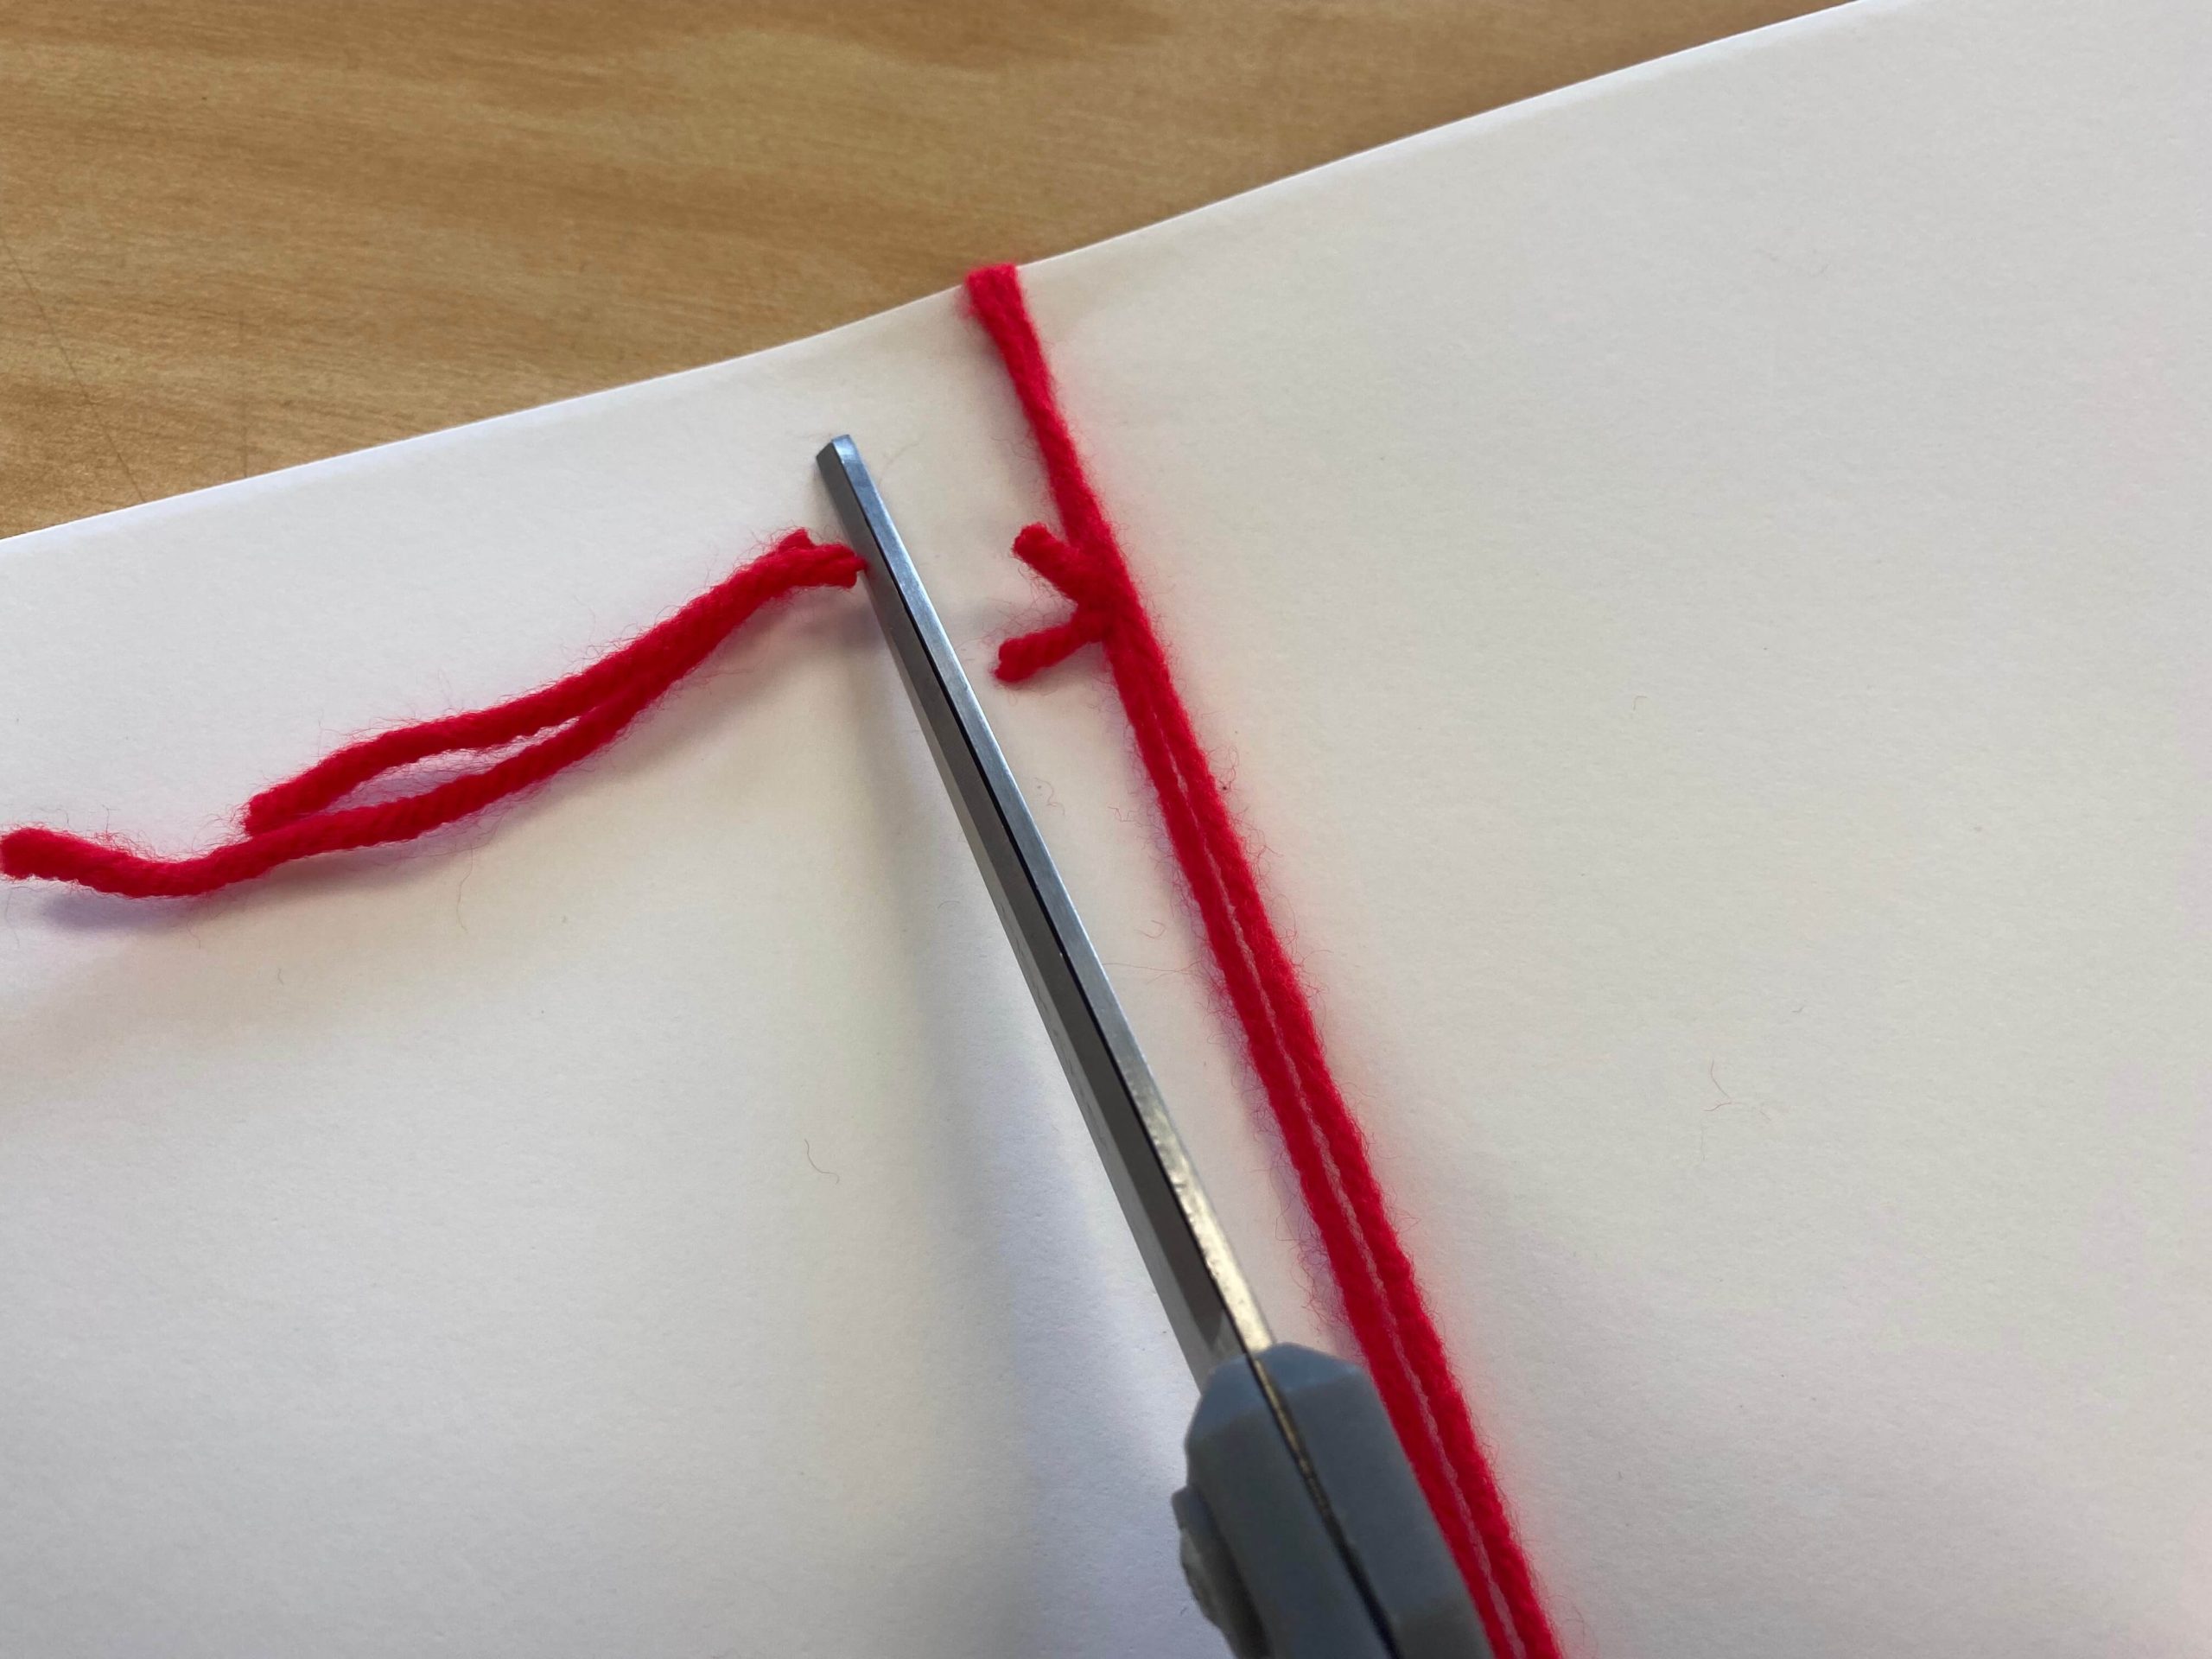
- Cut off the excess yarn.
- Voila! You have a book!
![]()
![]()
I have found this to be one of the simplest and most effective sketchbooks. It typically only takes them a few minutes to make, which is great when students are absent or have recently moved into the district. Within minutes these students are caught up, and you can move on with your lesson. This design also allows for easy removal or addition of new pages.
![]()
Book 2: No-Sew Puzzle Book
I refer to this as a puzzle book because of the way the cover and pages fit together.
Supplies:
- A few sheets of paper (I used a piece of construction paper to better illustrate the steps)
- Scissors
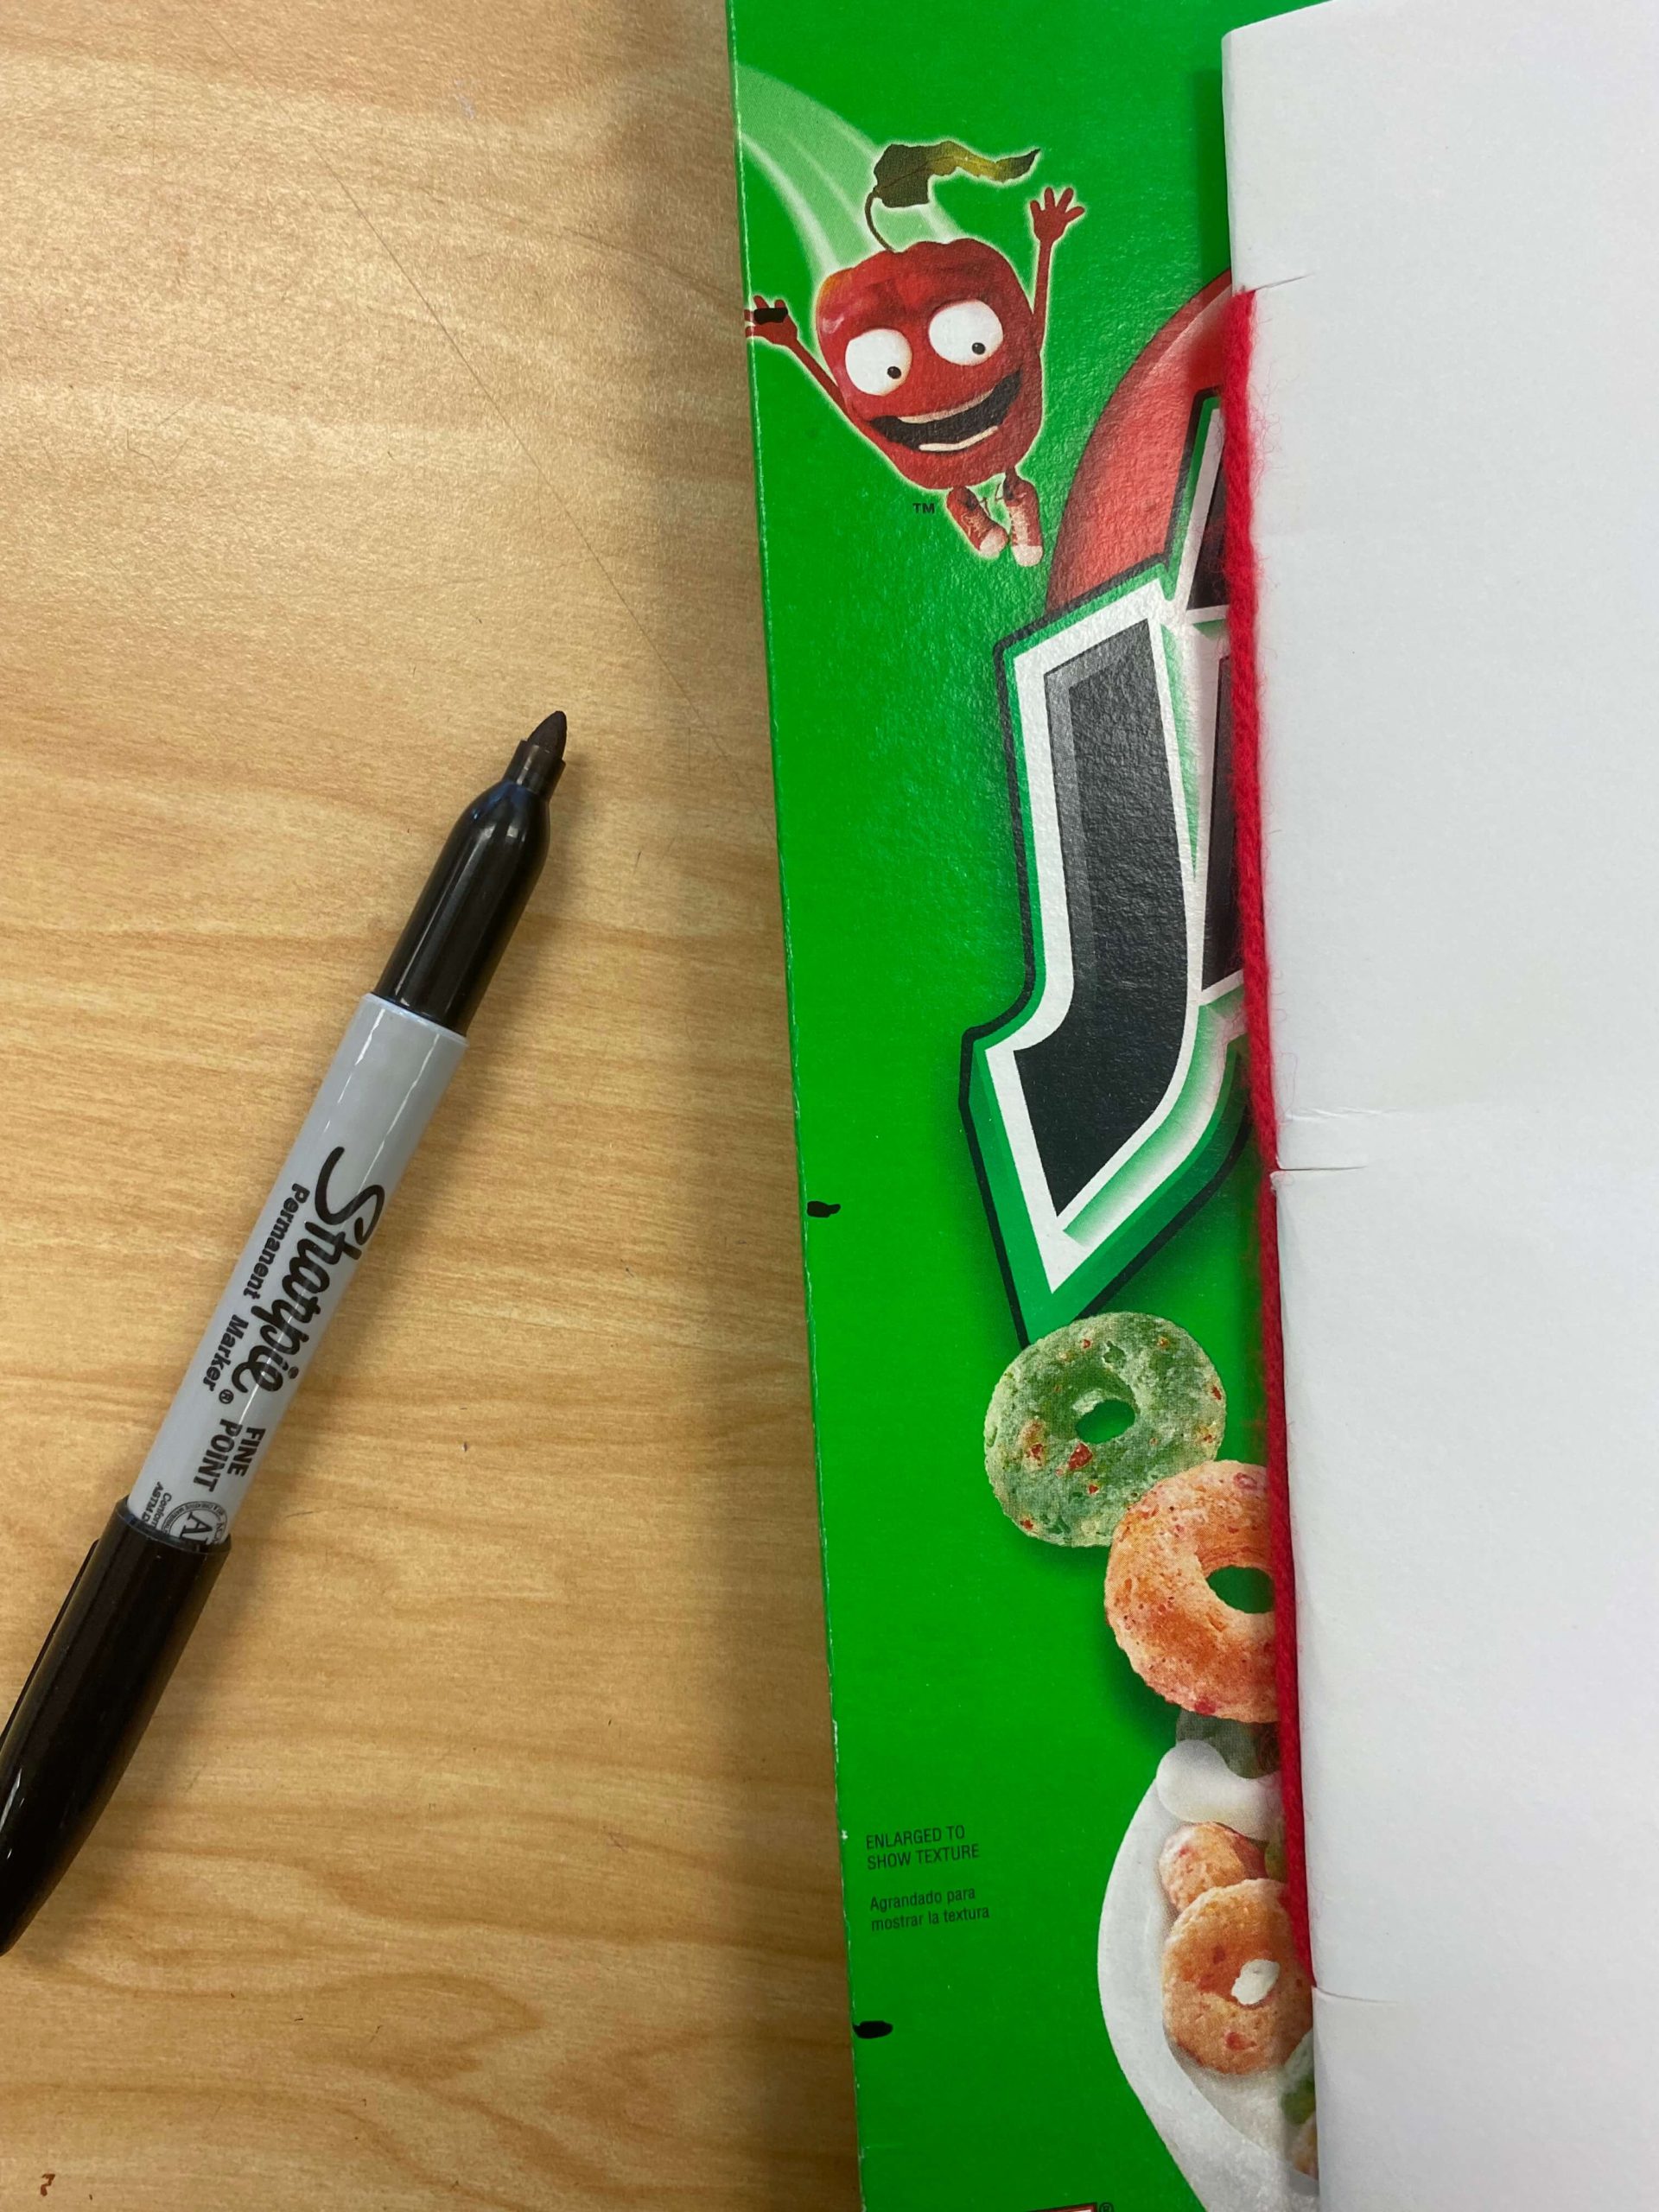
- Marker/Pencil
Steps:
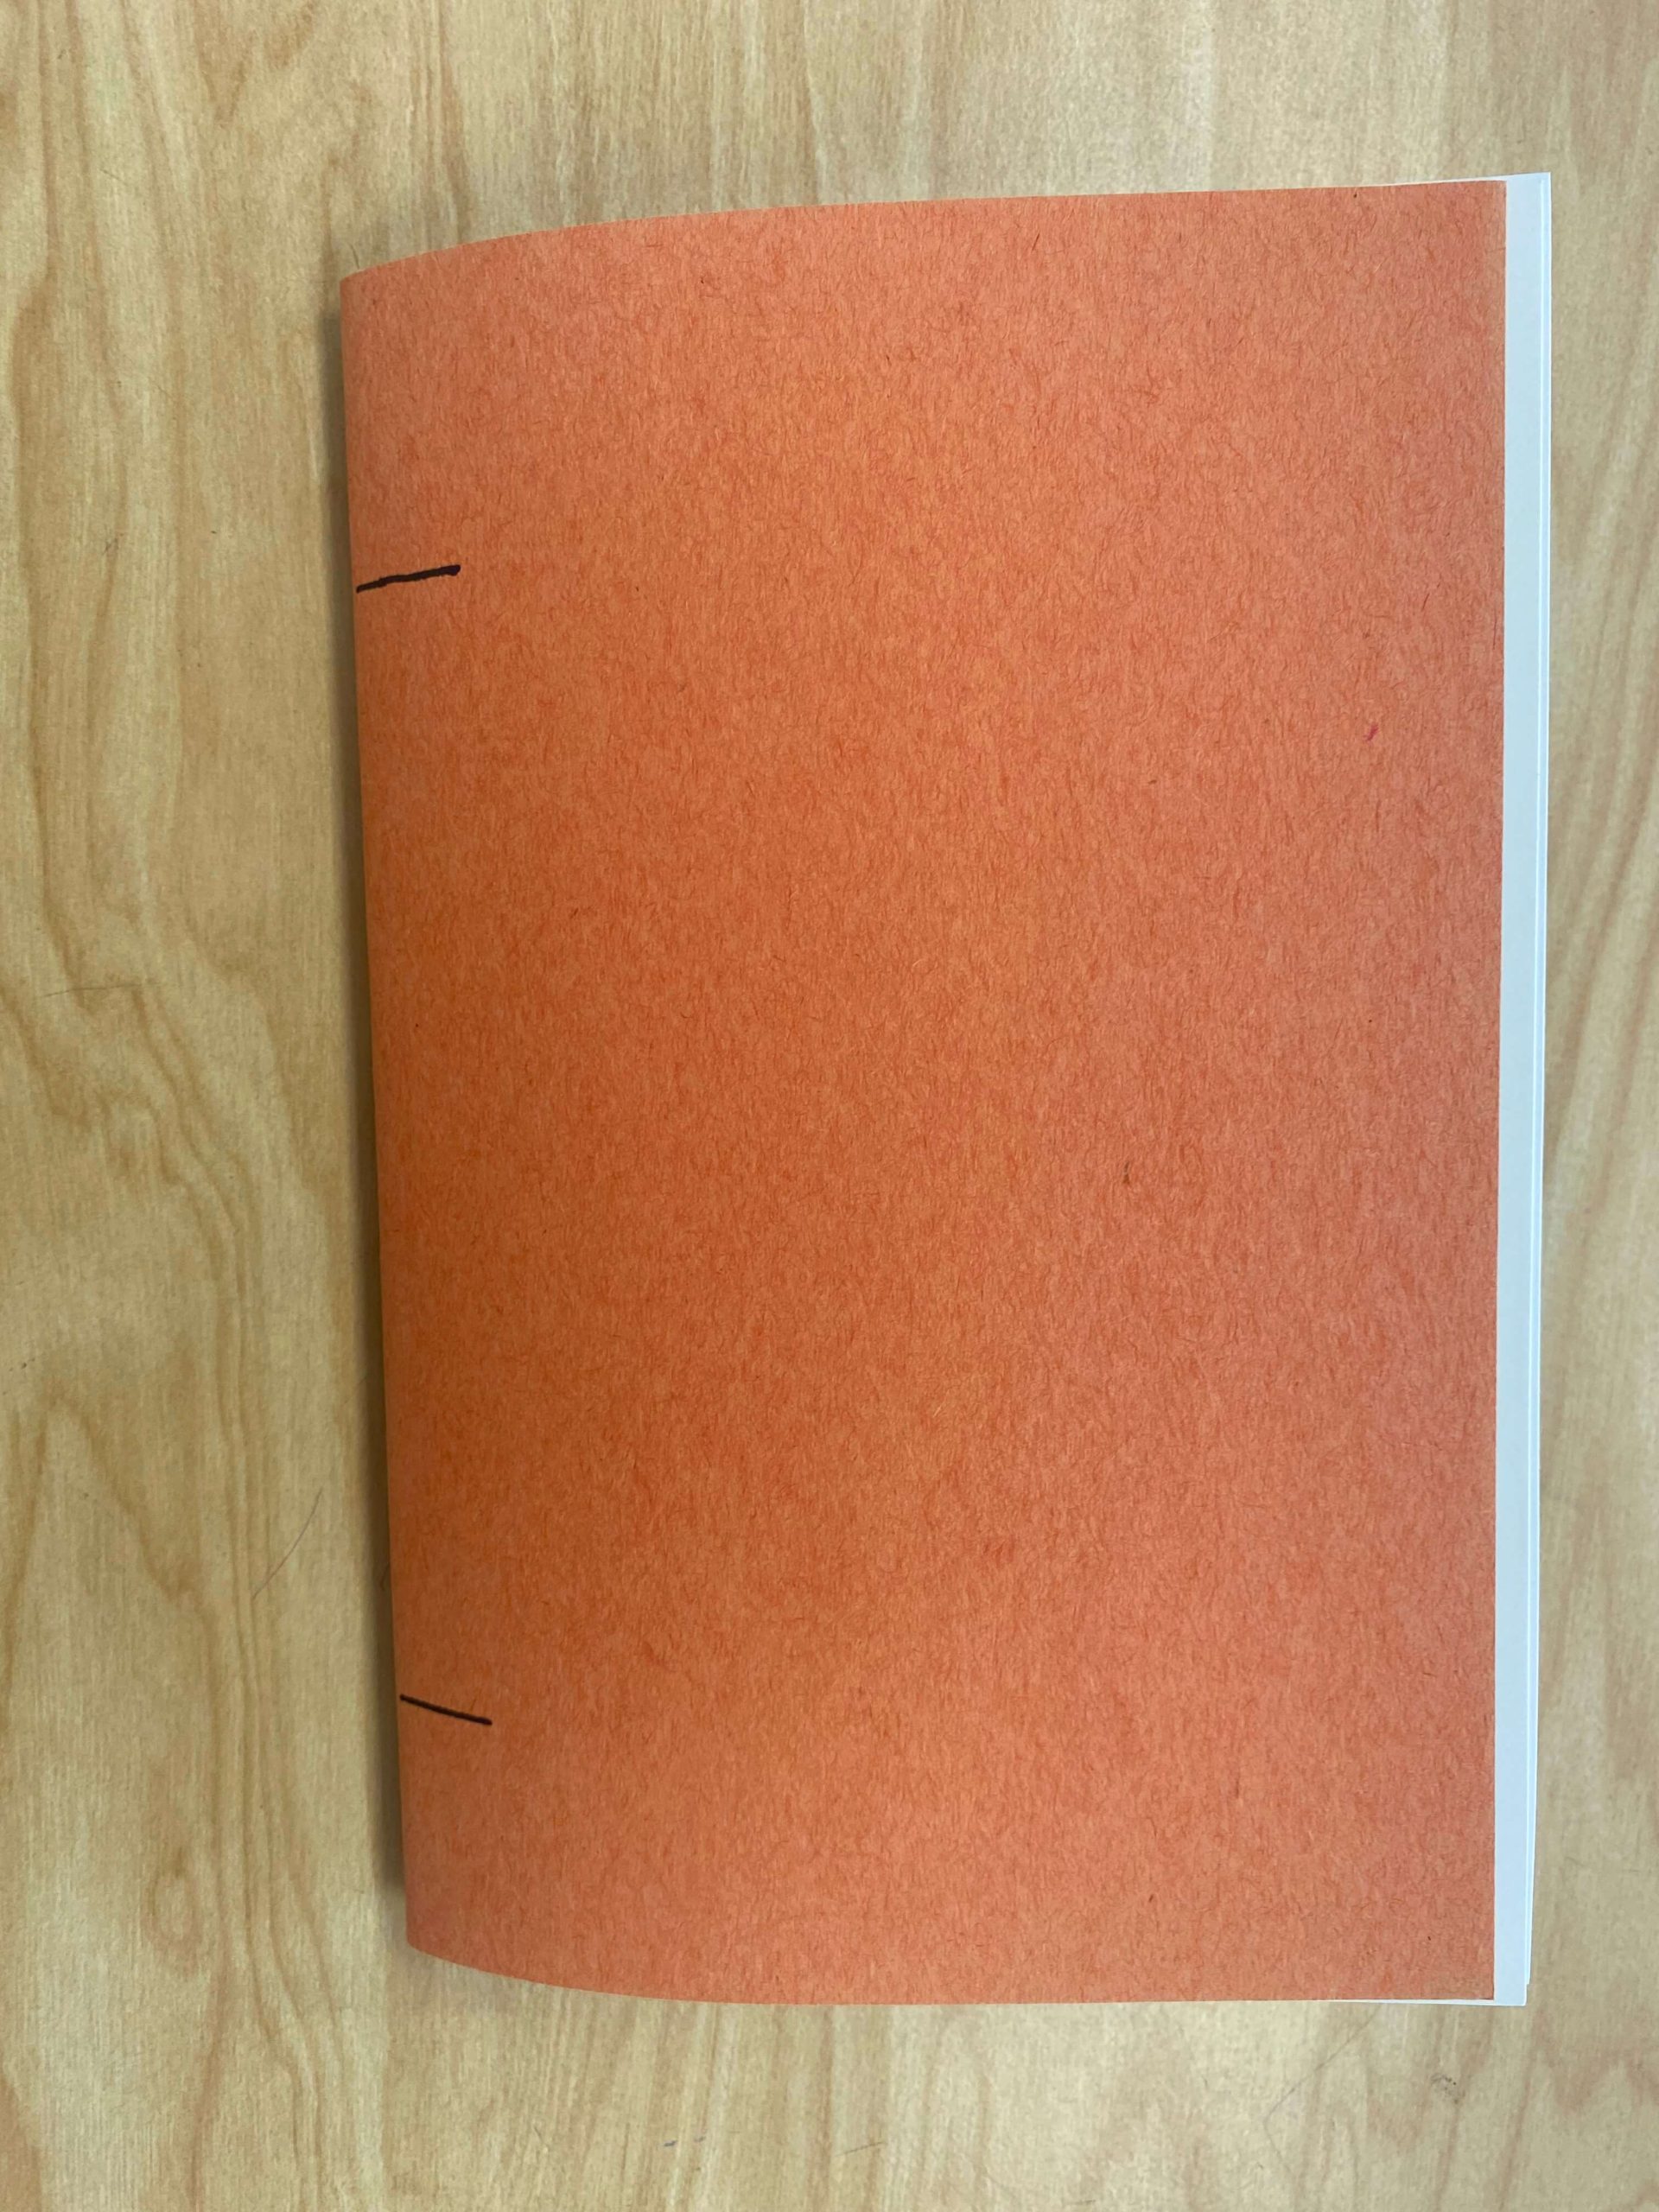
- Pile the papers together and fold them in half the “hamburger” way.
- Measure 1-1.5” from the top and the bottom along the folded edge and draw a small 1” line at each of those measurements.
![]()
![]()
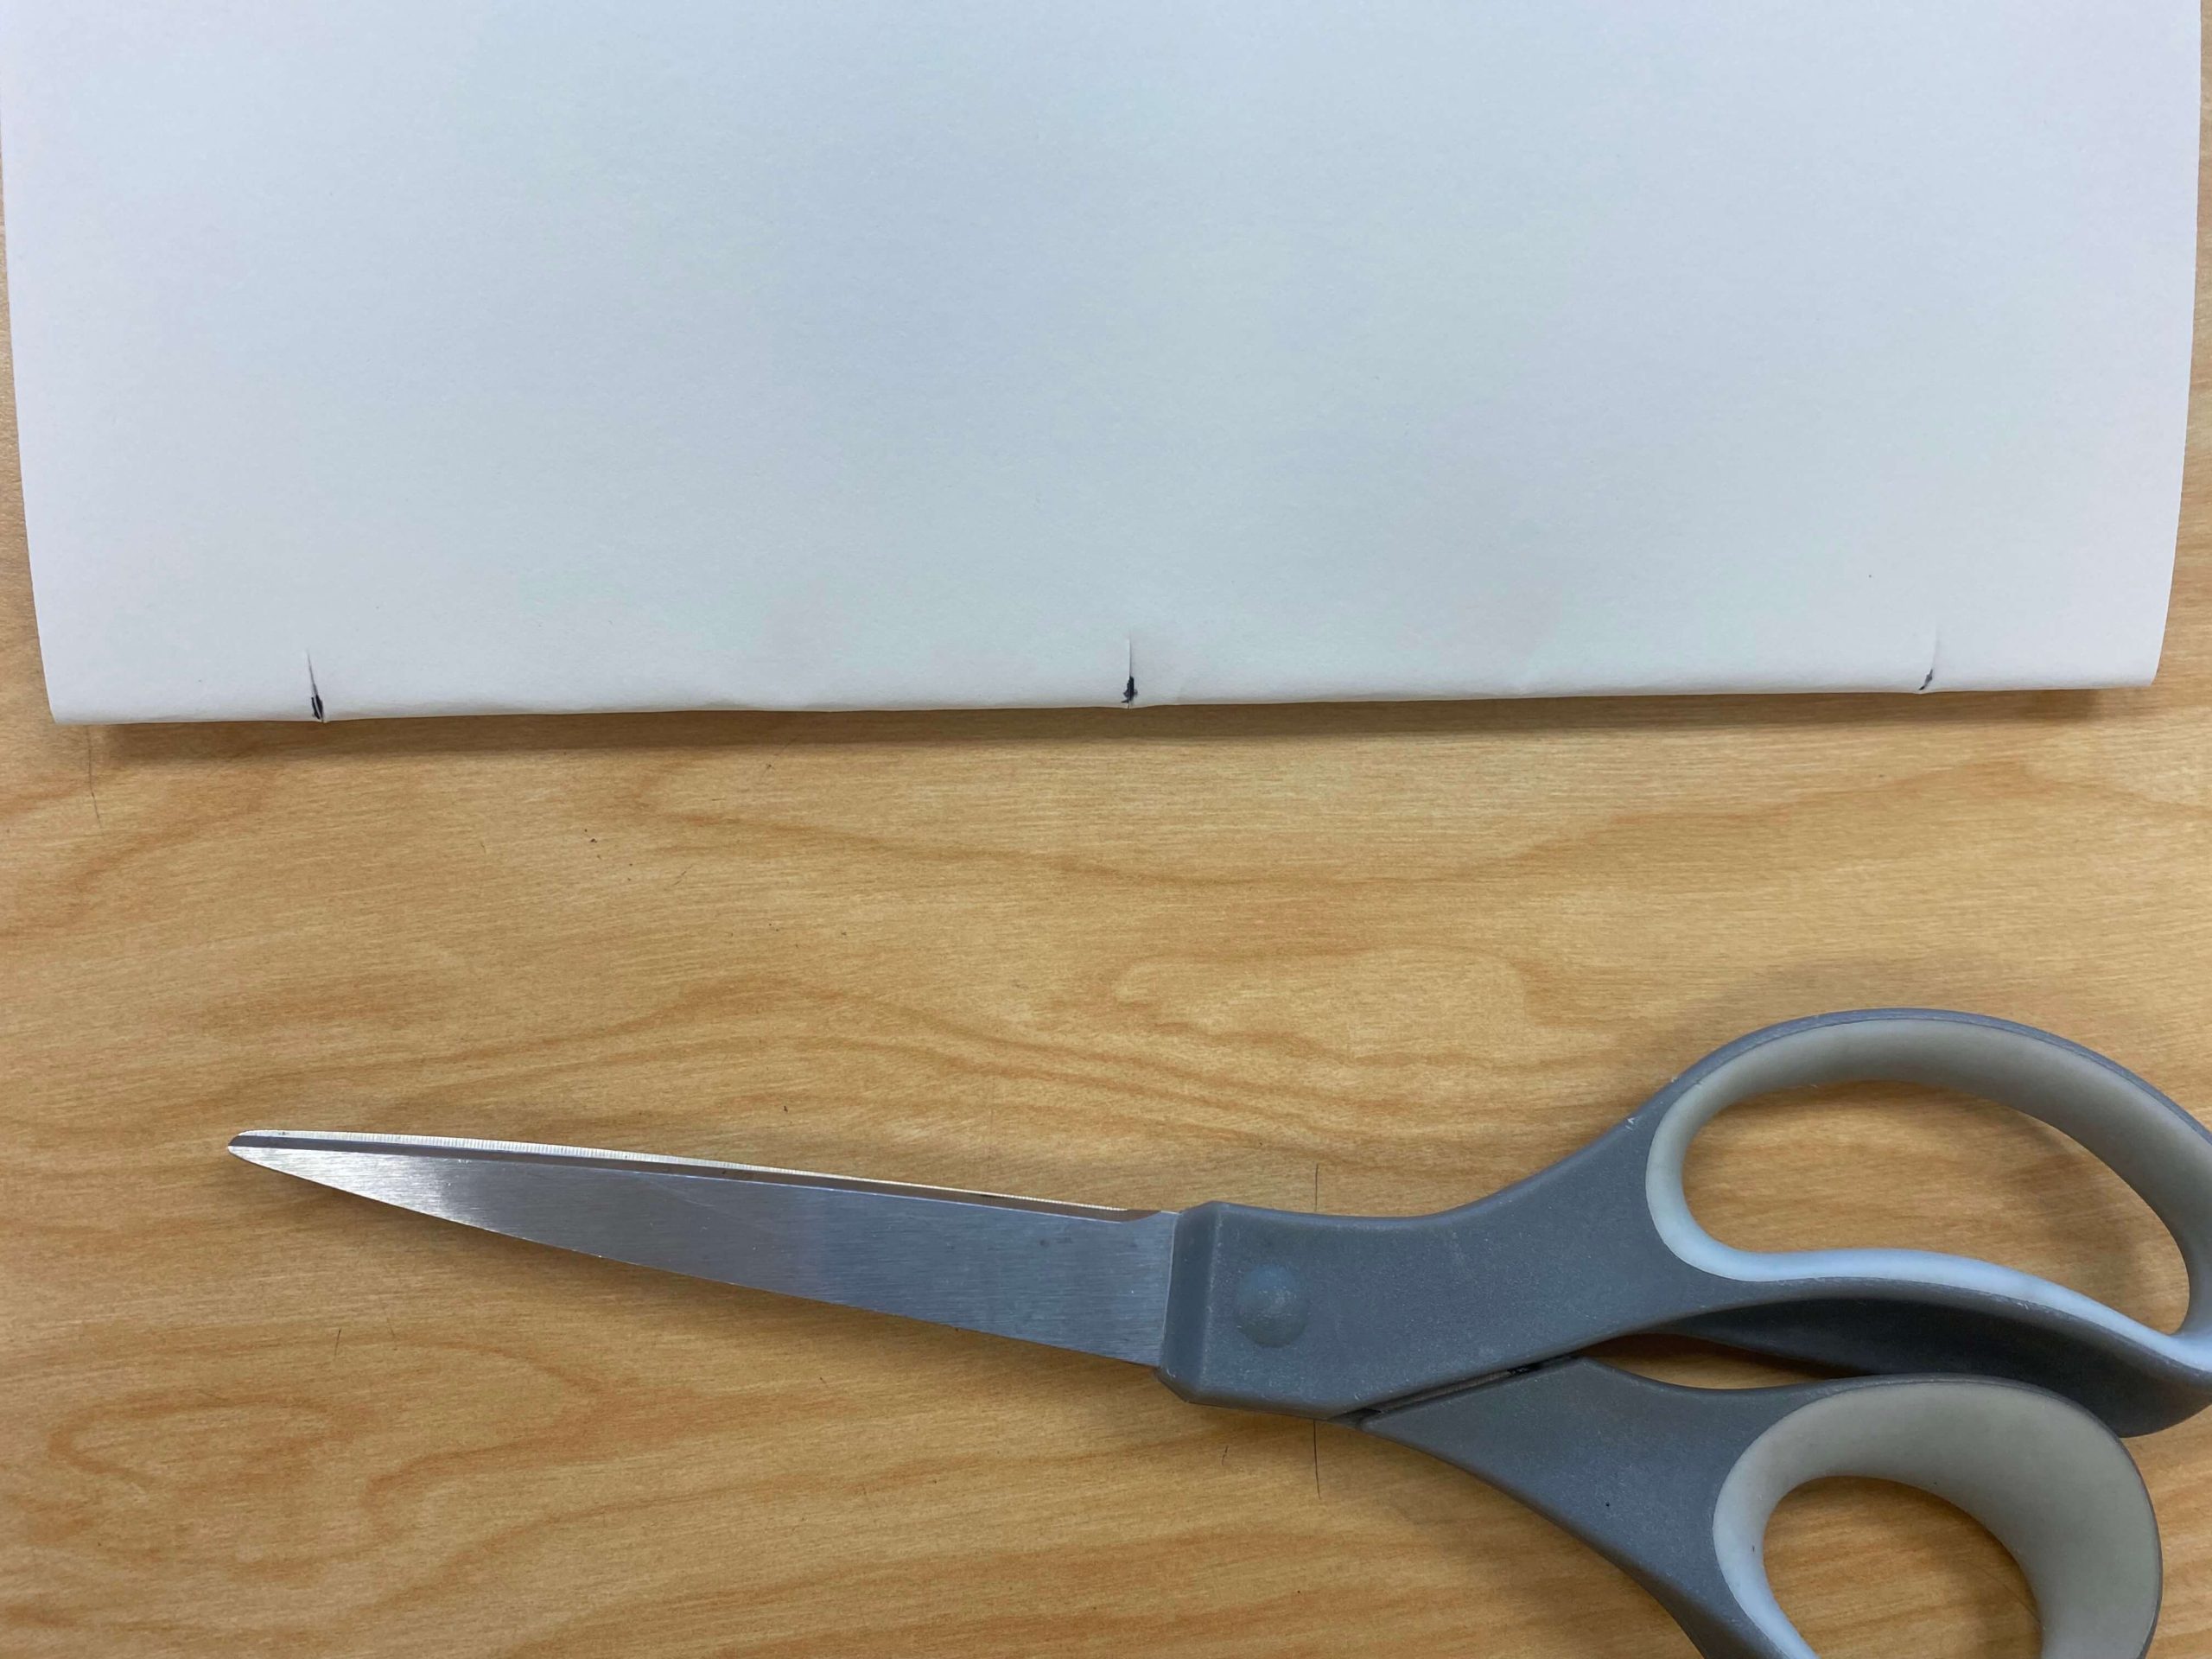
- Cut along those lines to form little slits.
- Separate the top page (cover) from the rest of the pages.
- Cut a thin line between the two slits. When you open the top page, it will look like you’ve cut out a small rectangle.
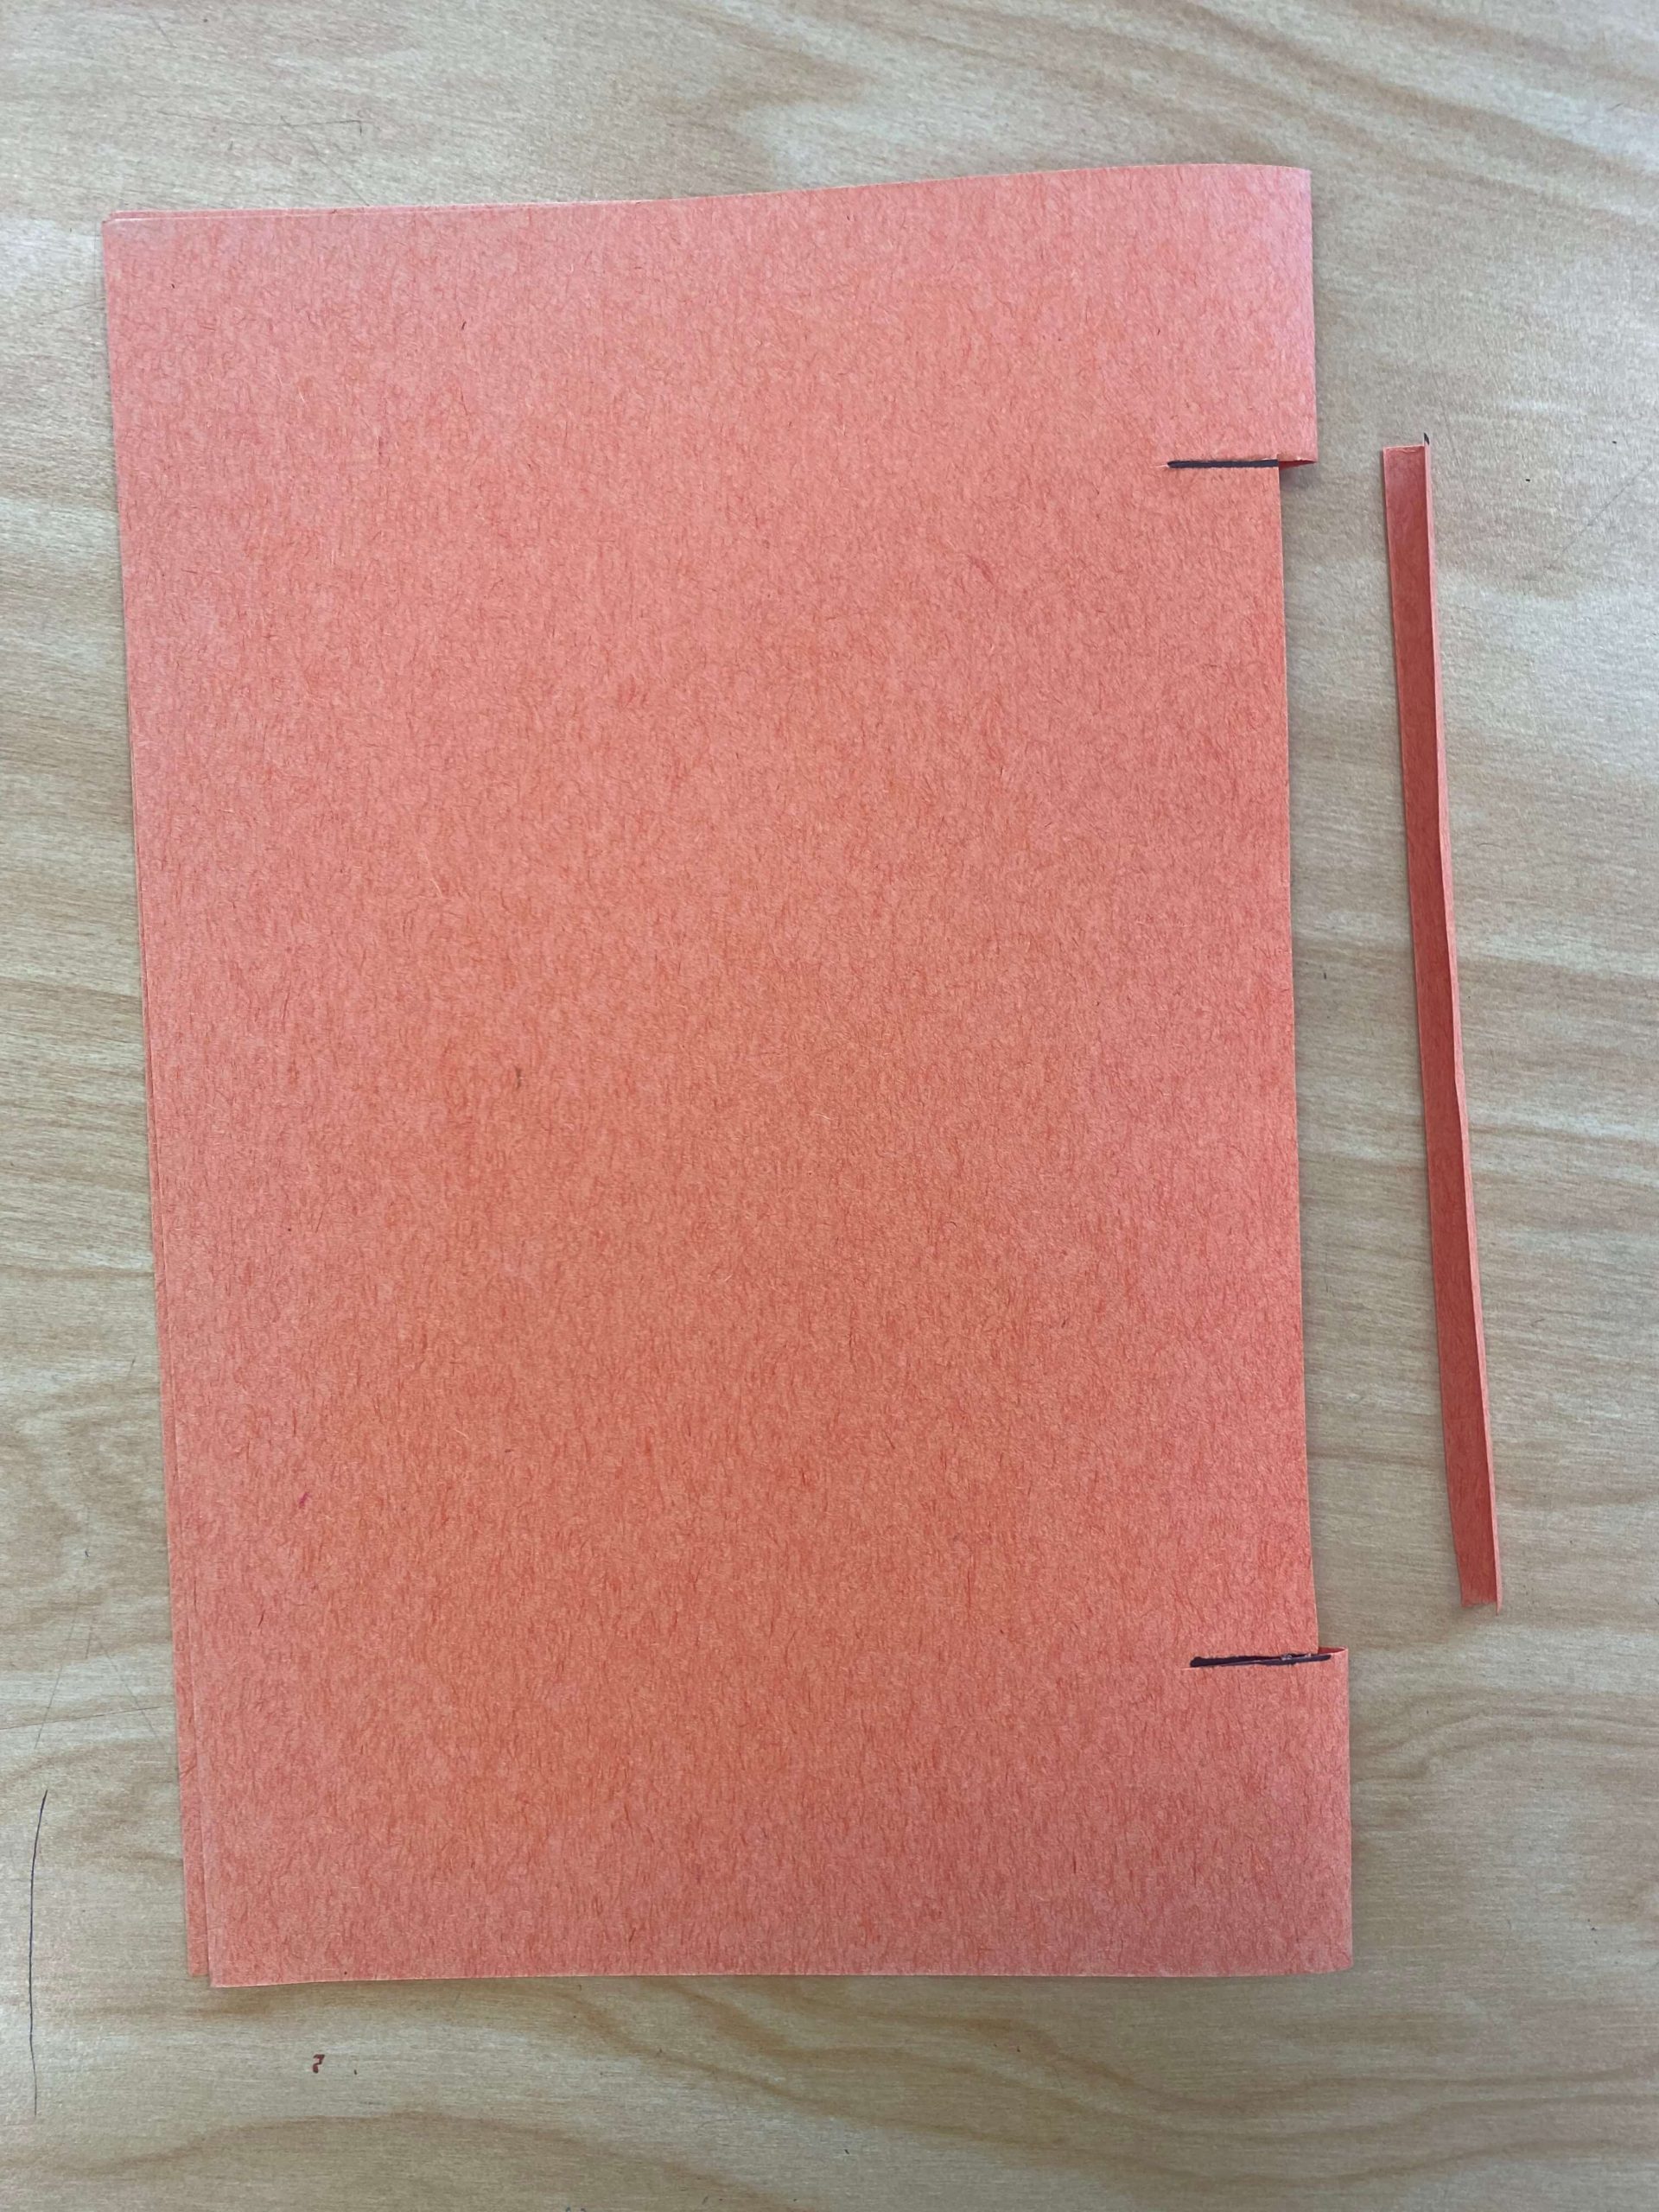
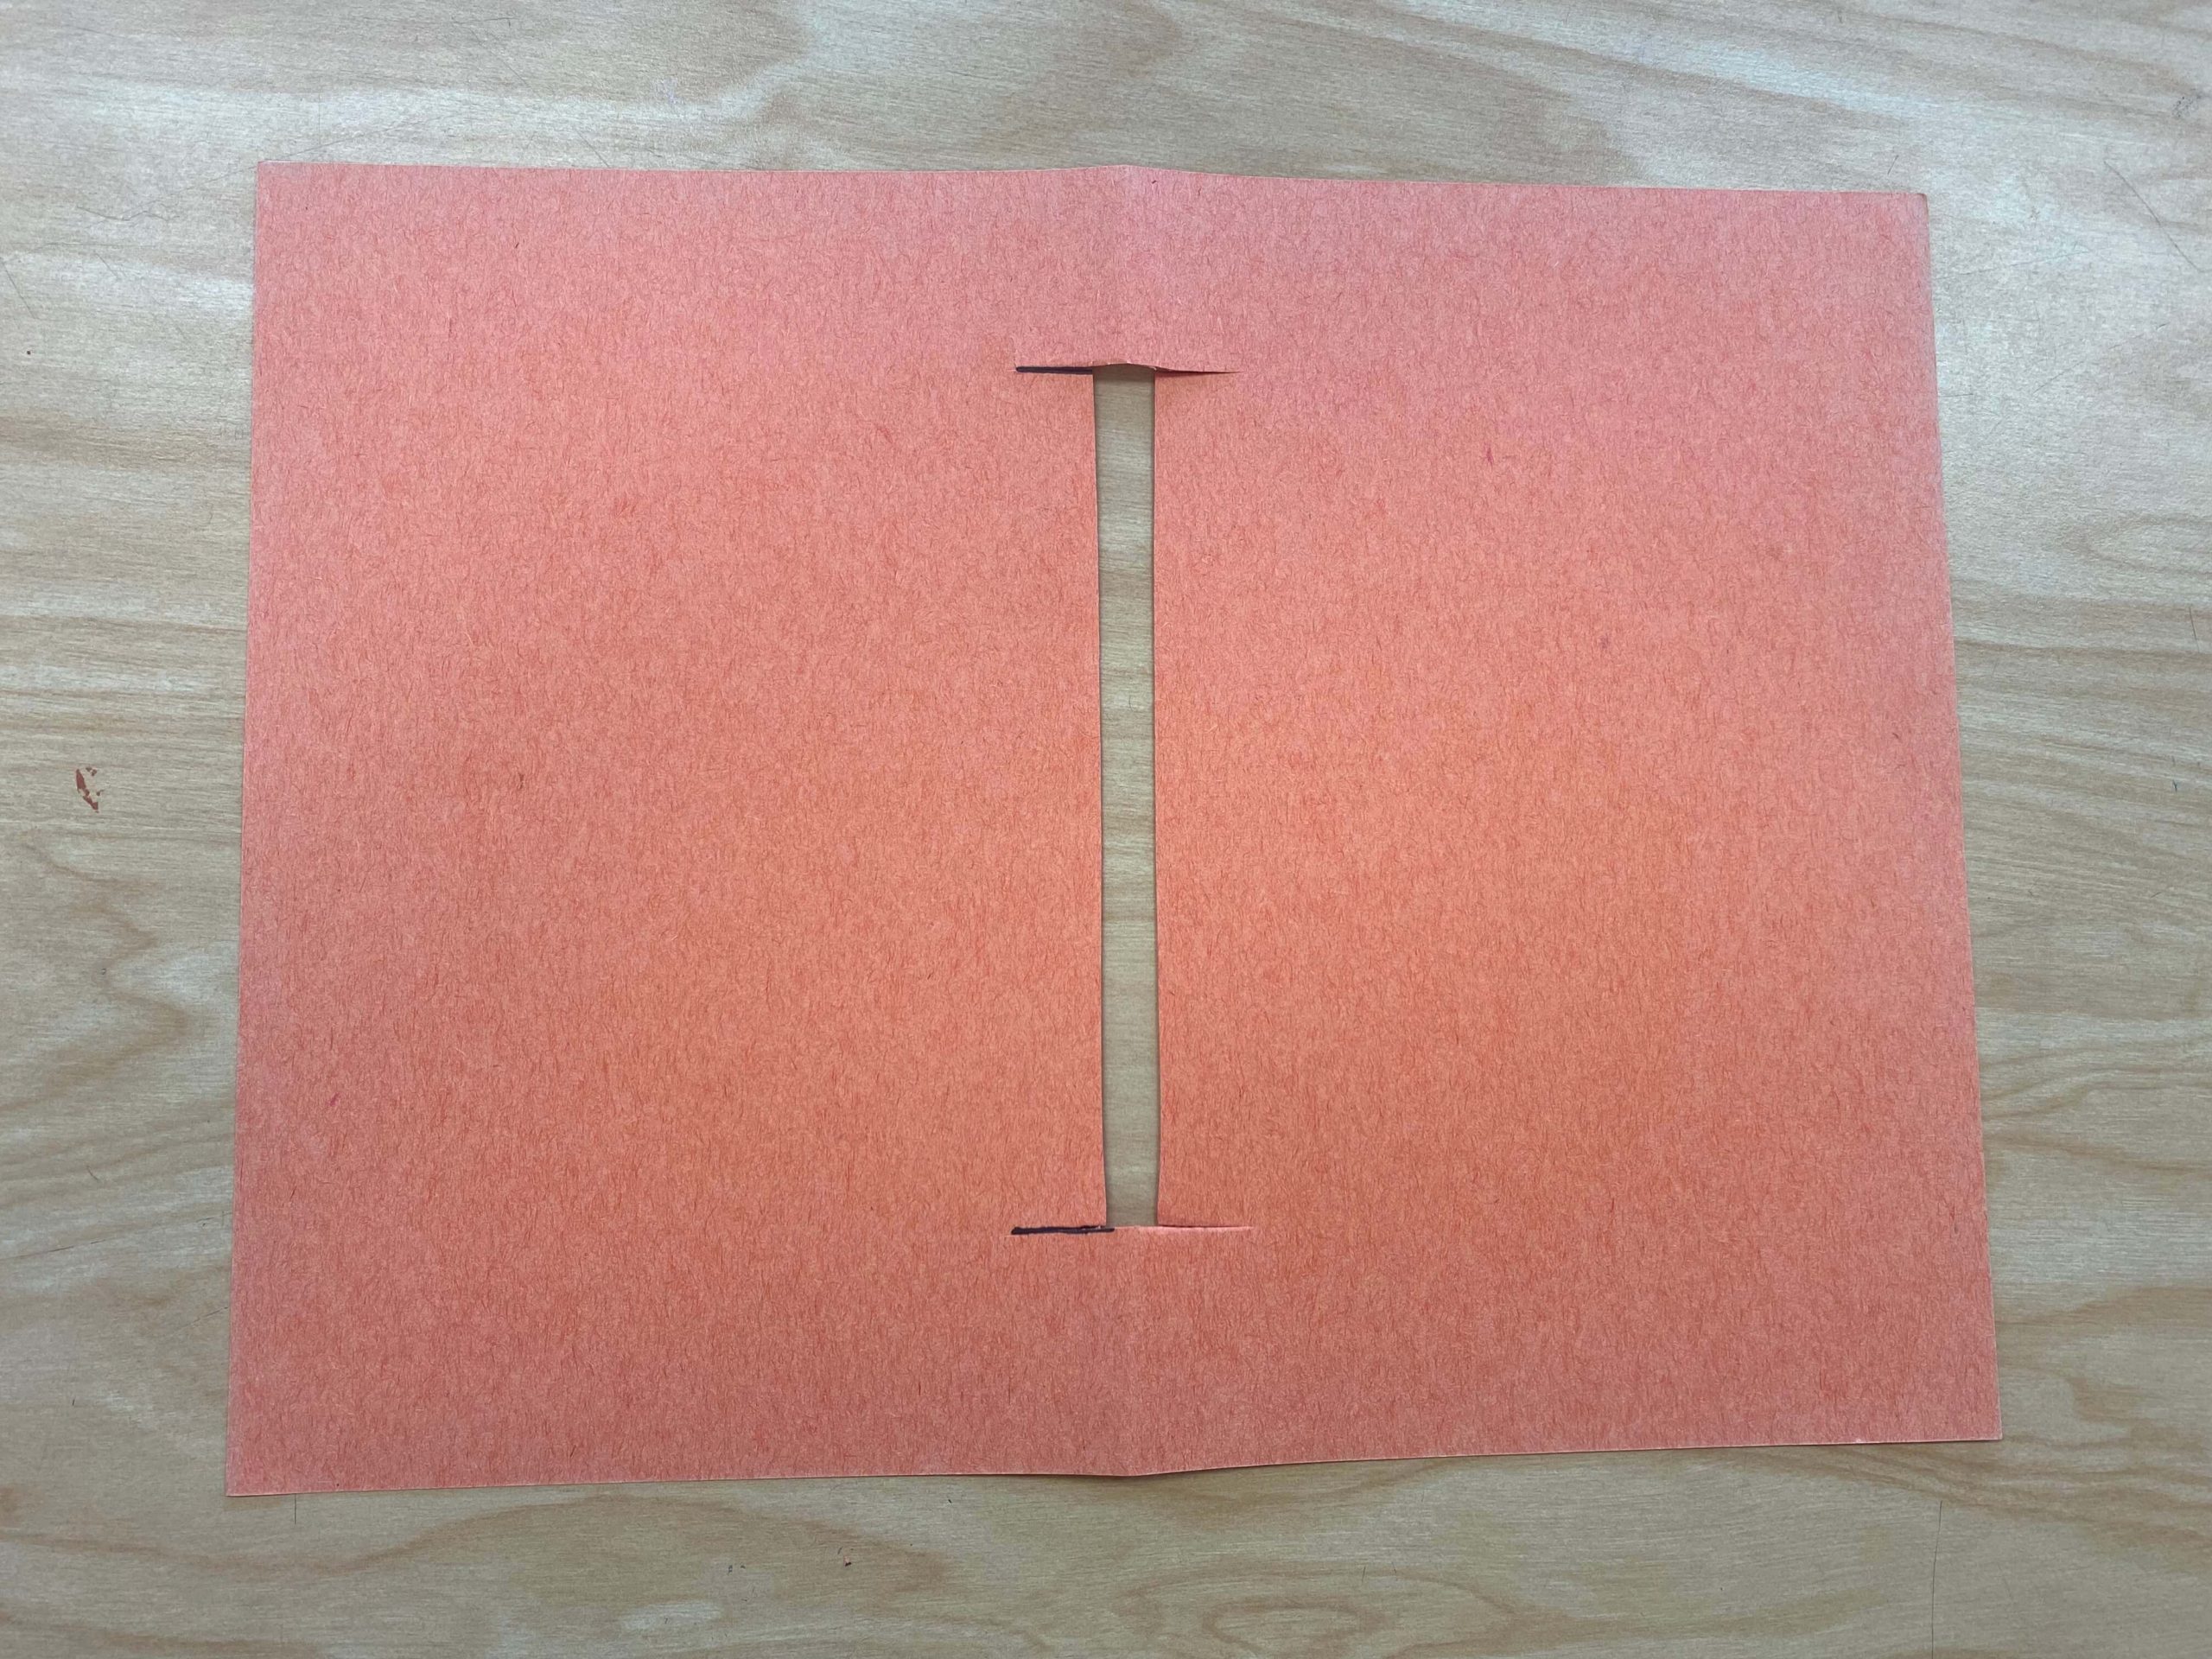
(Insert Photo 9) (Insert Photo 10) (Insert Photo 11)
- Set the top page aside.
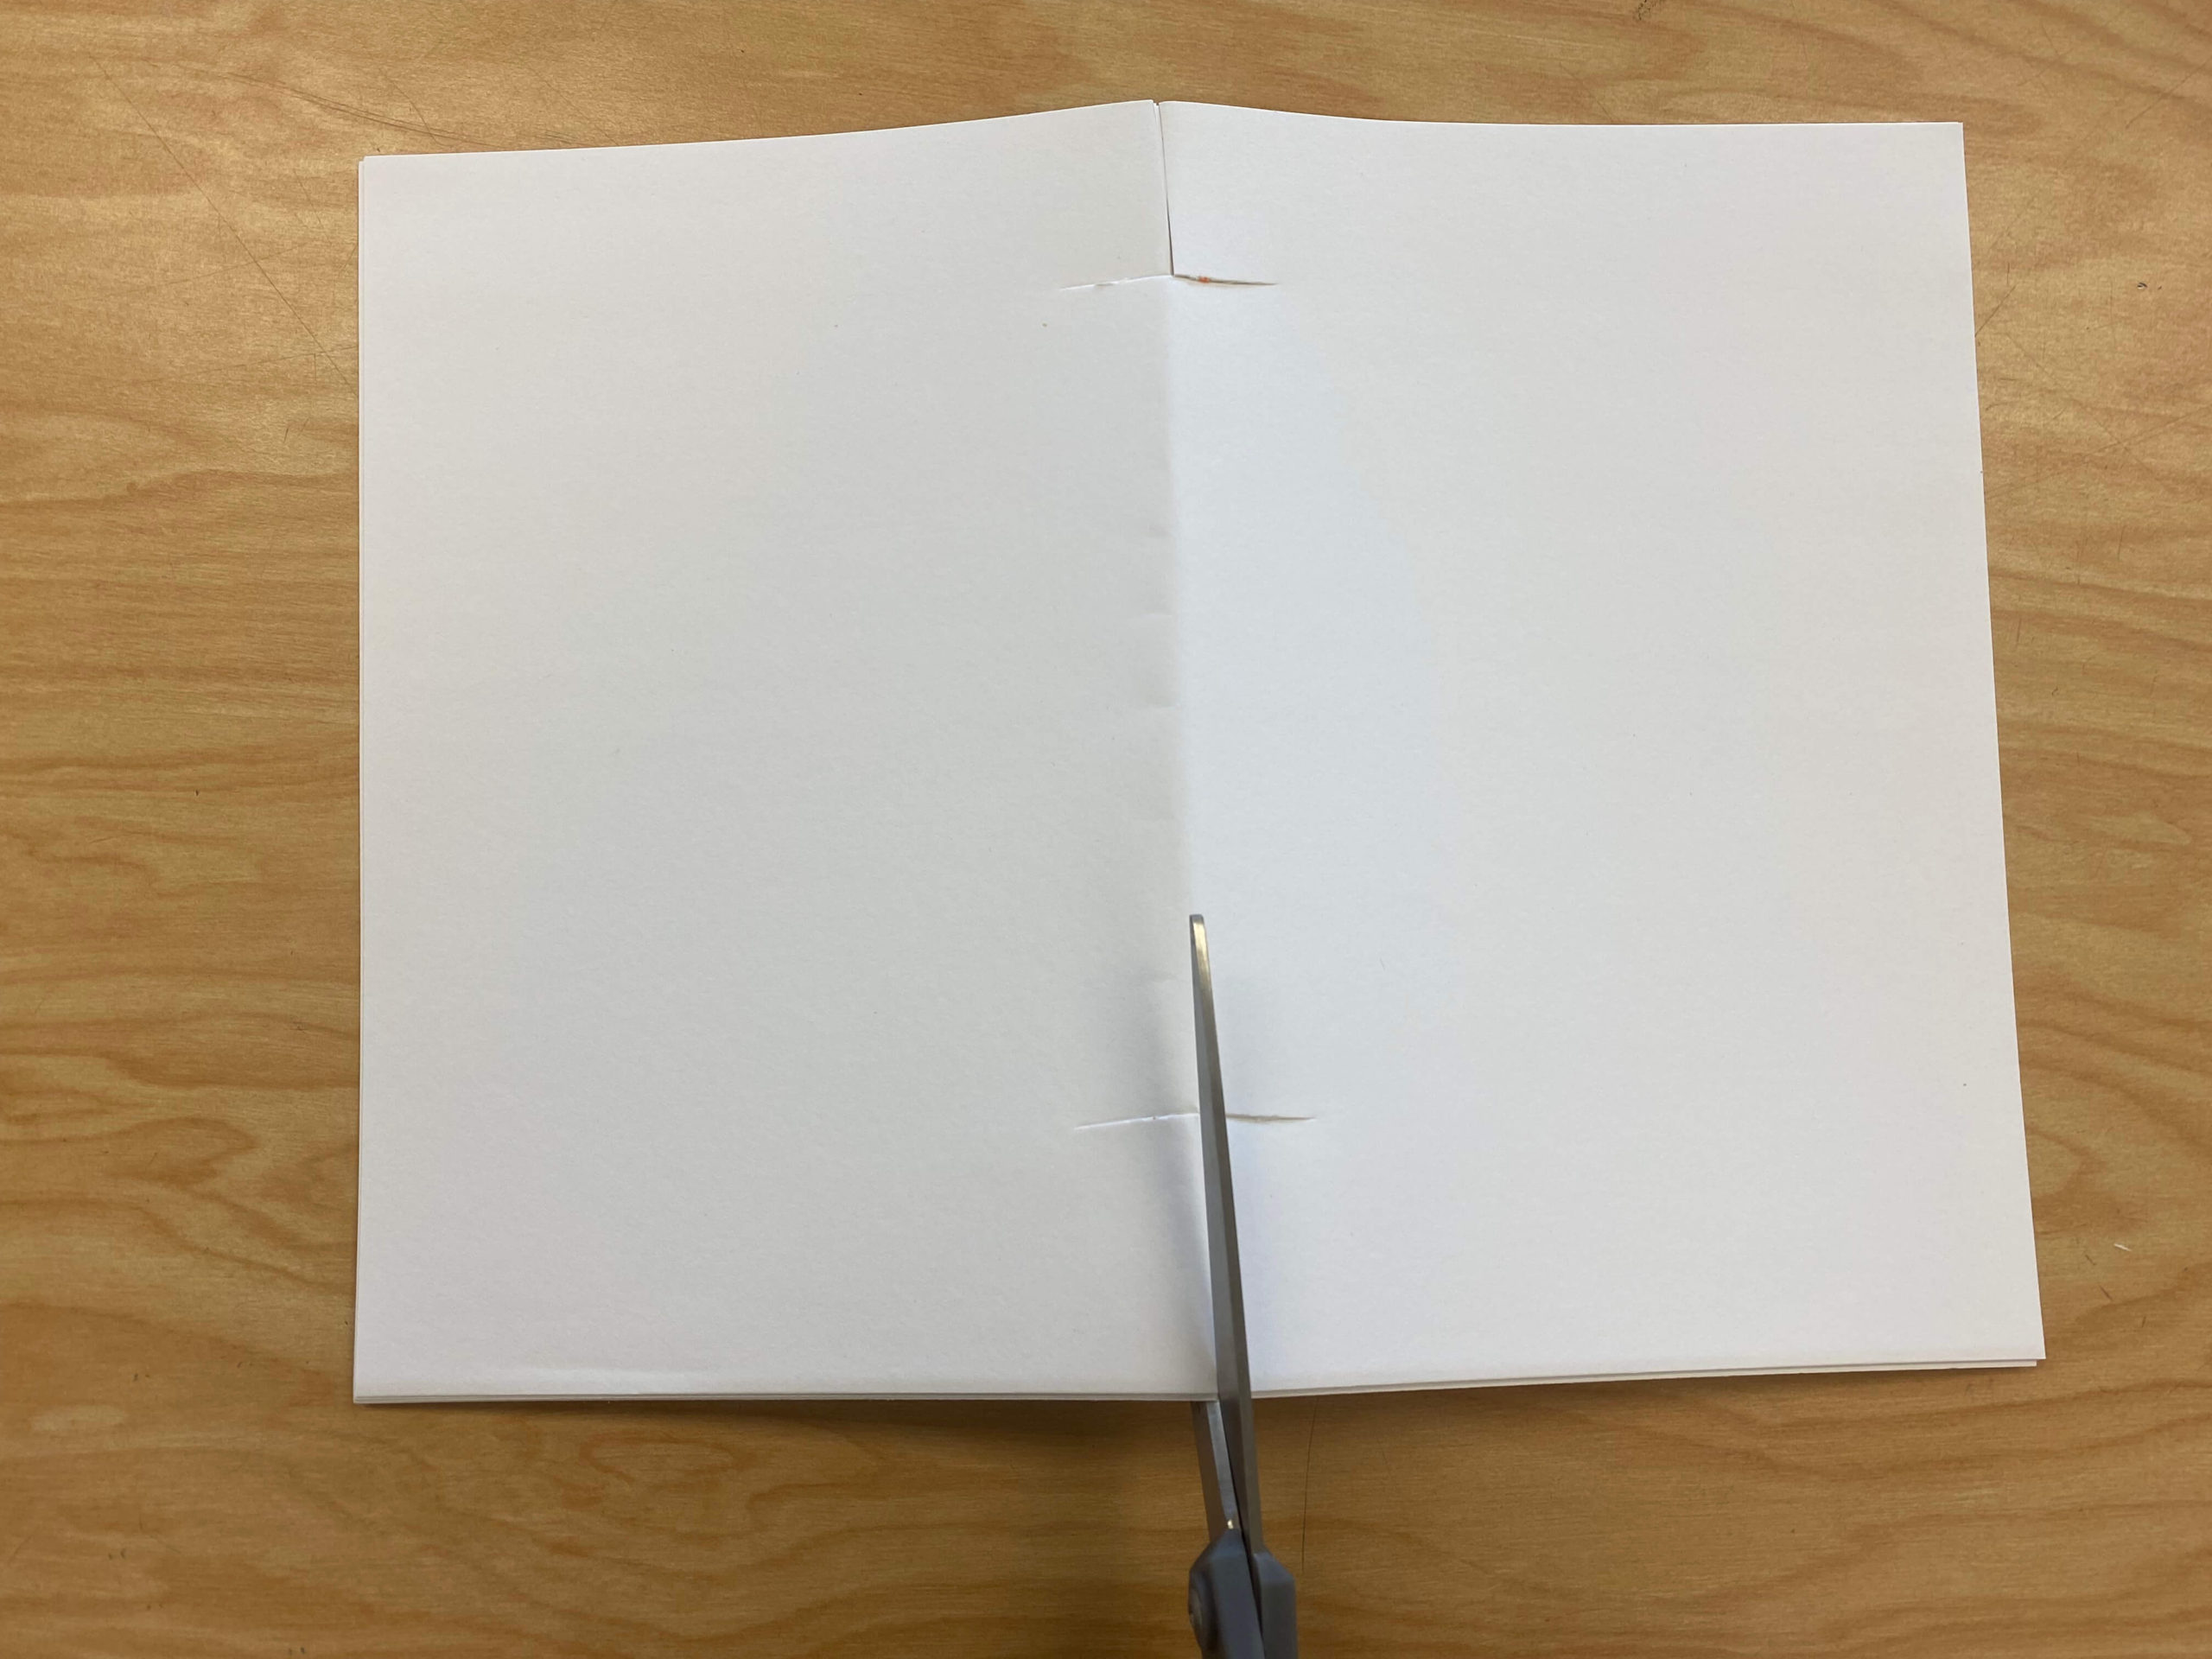
- Open the remaining pages so the fold in the paper is facing you.
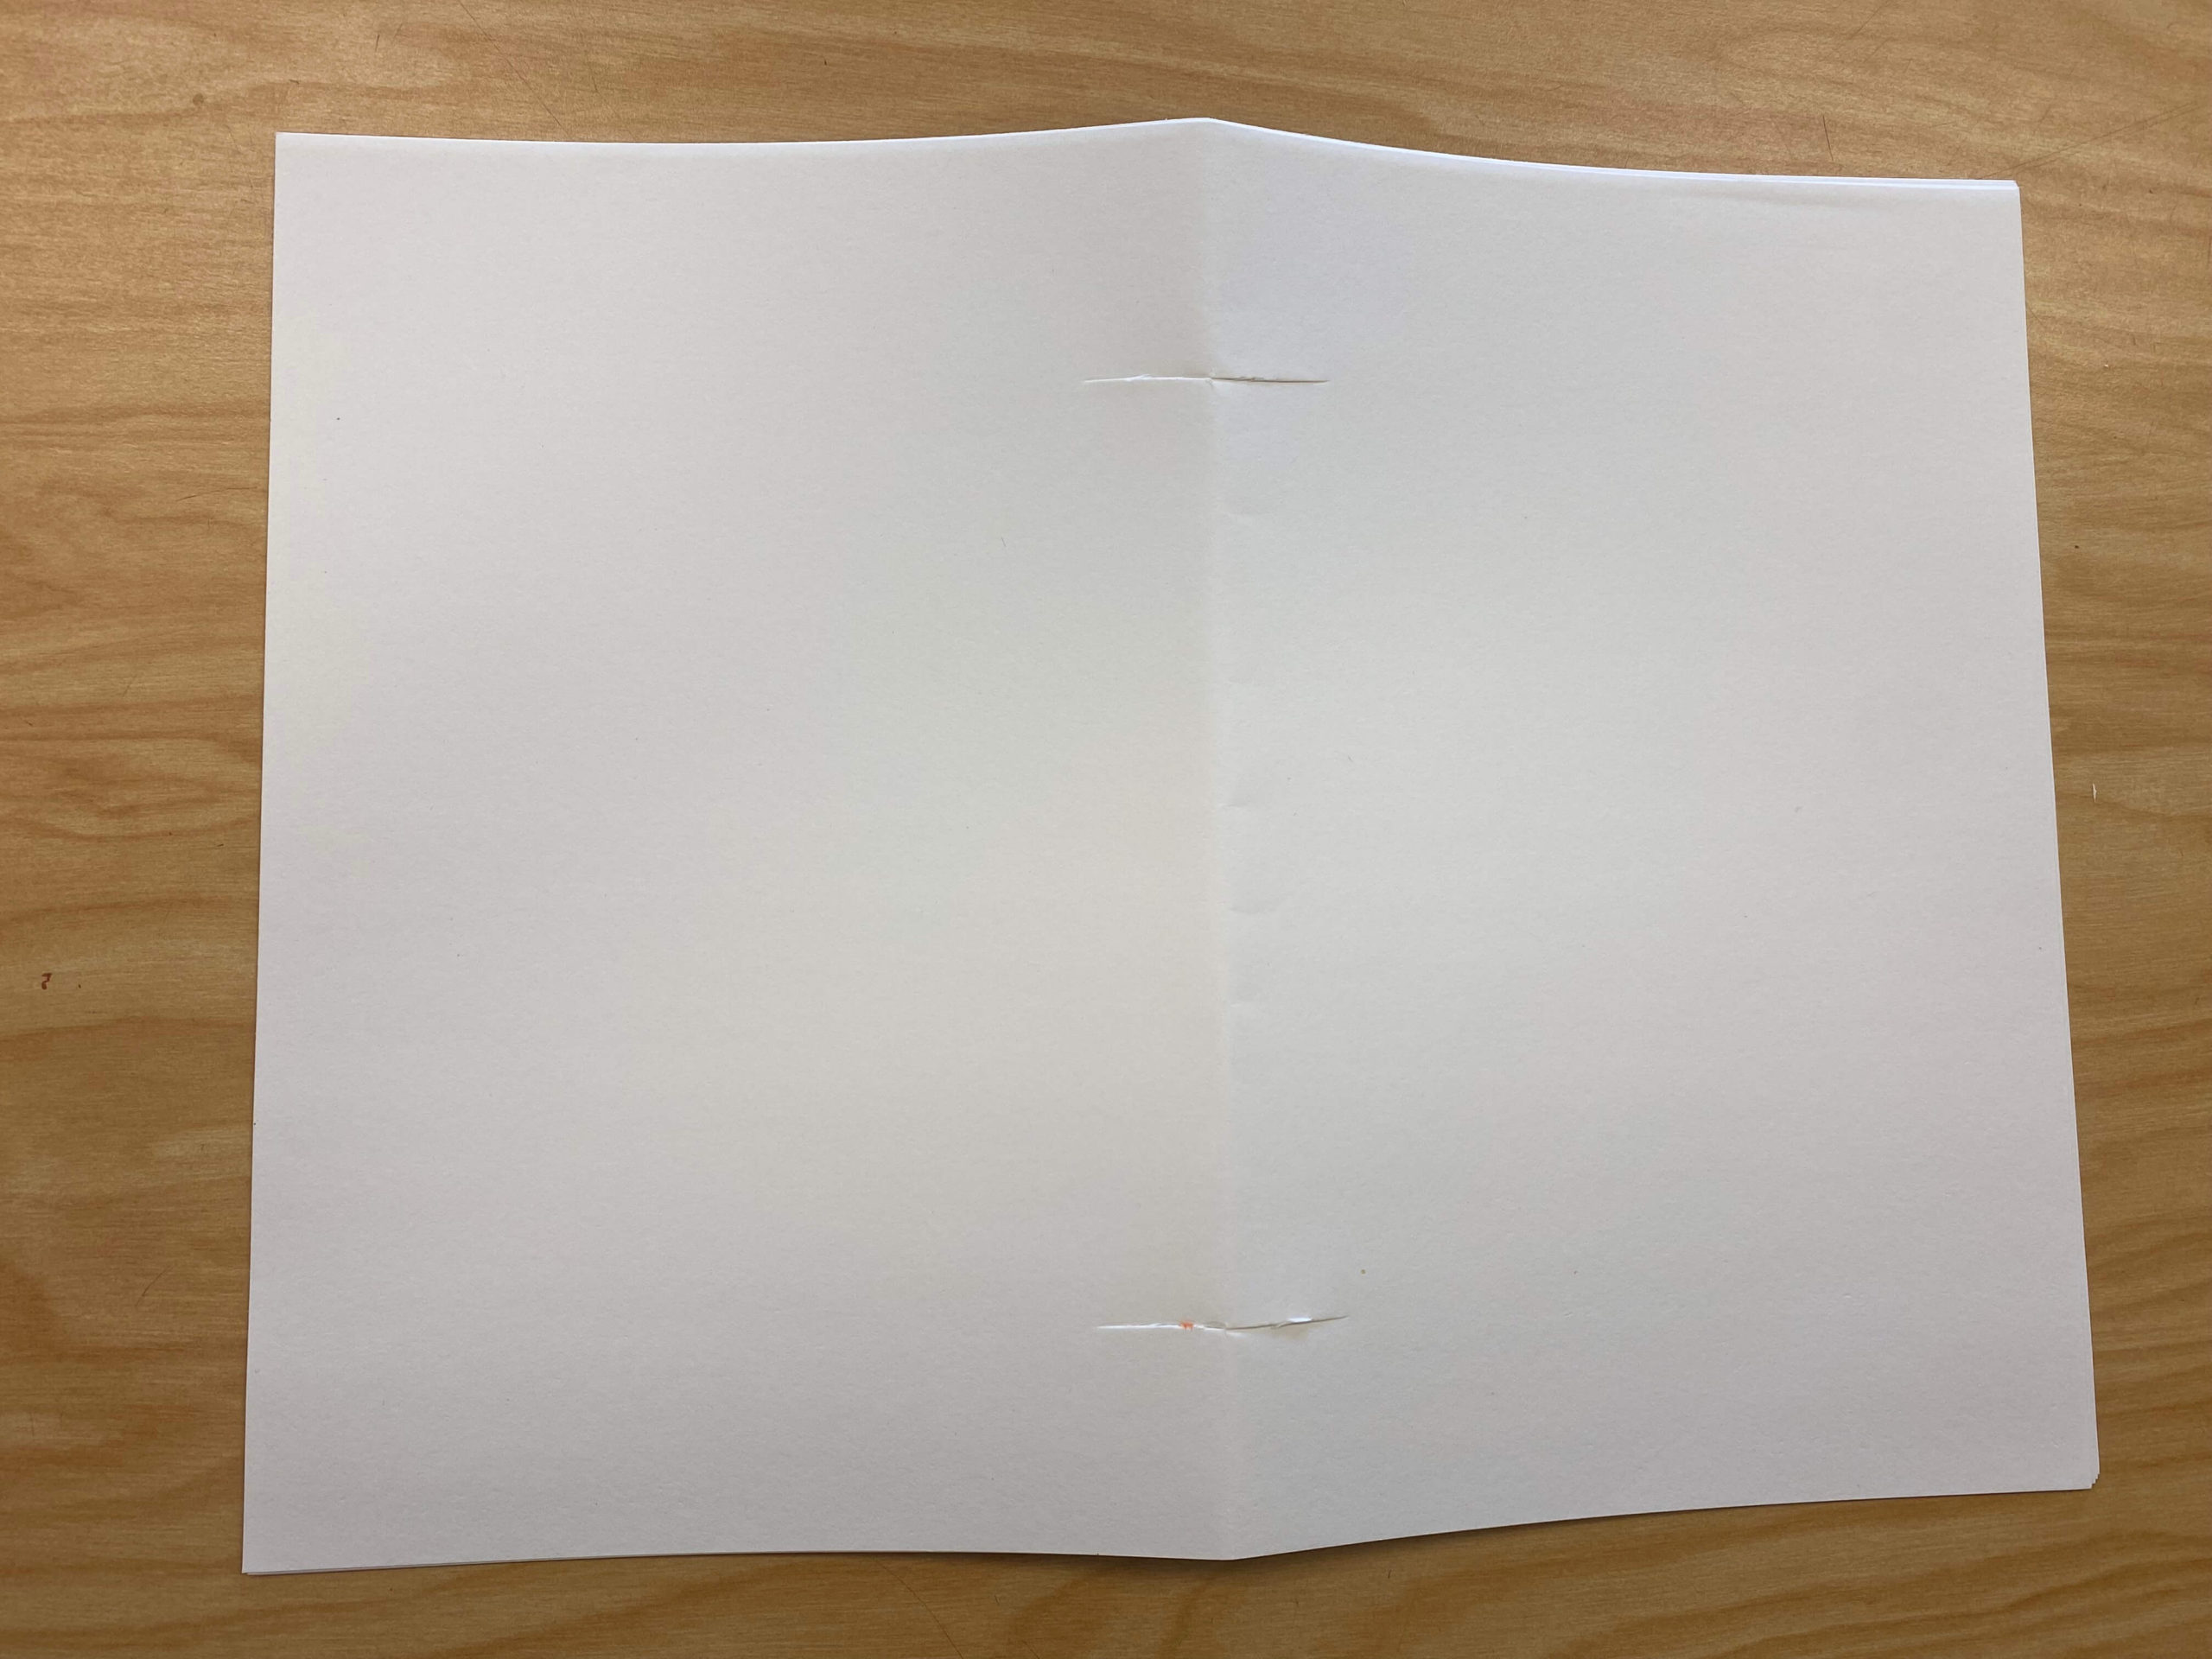
- On the top and bottom of that fold, cut the paper until you reach each slit.
- Roll up the paper like a newspaper.
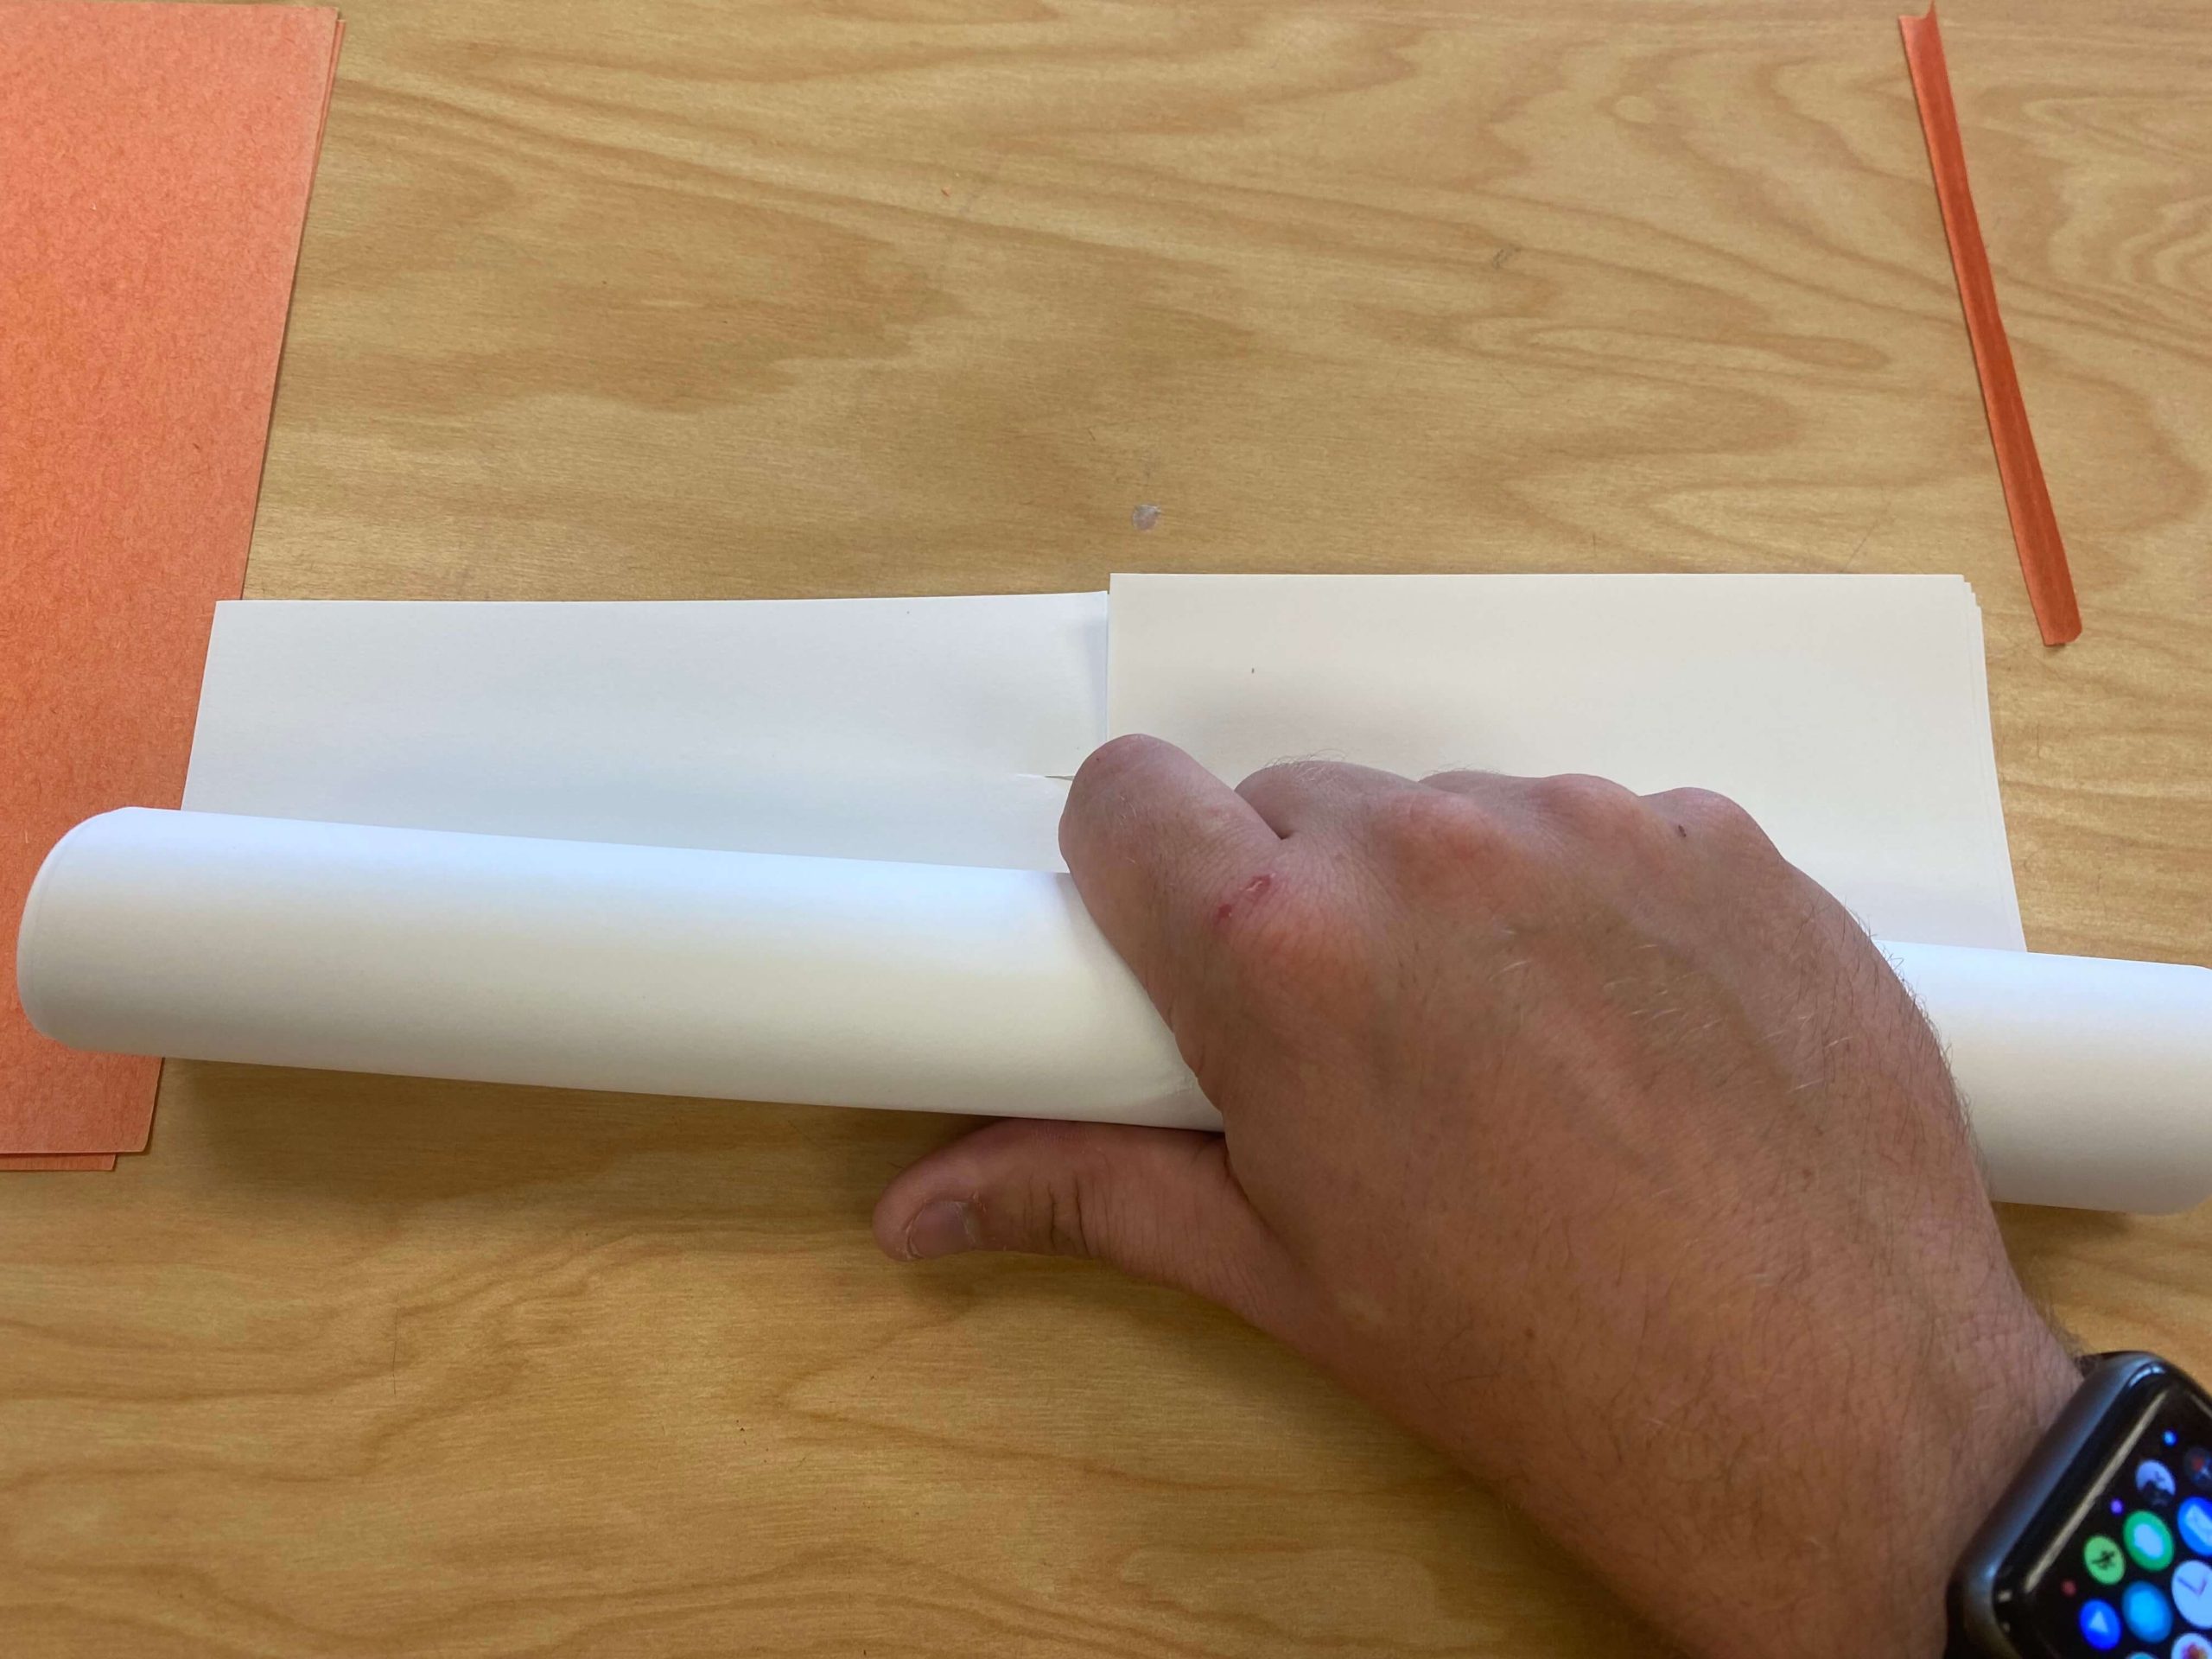
- Slide the roll through the cutout you made in the top page.
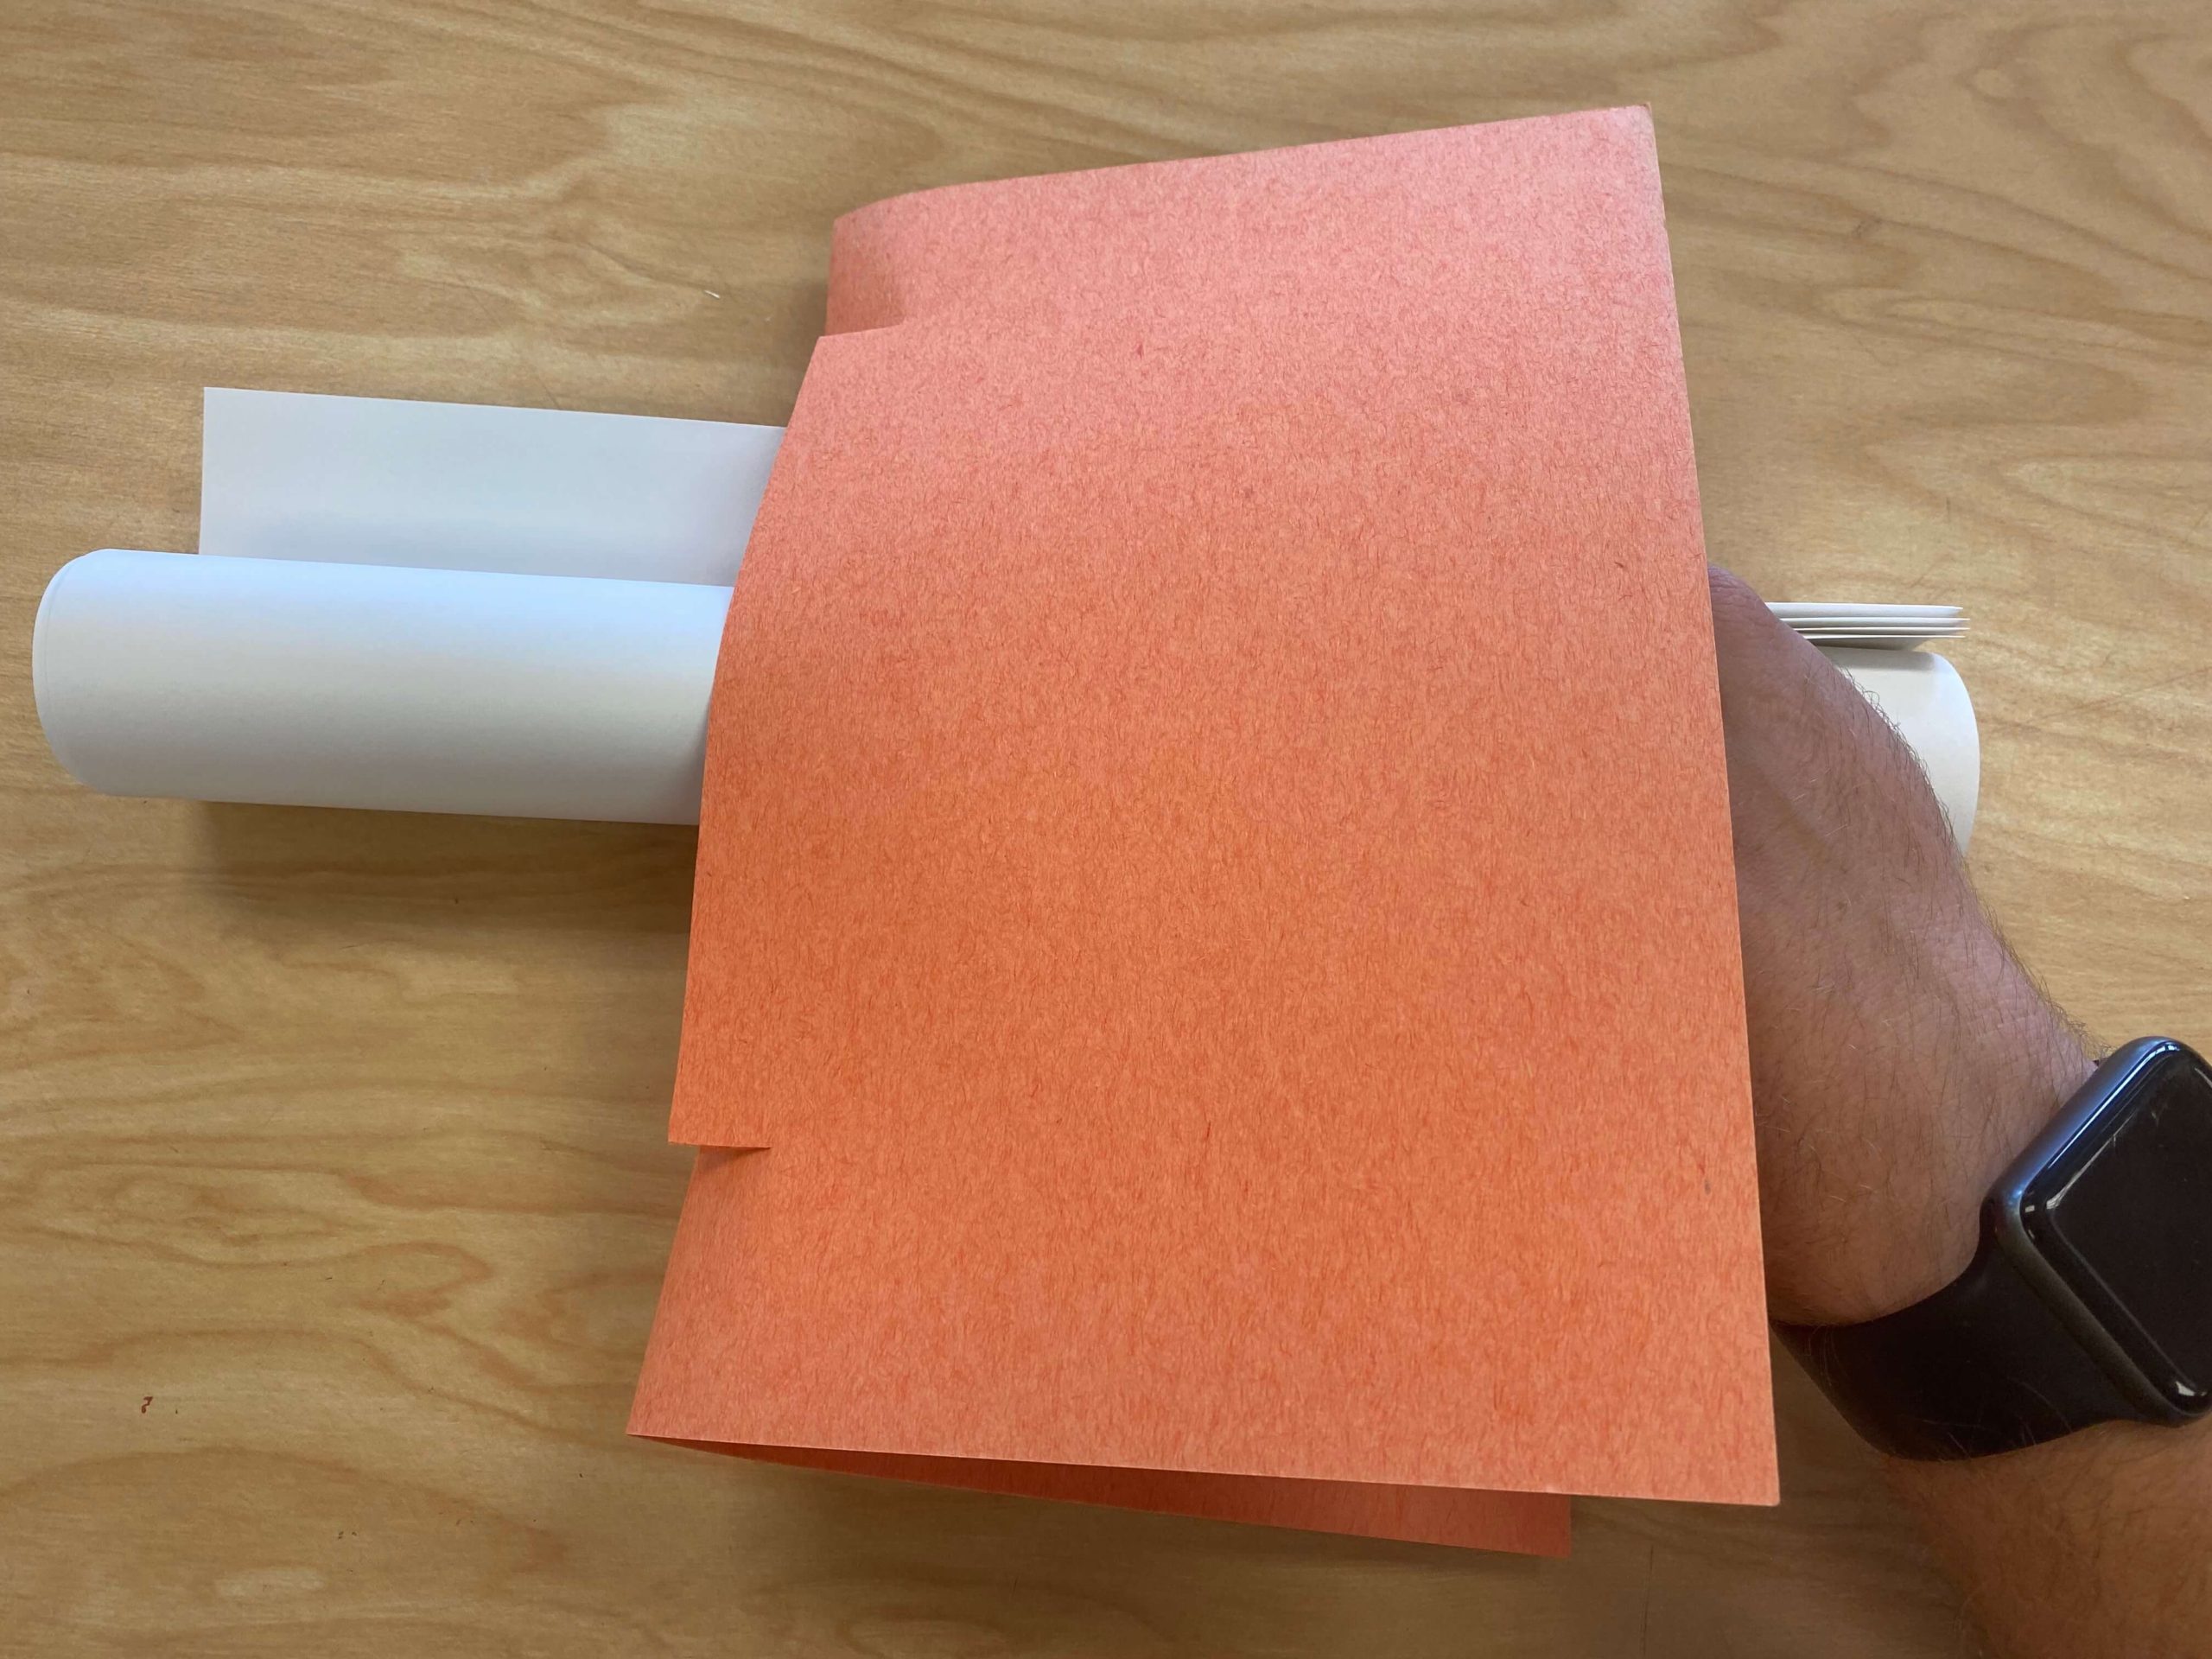
- Carefully unroll the pages.
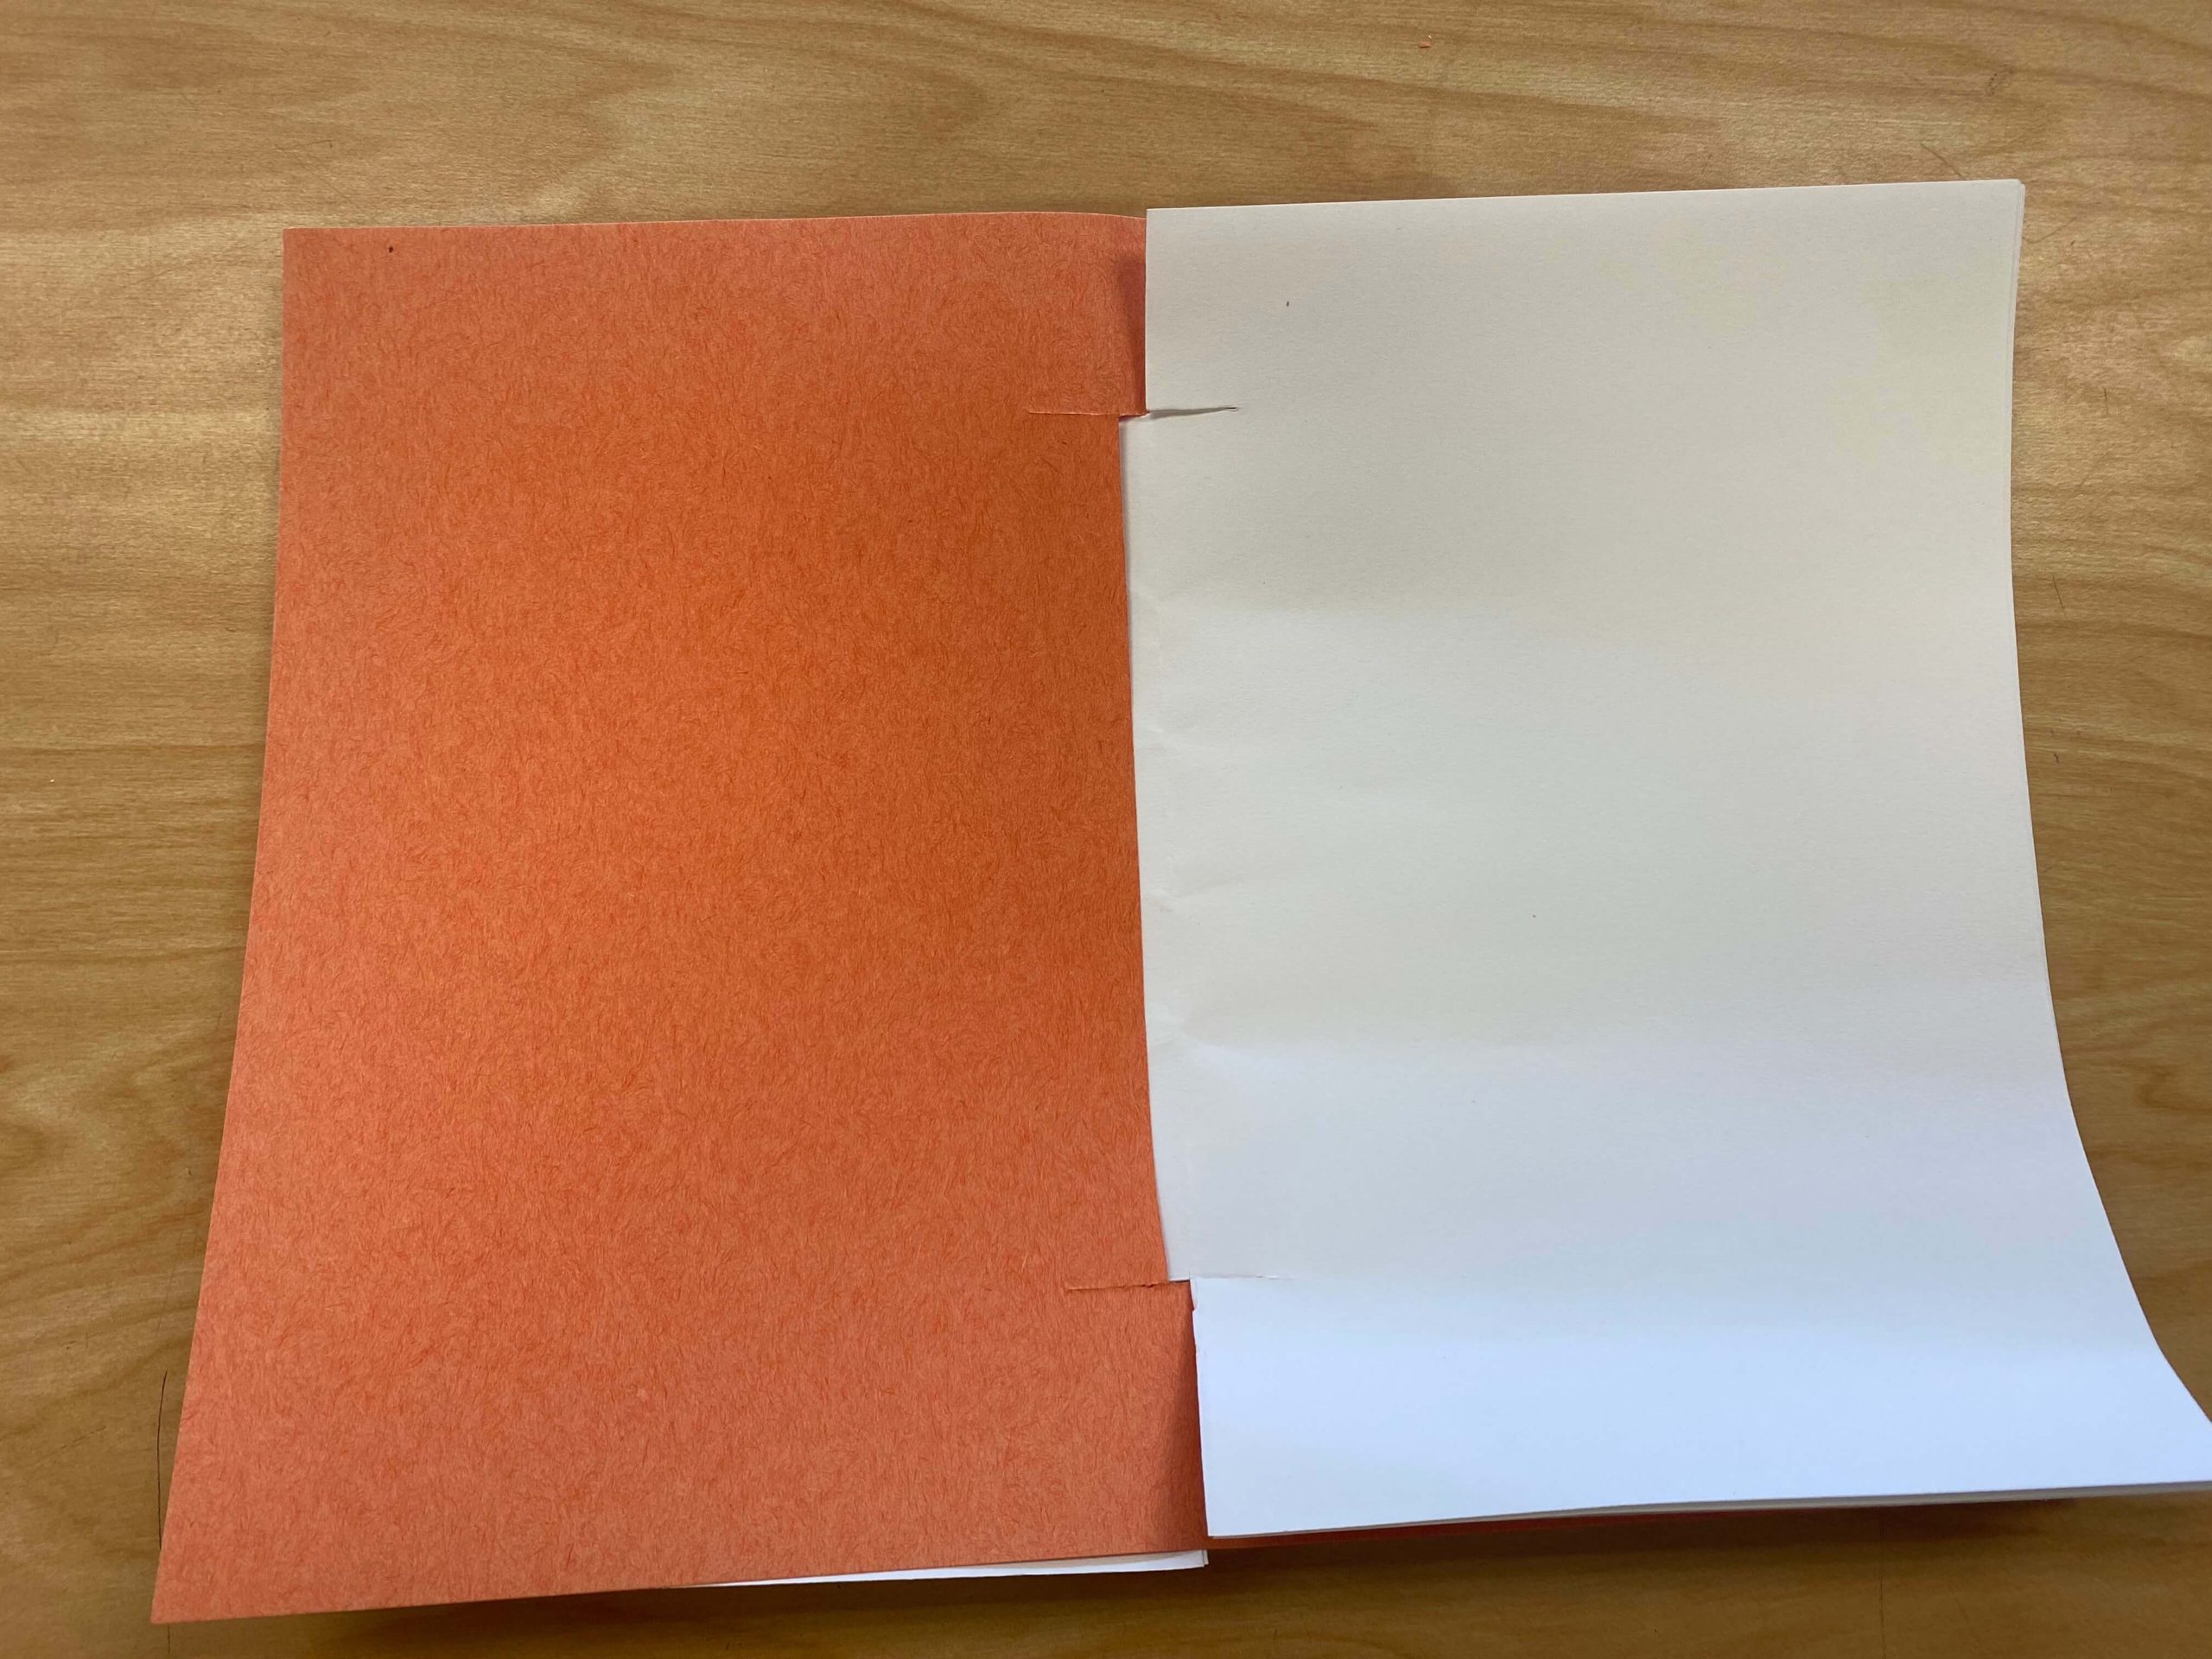
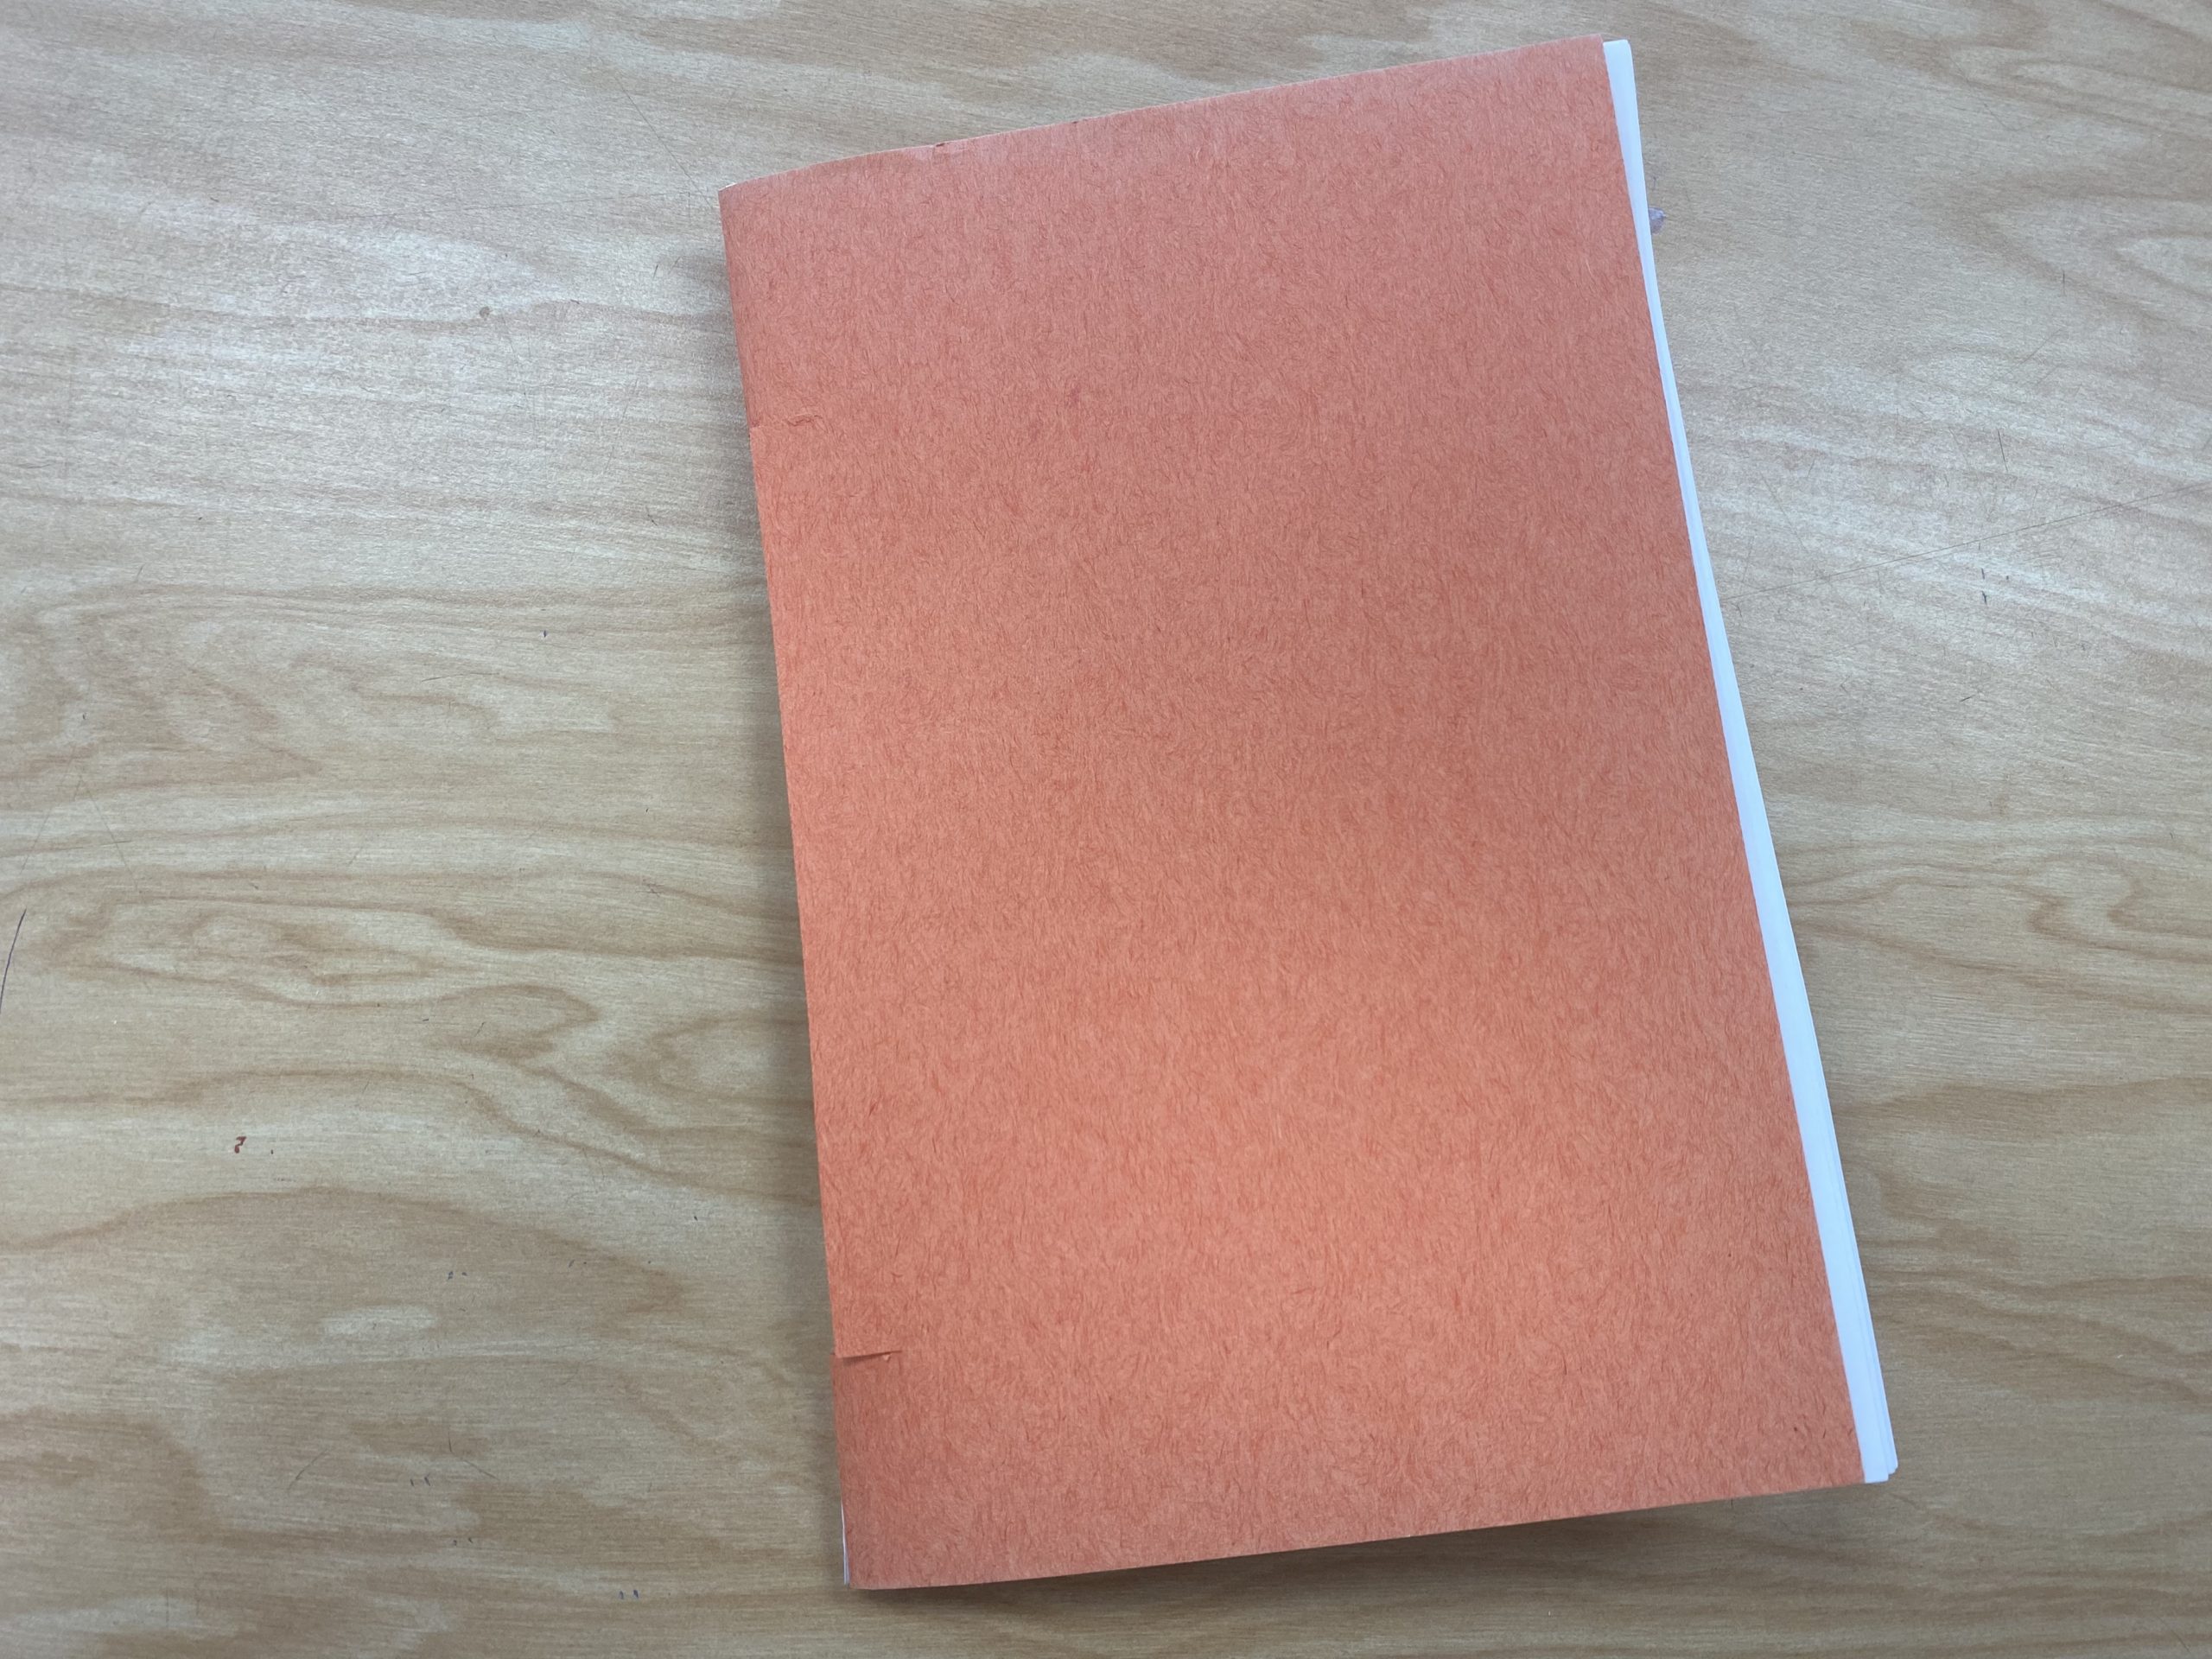
- Voila! You have a sketchbook!
![]()
Book 3: Sewn Pamphlet Sketchbook
Supplies:
- A few sheets of paper
- Scissors
- Yarn
- Marker/Pencil (optional)
Steps:
- Pile the papers together and fold them in half the “hamburger” way.
- Along the folded edge, make a mark in the center and about an inch from the top and bottom.
- Cut little slits at each of those marks. (Note: If your students are more advanced, you can open the book and make the marks along the centerfold. Students can then use a blunt needle, awl, or pencil to punch holes through the paper.)
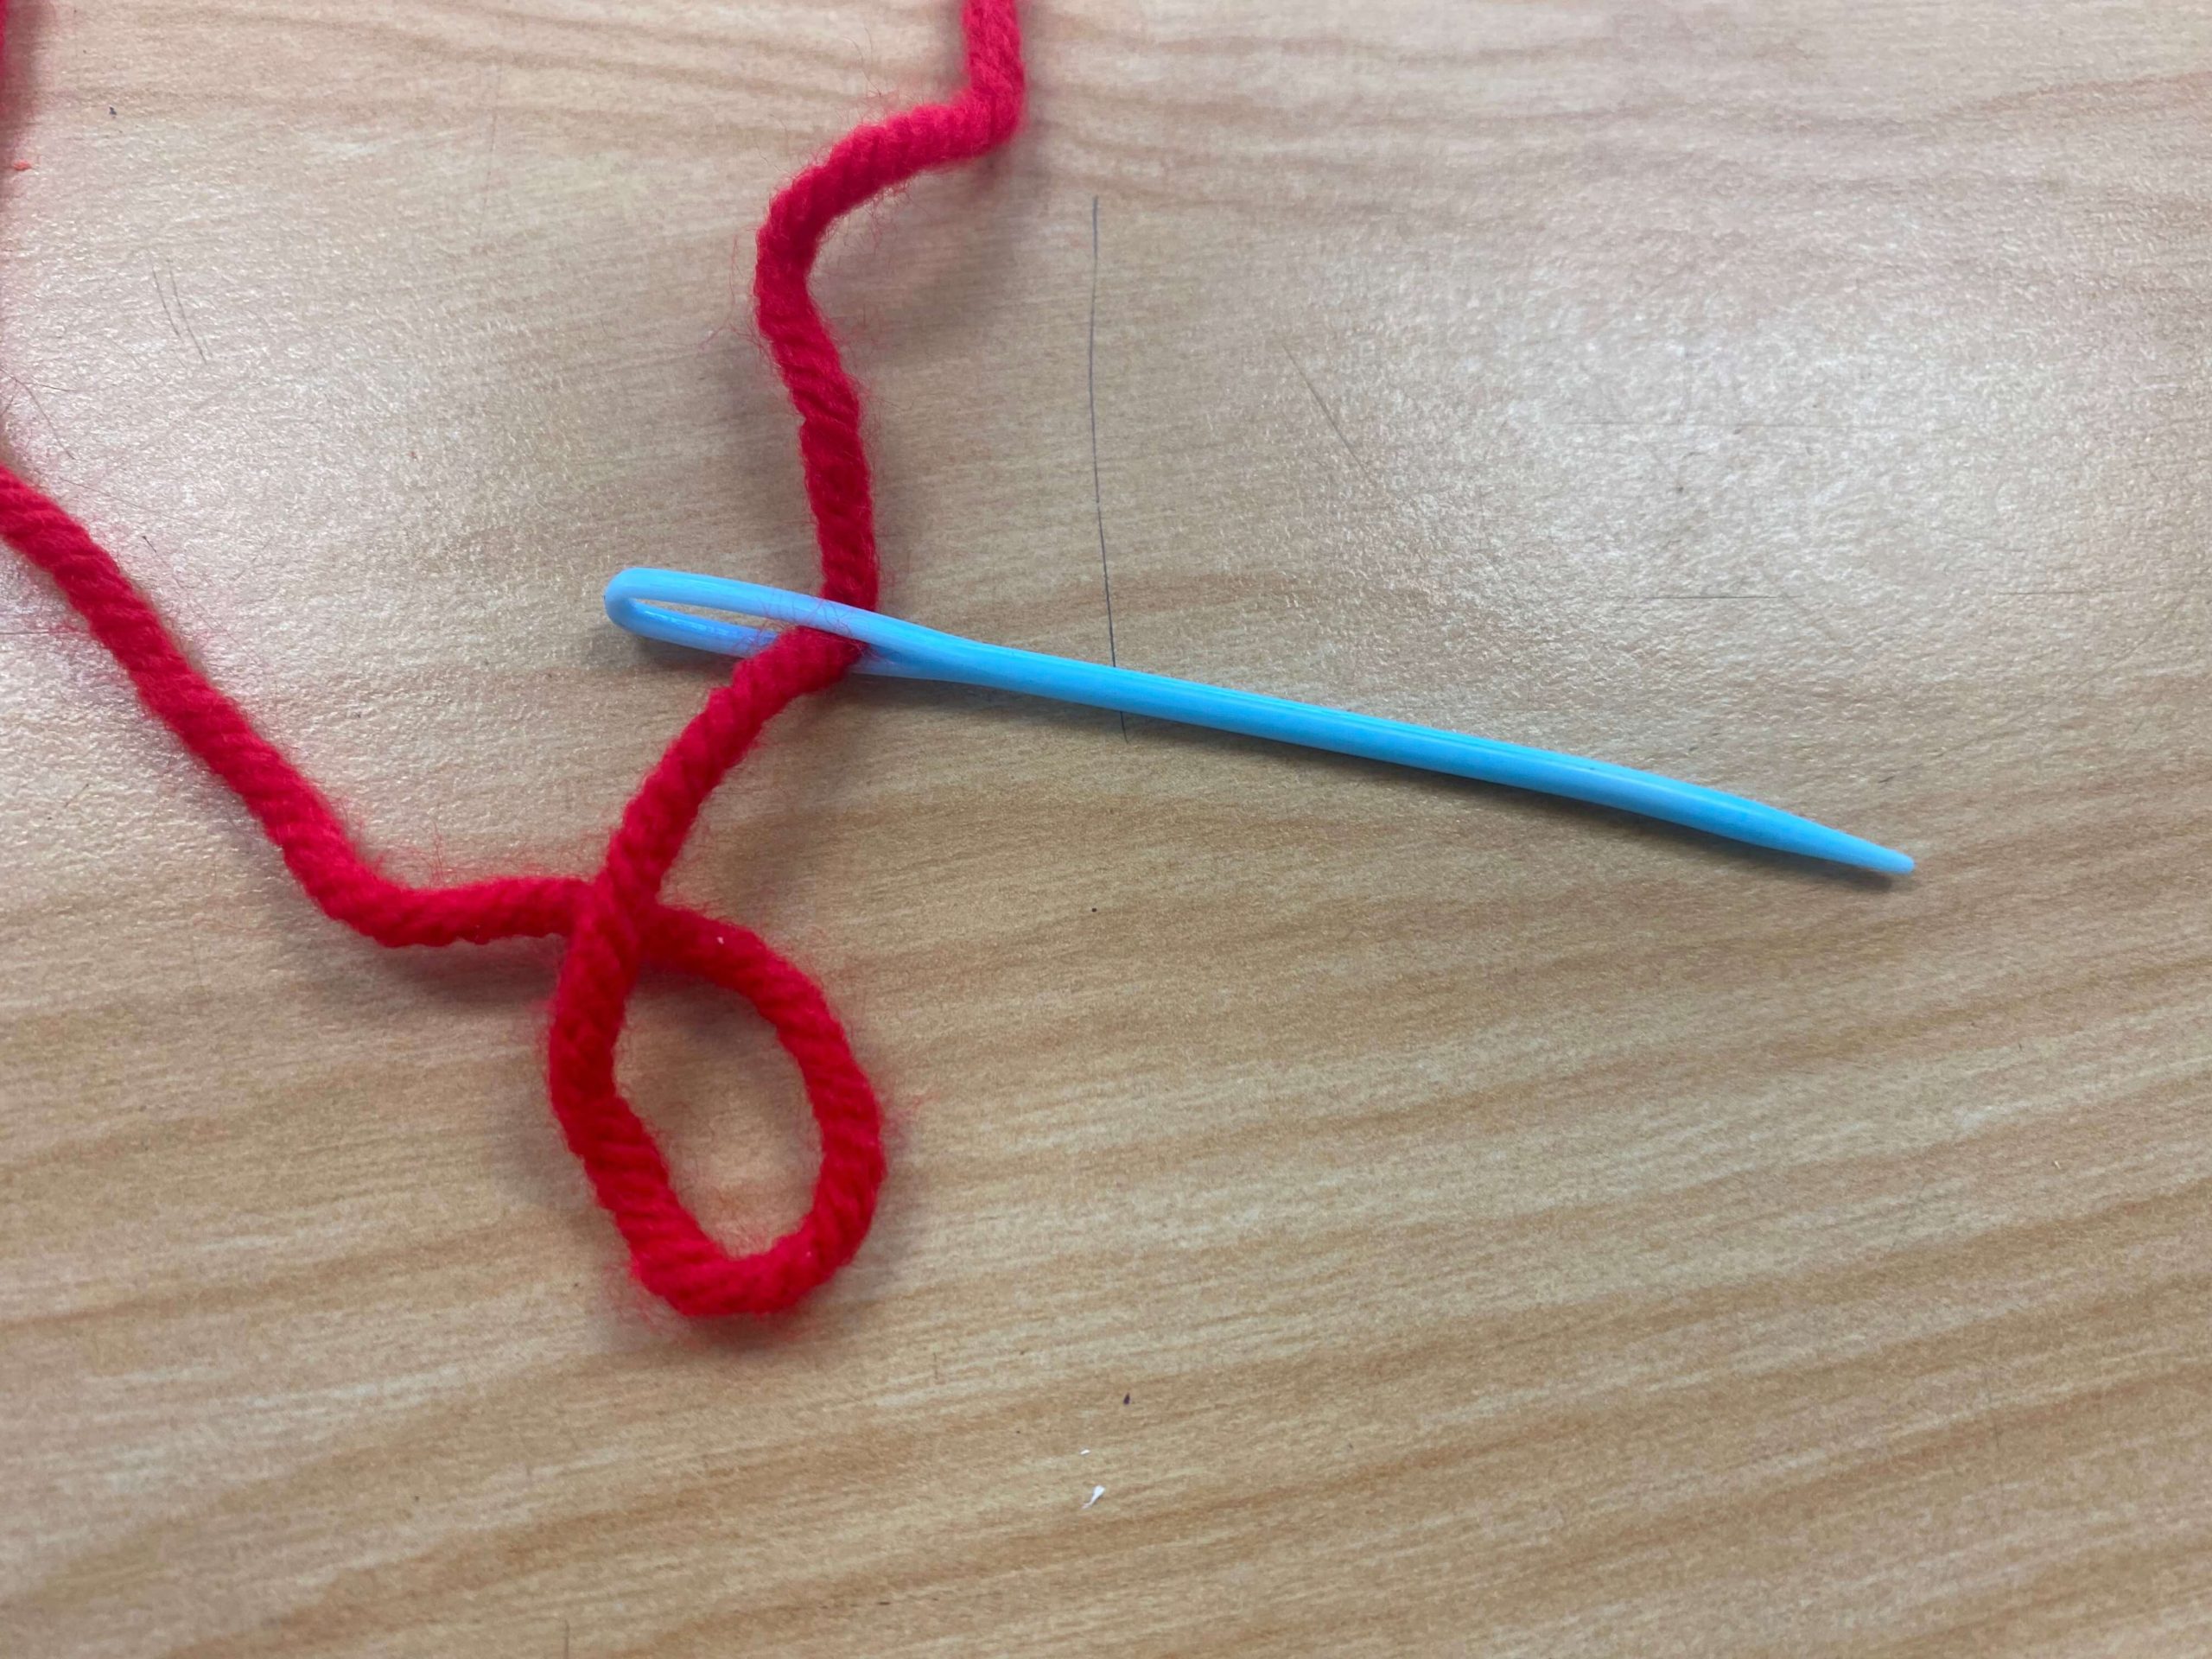
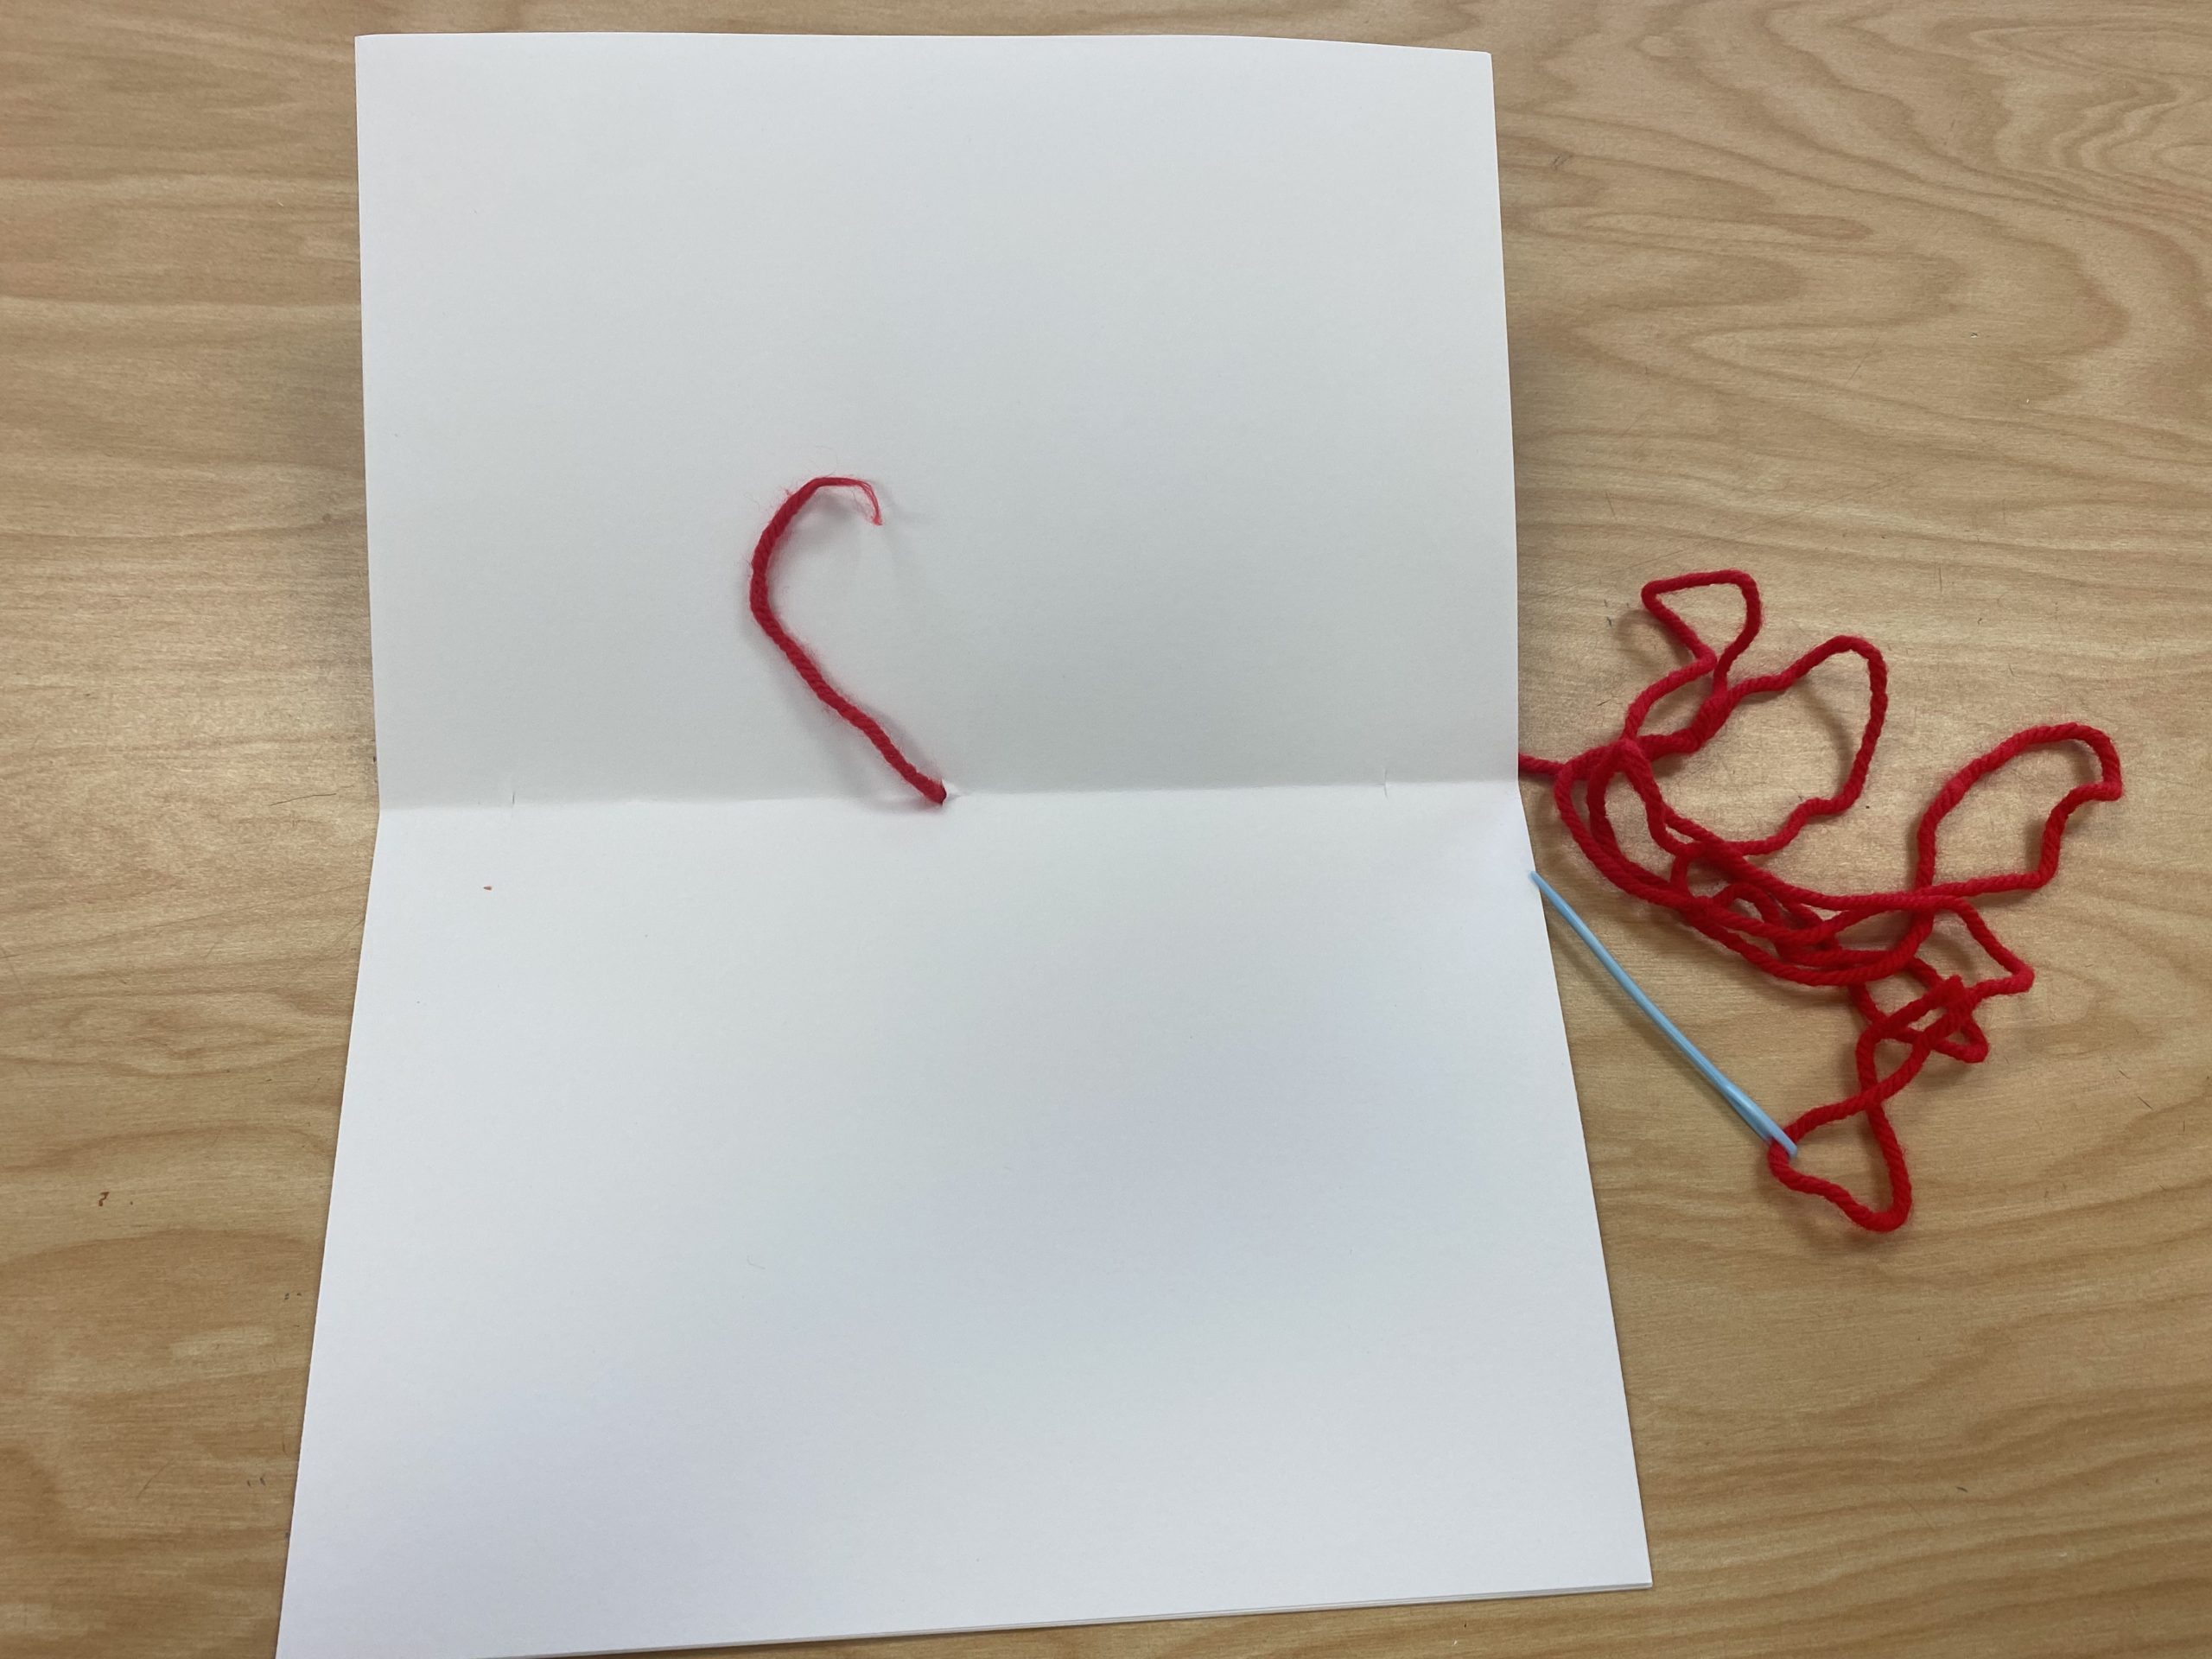
- Thread a large needle with the yarn. (Note: I am using a plastic tapestry needle, but any needle that the yarn fits through will work perfectly.)
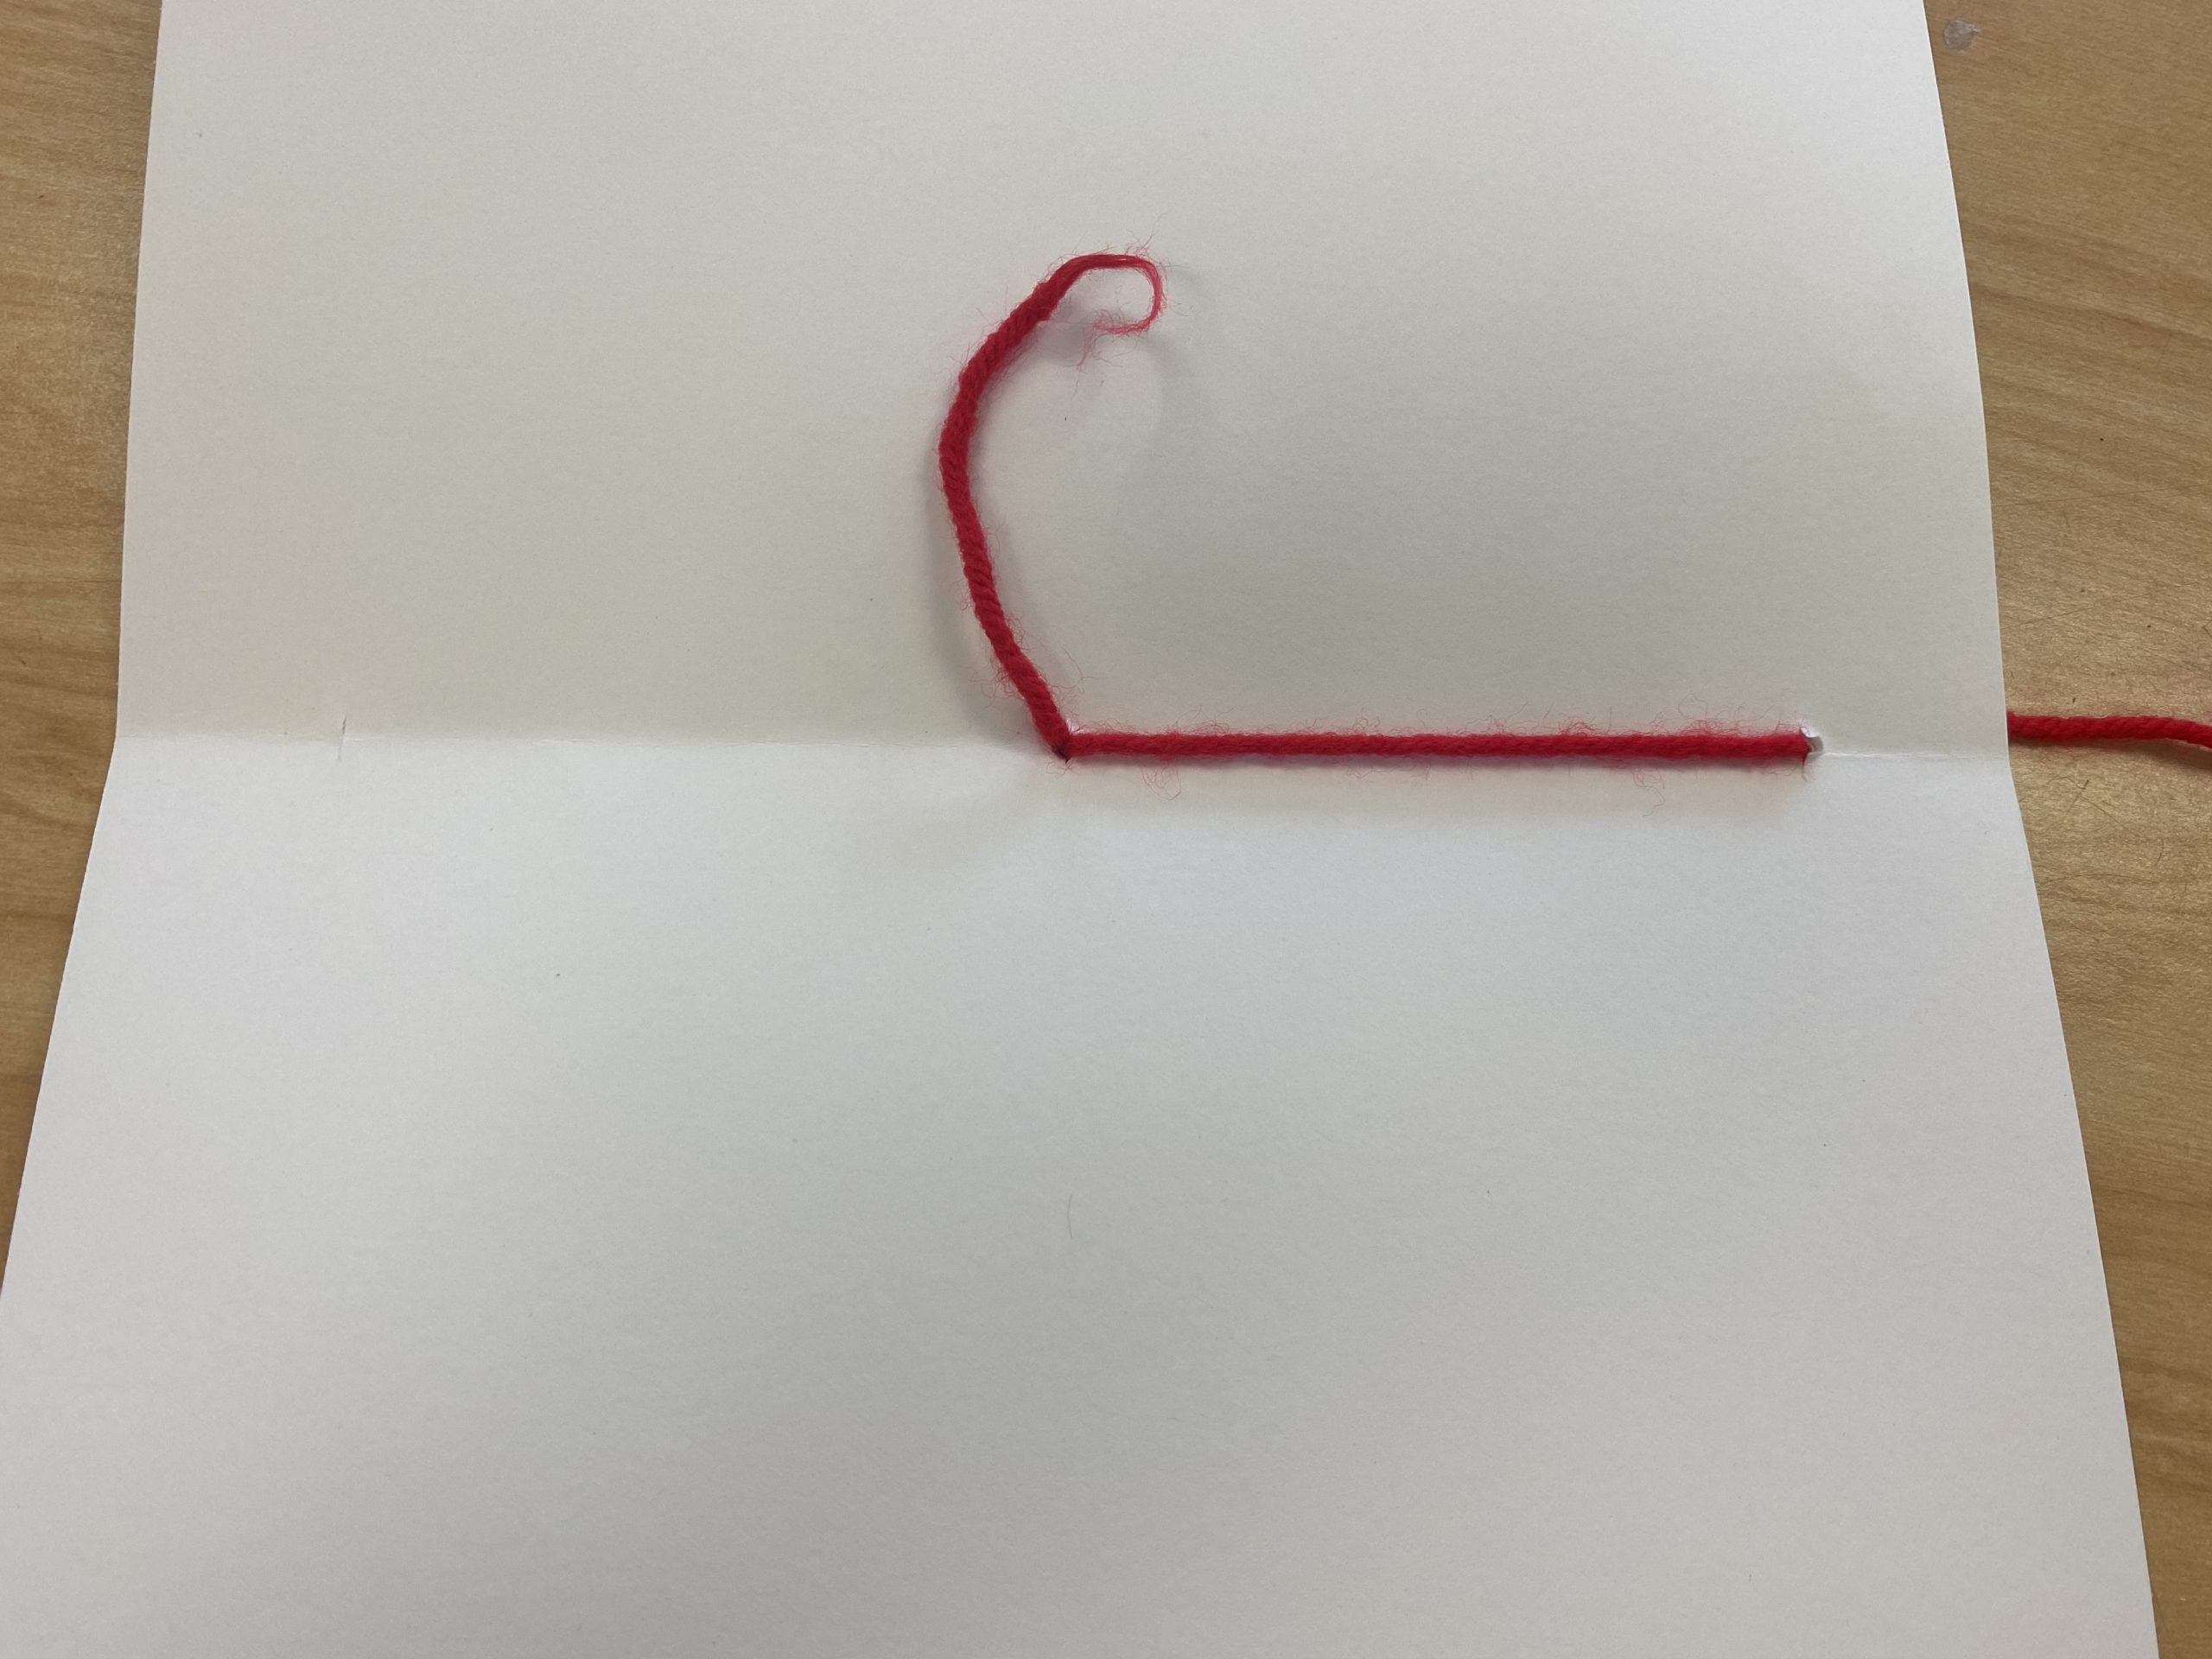
- Open the book to the center and push the needle through the middle hole. The needle should go from the inside of the book to the outside. Remember to leave a little yarn tail inside the book. Sometimes I have my students tape the tail down so it doesn’t slide out if they pull too hard.
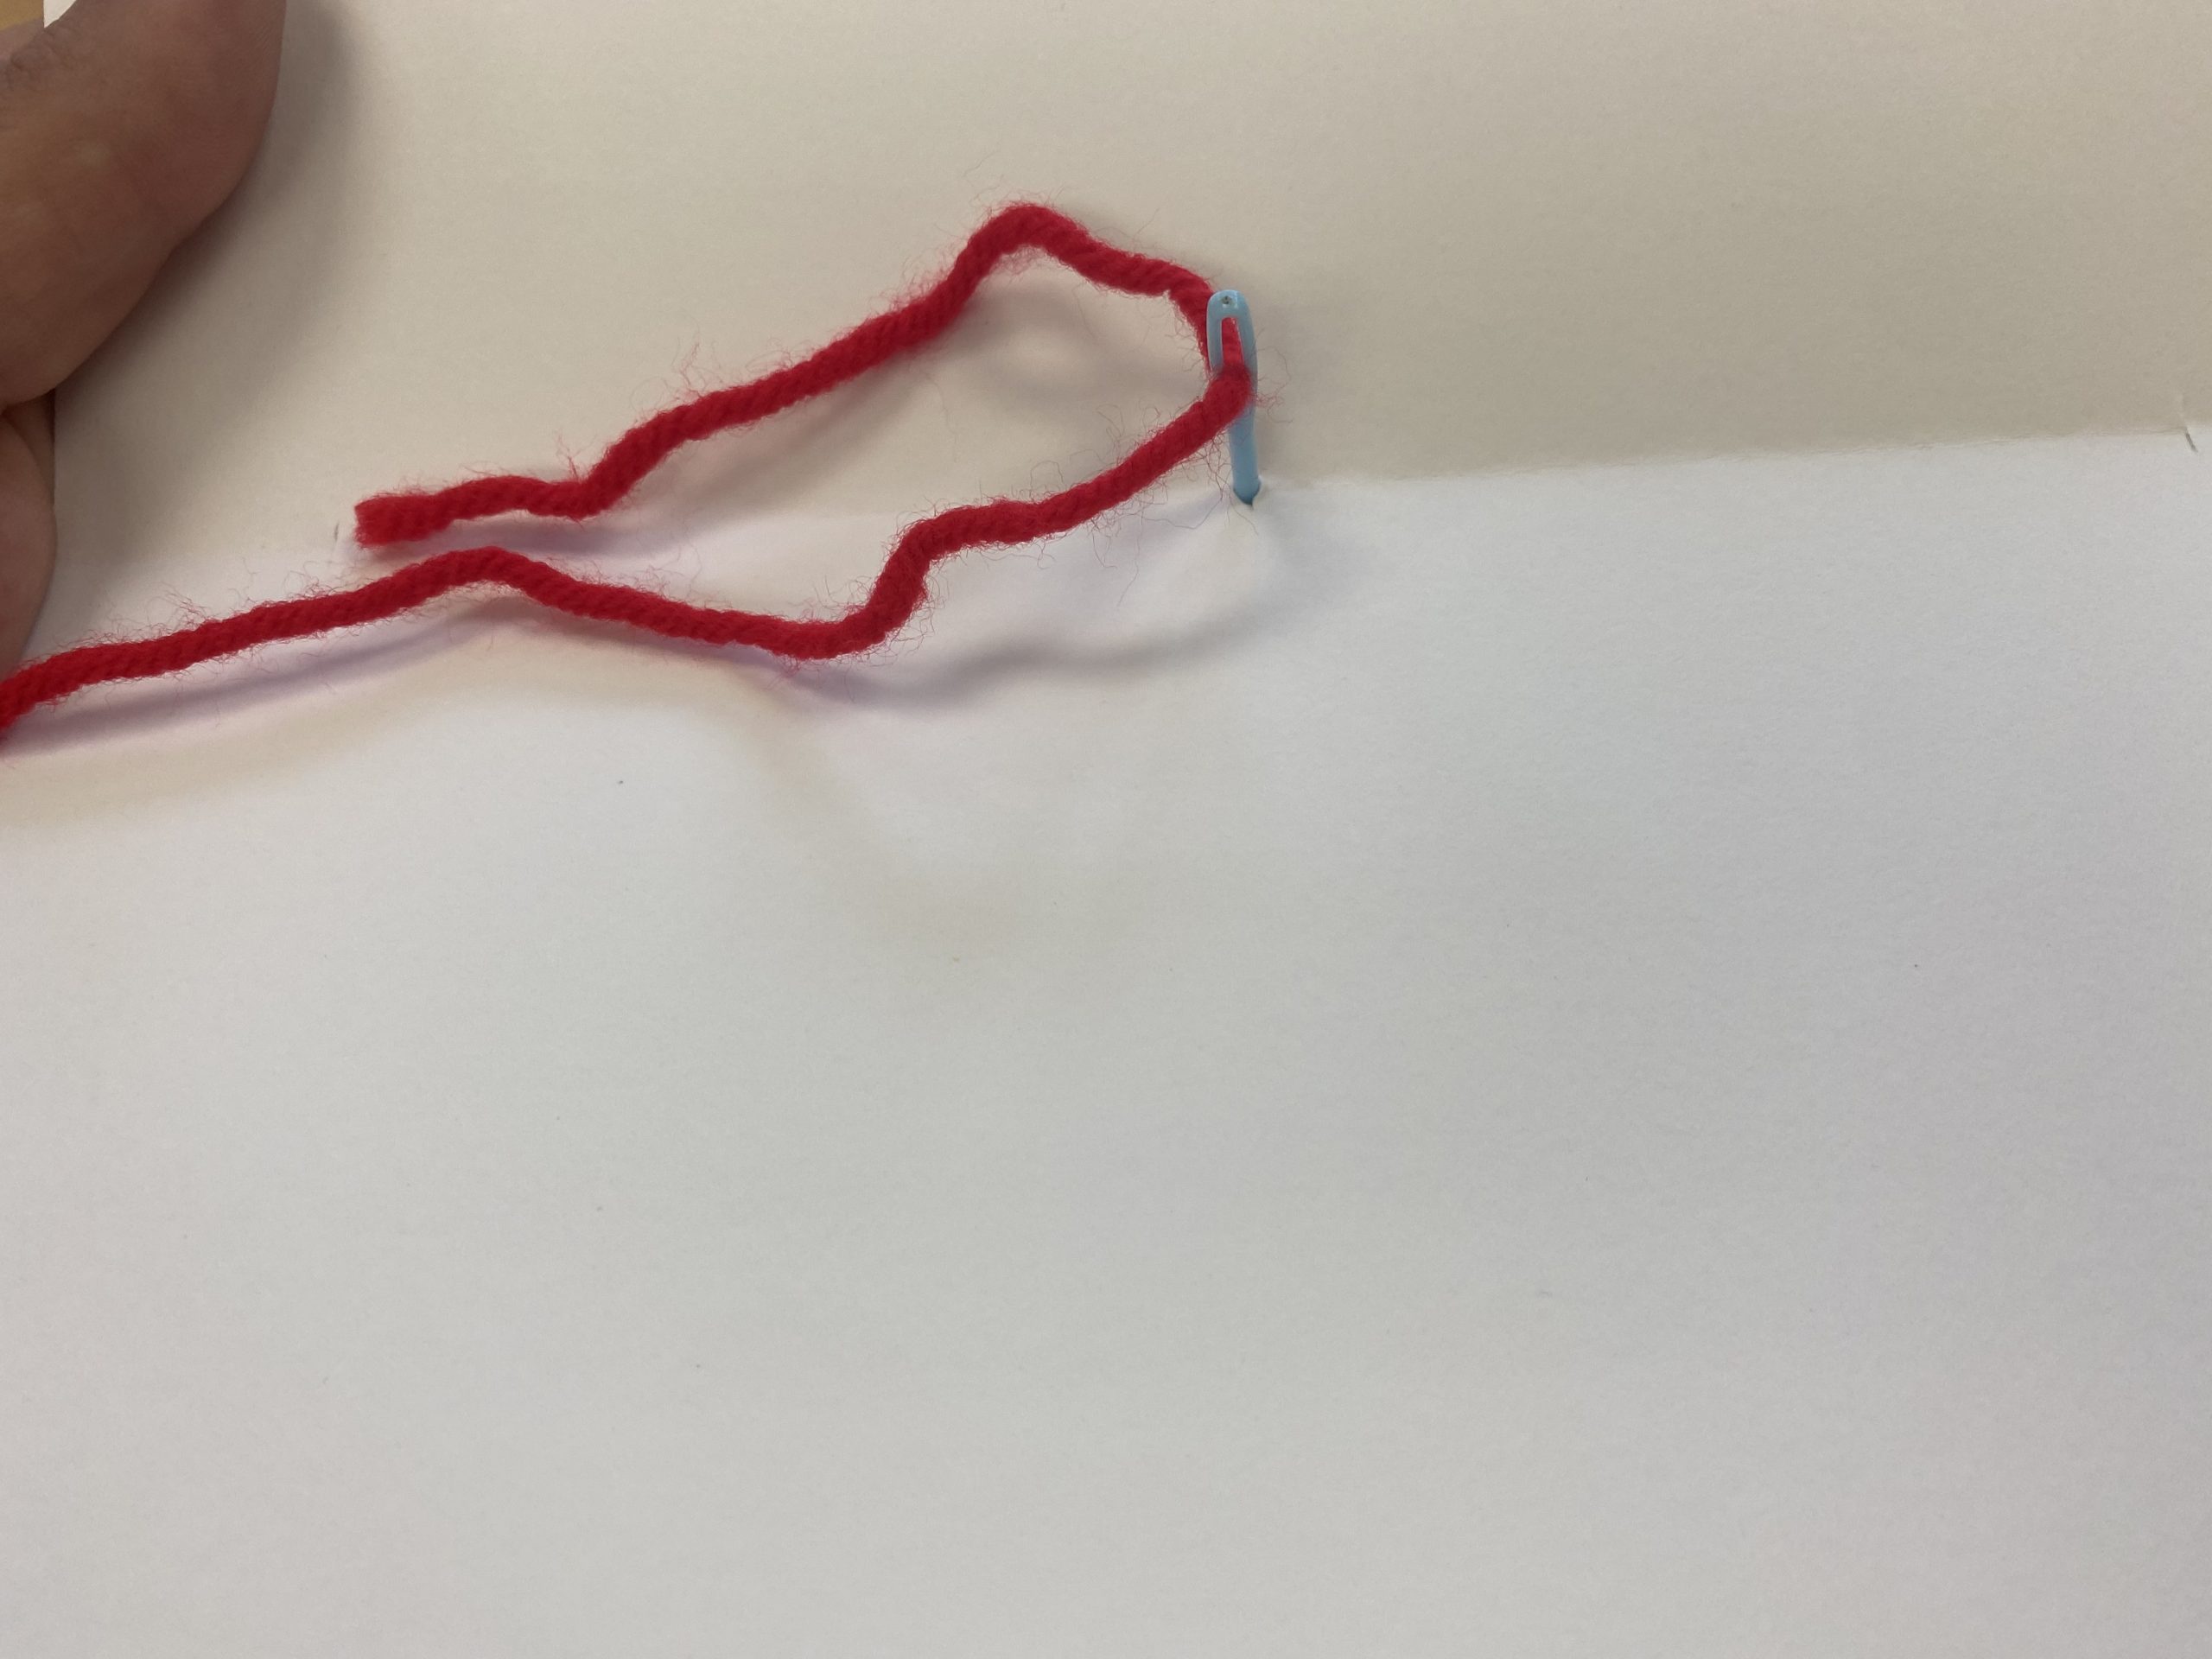
- Pull the yarn taught.
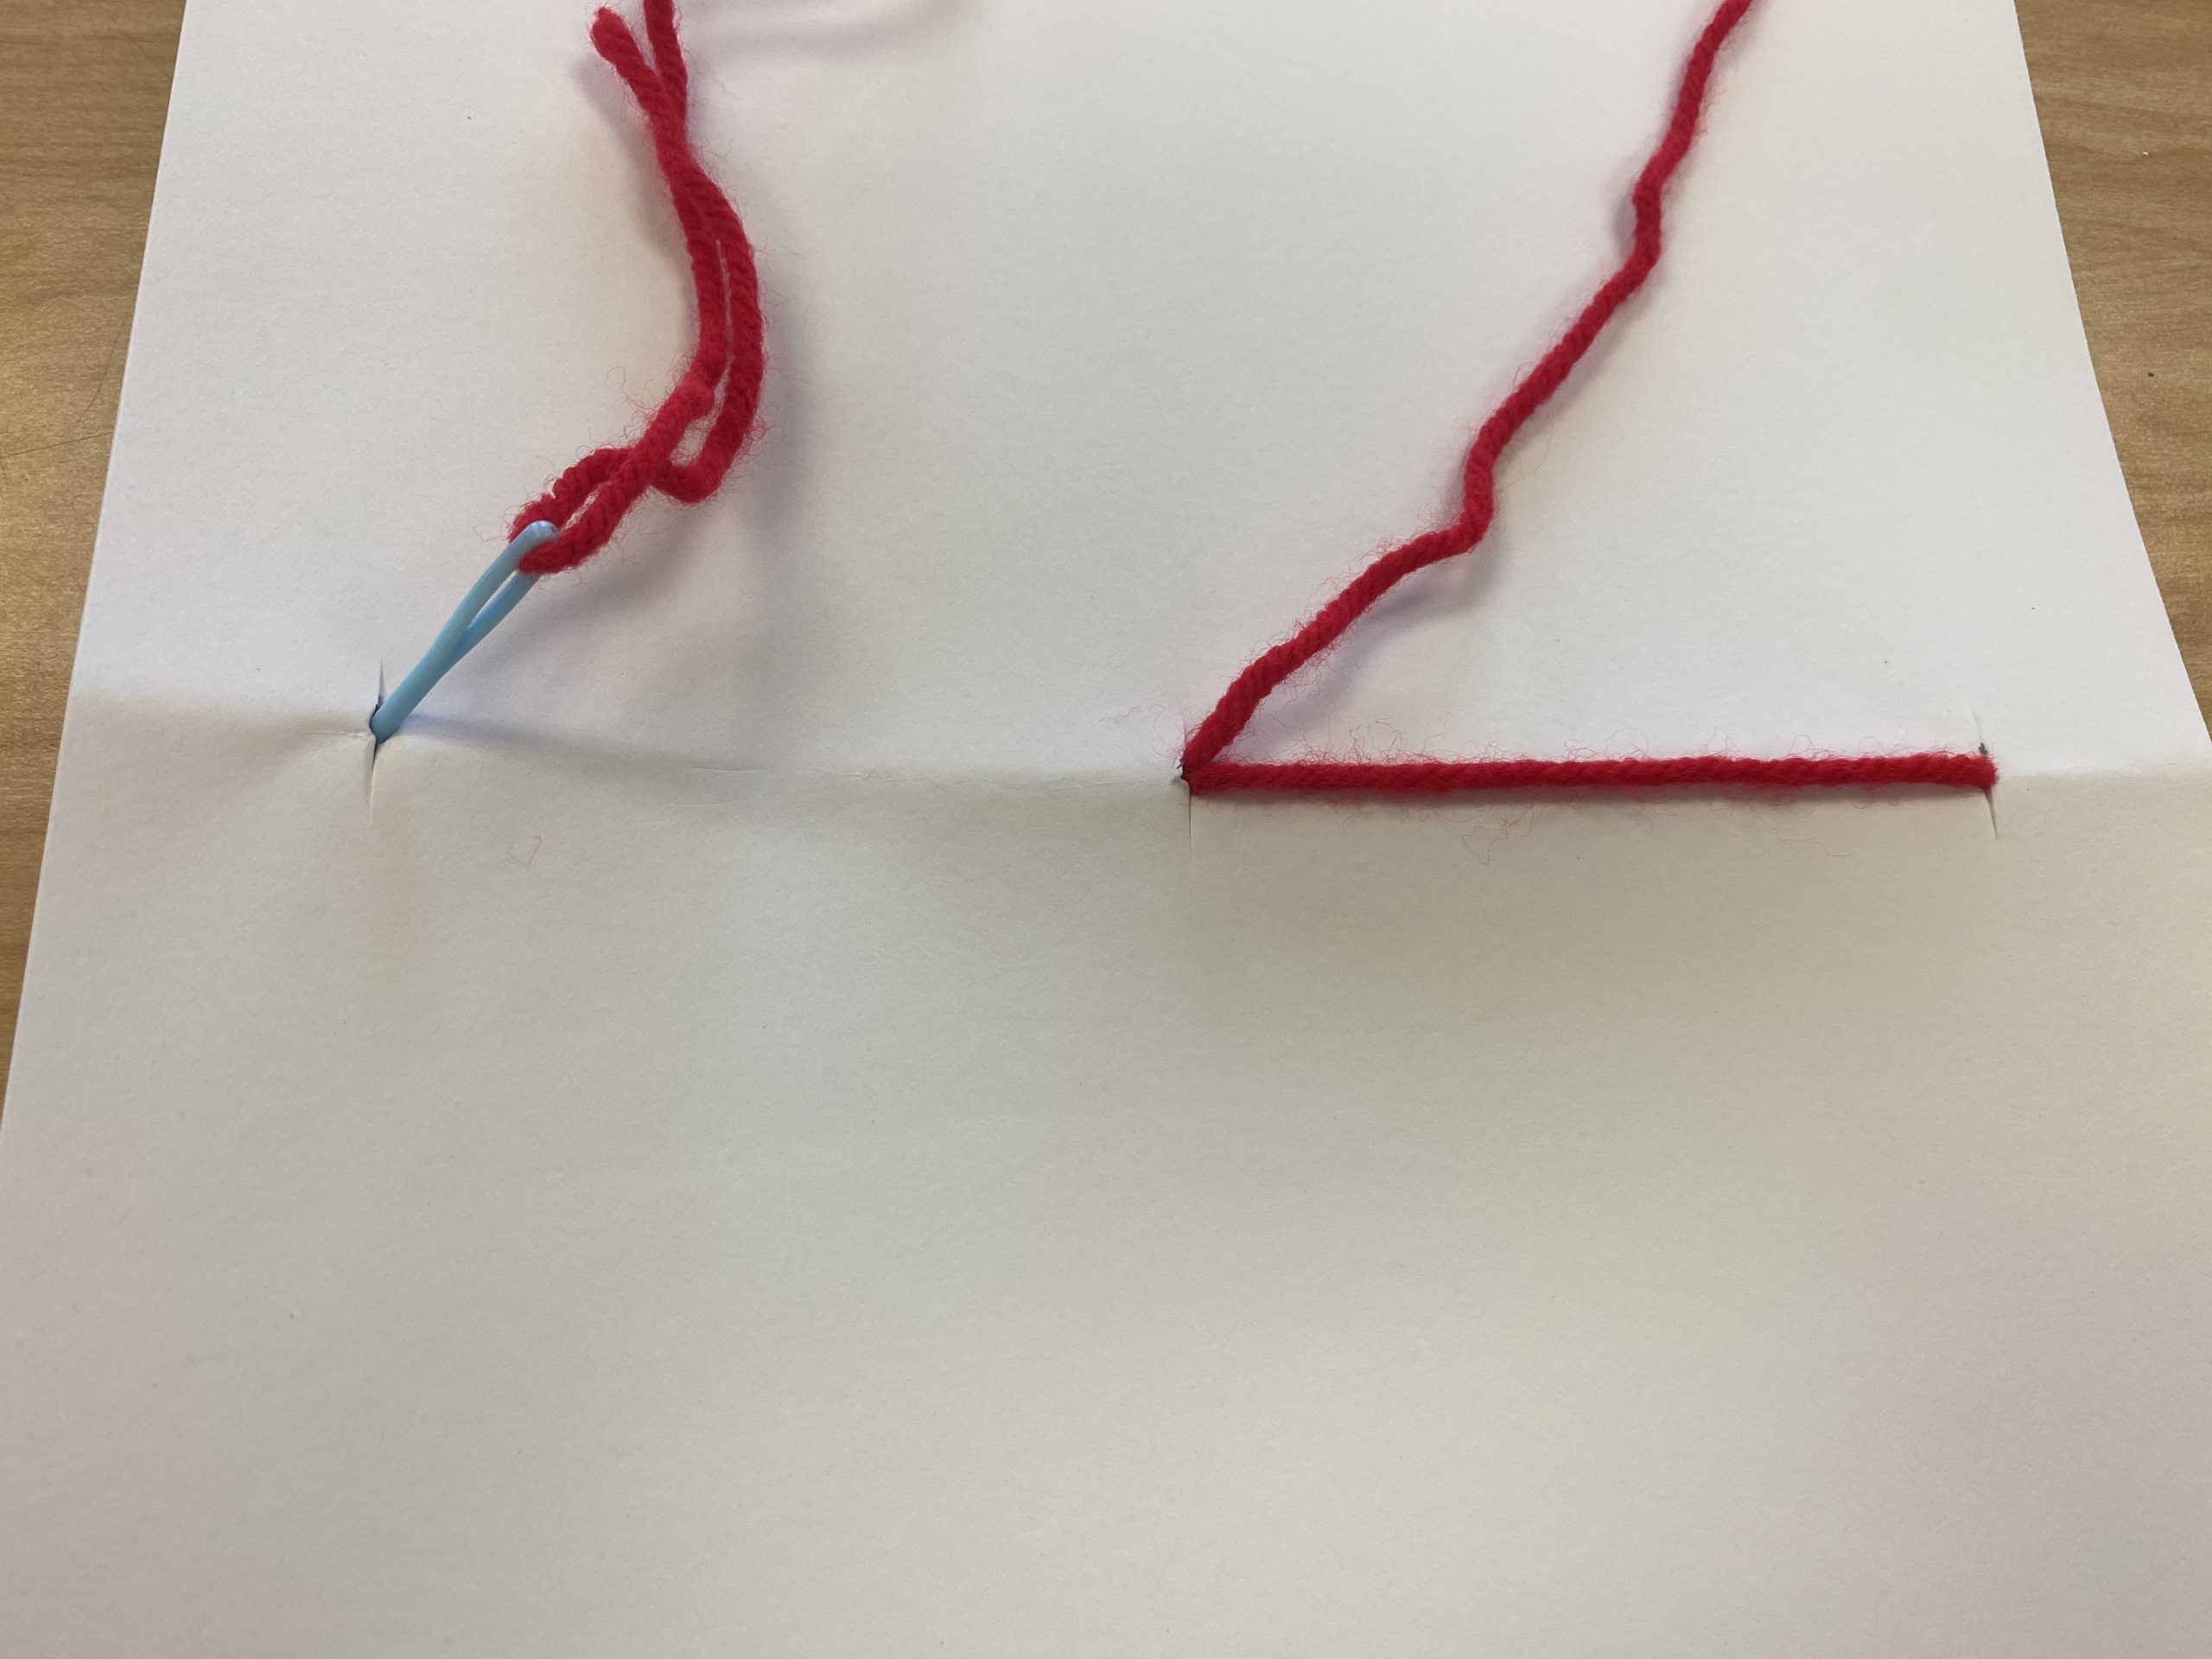
- Turn the book over. Next, push the needle through the bottom hole to the inside of the book.
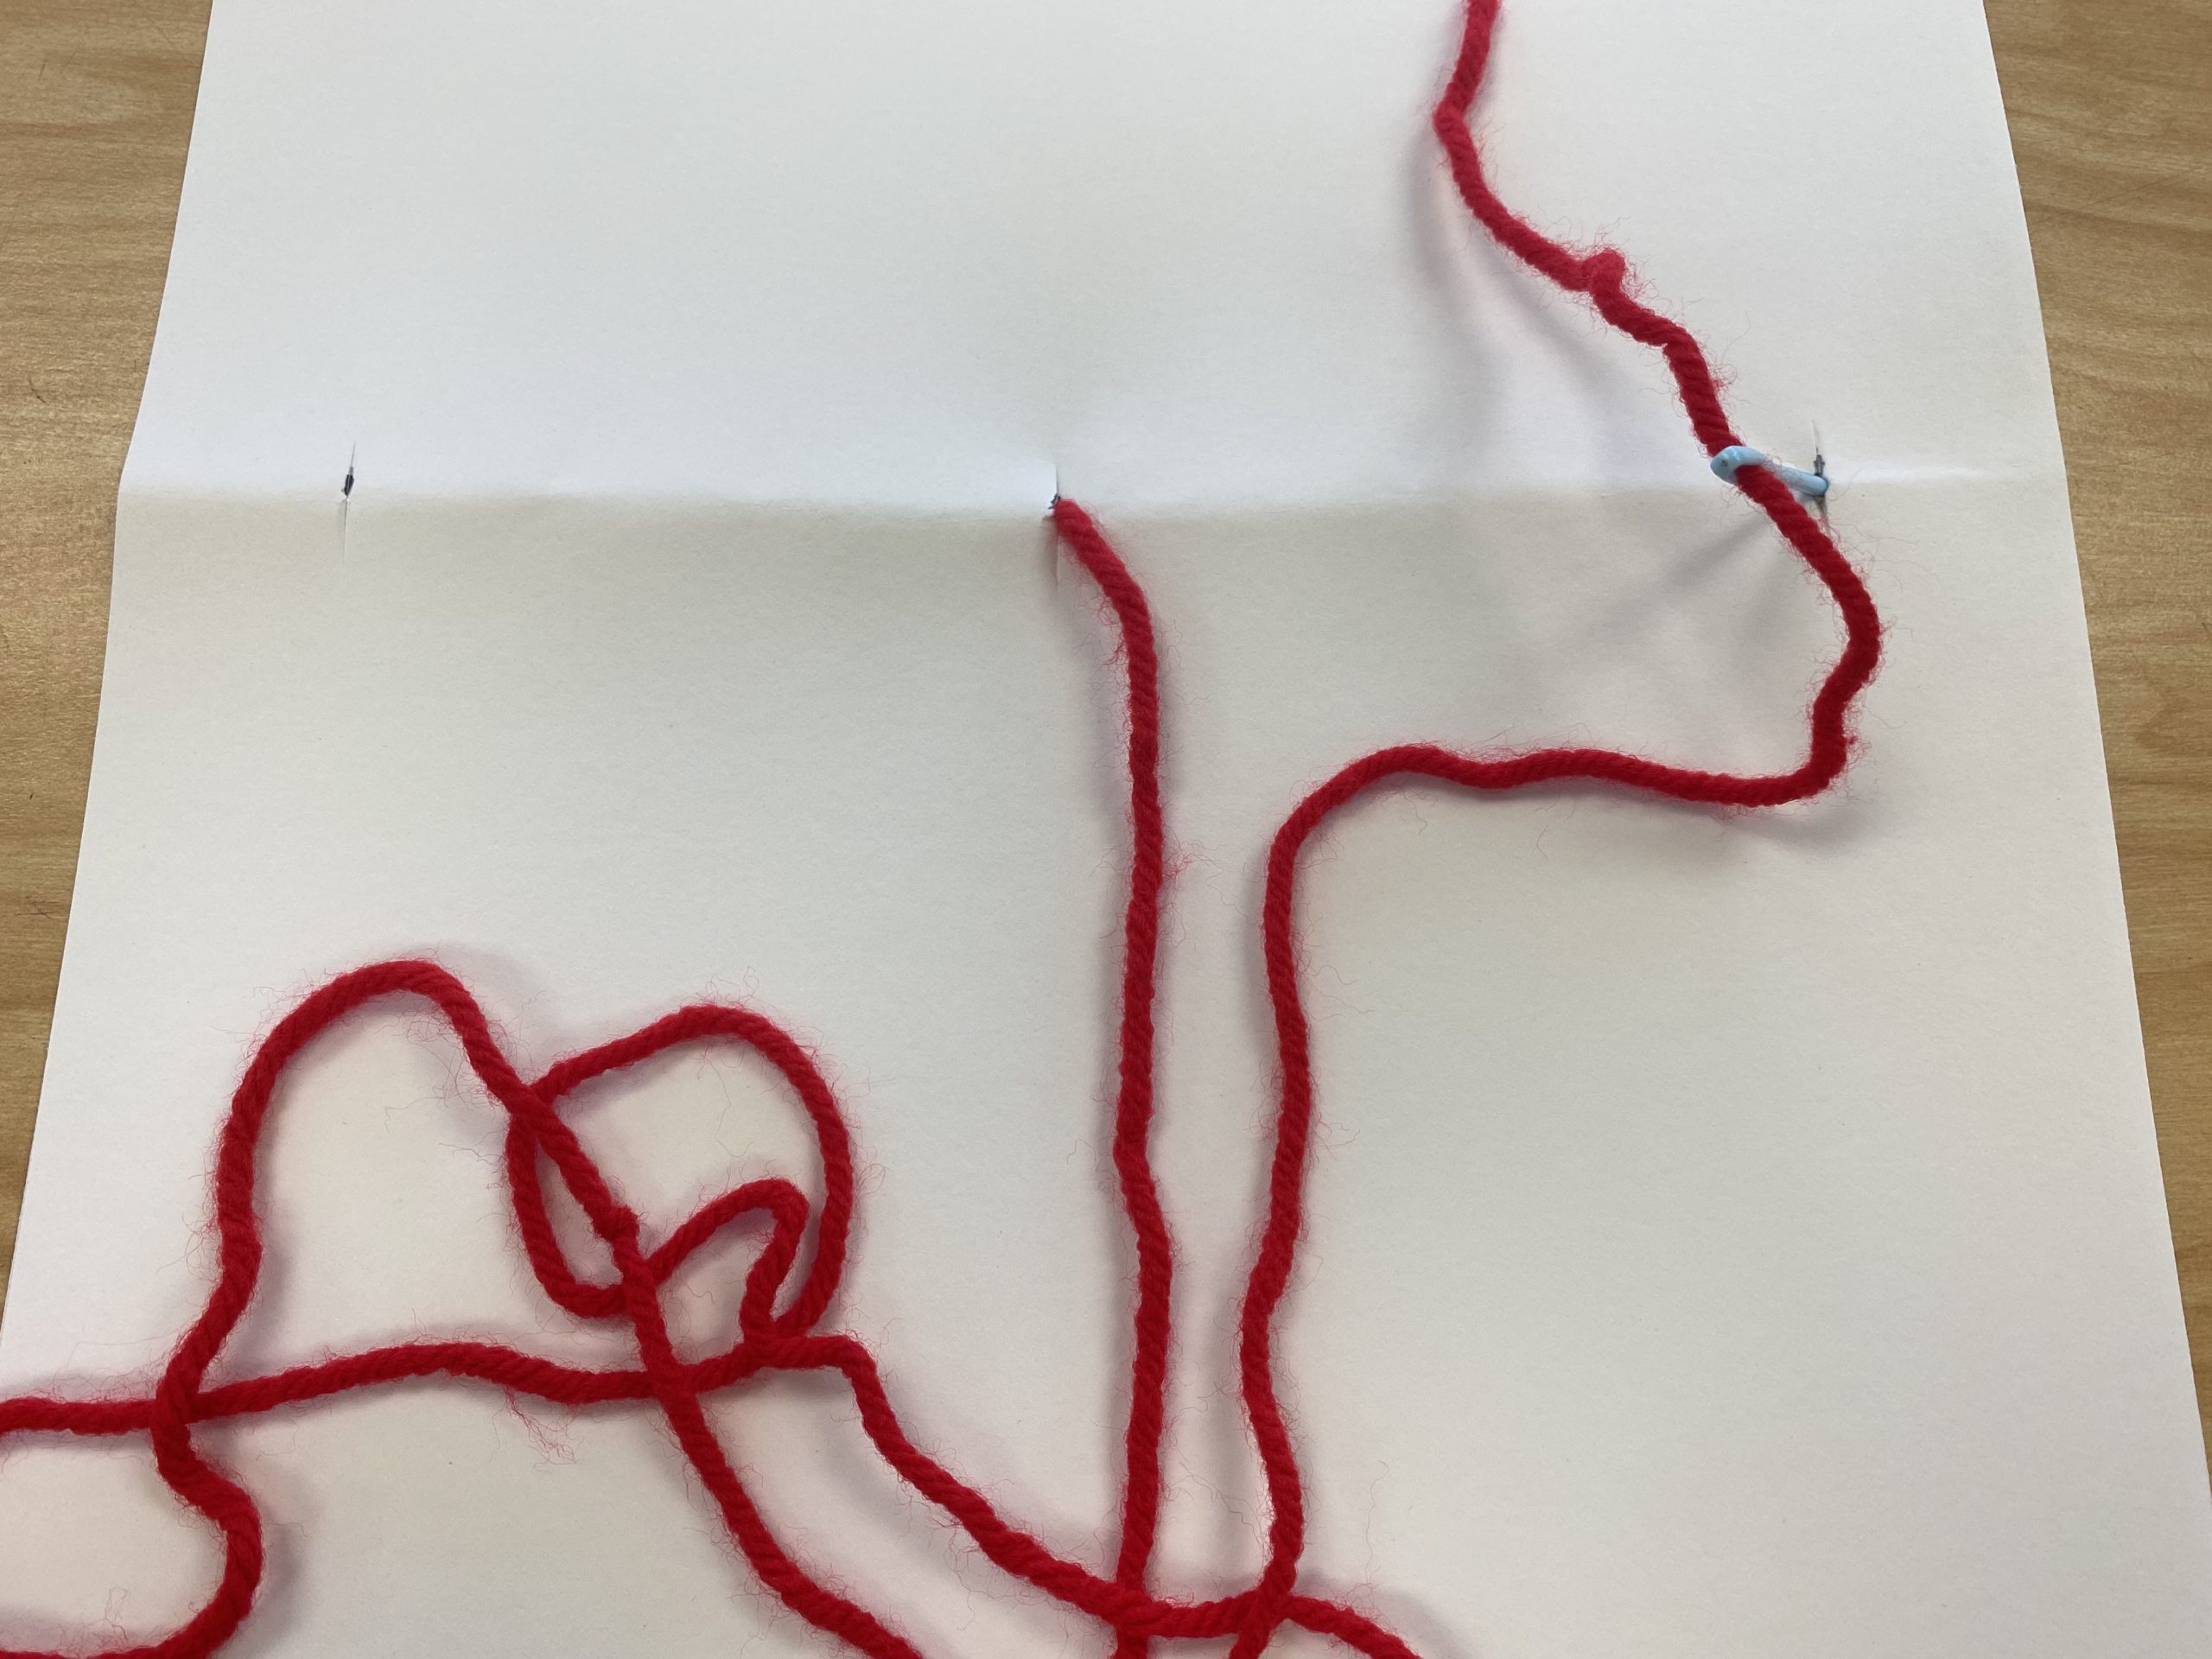
- Pull the yarn taught.
![]()
![]()
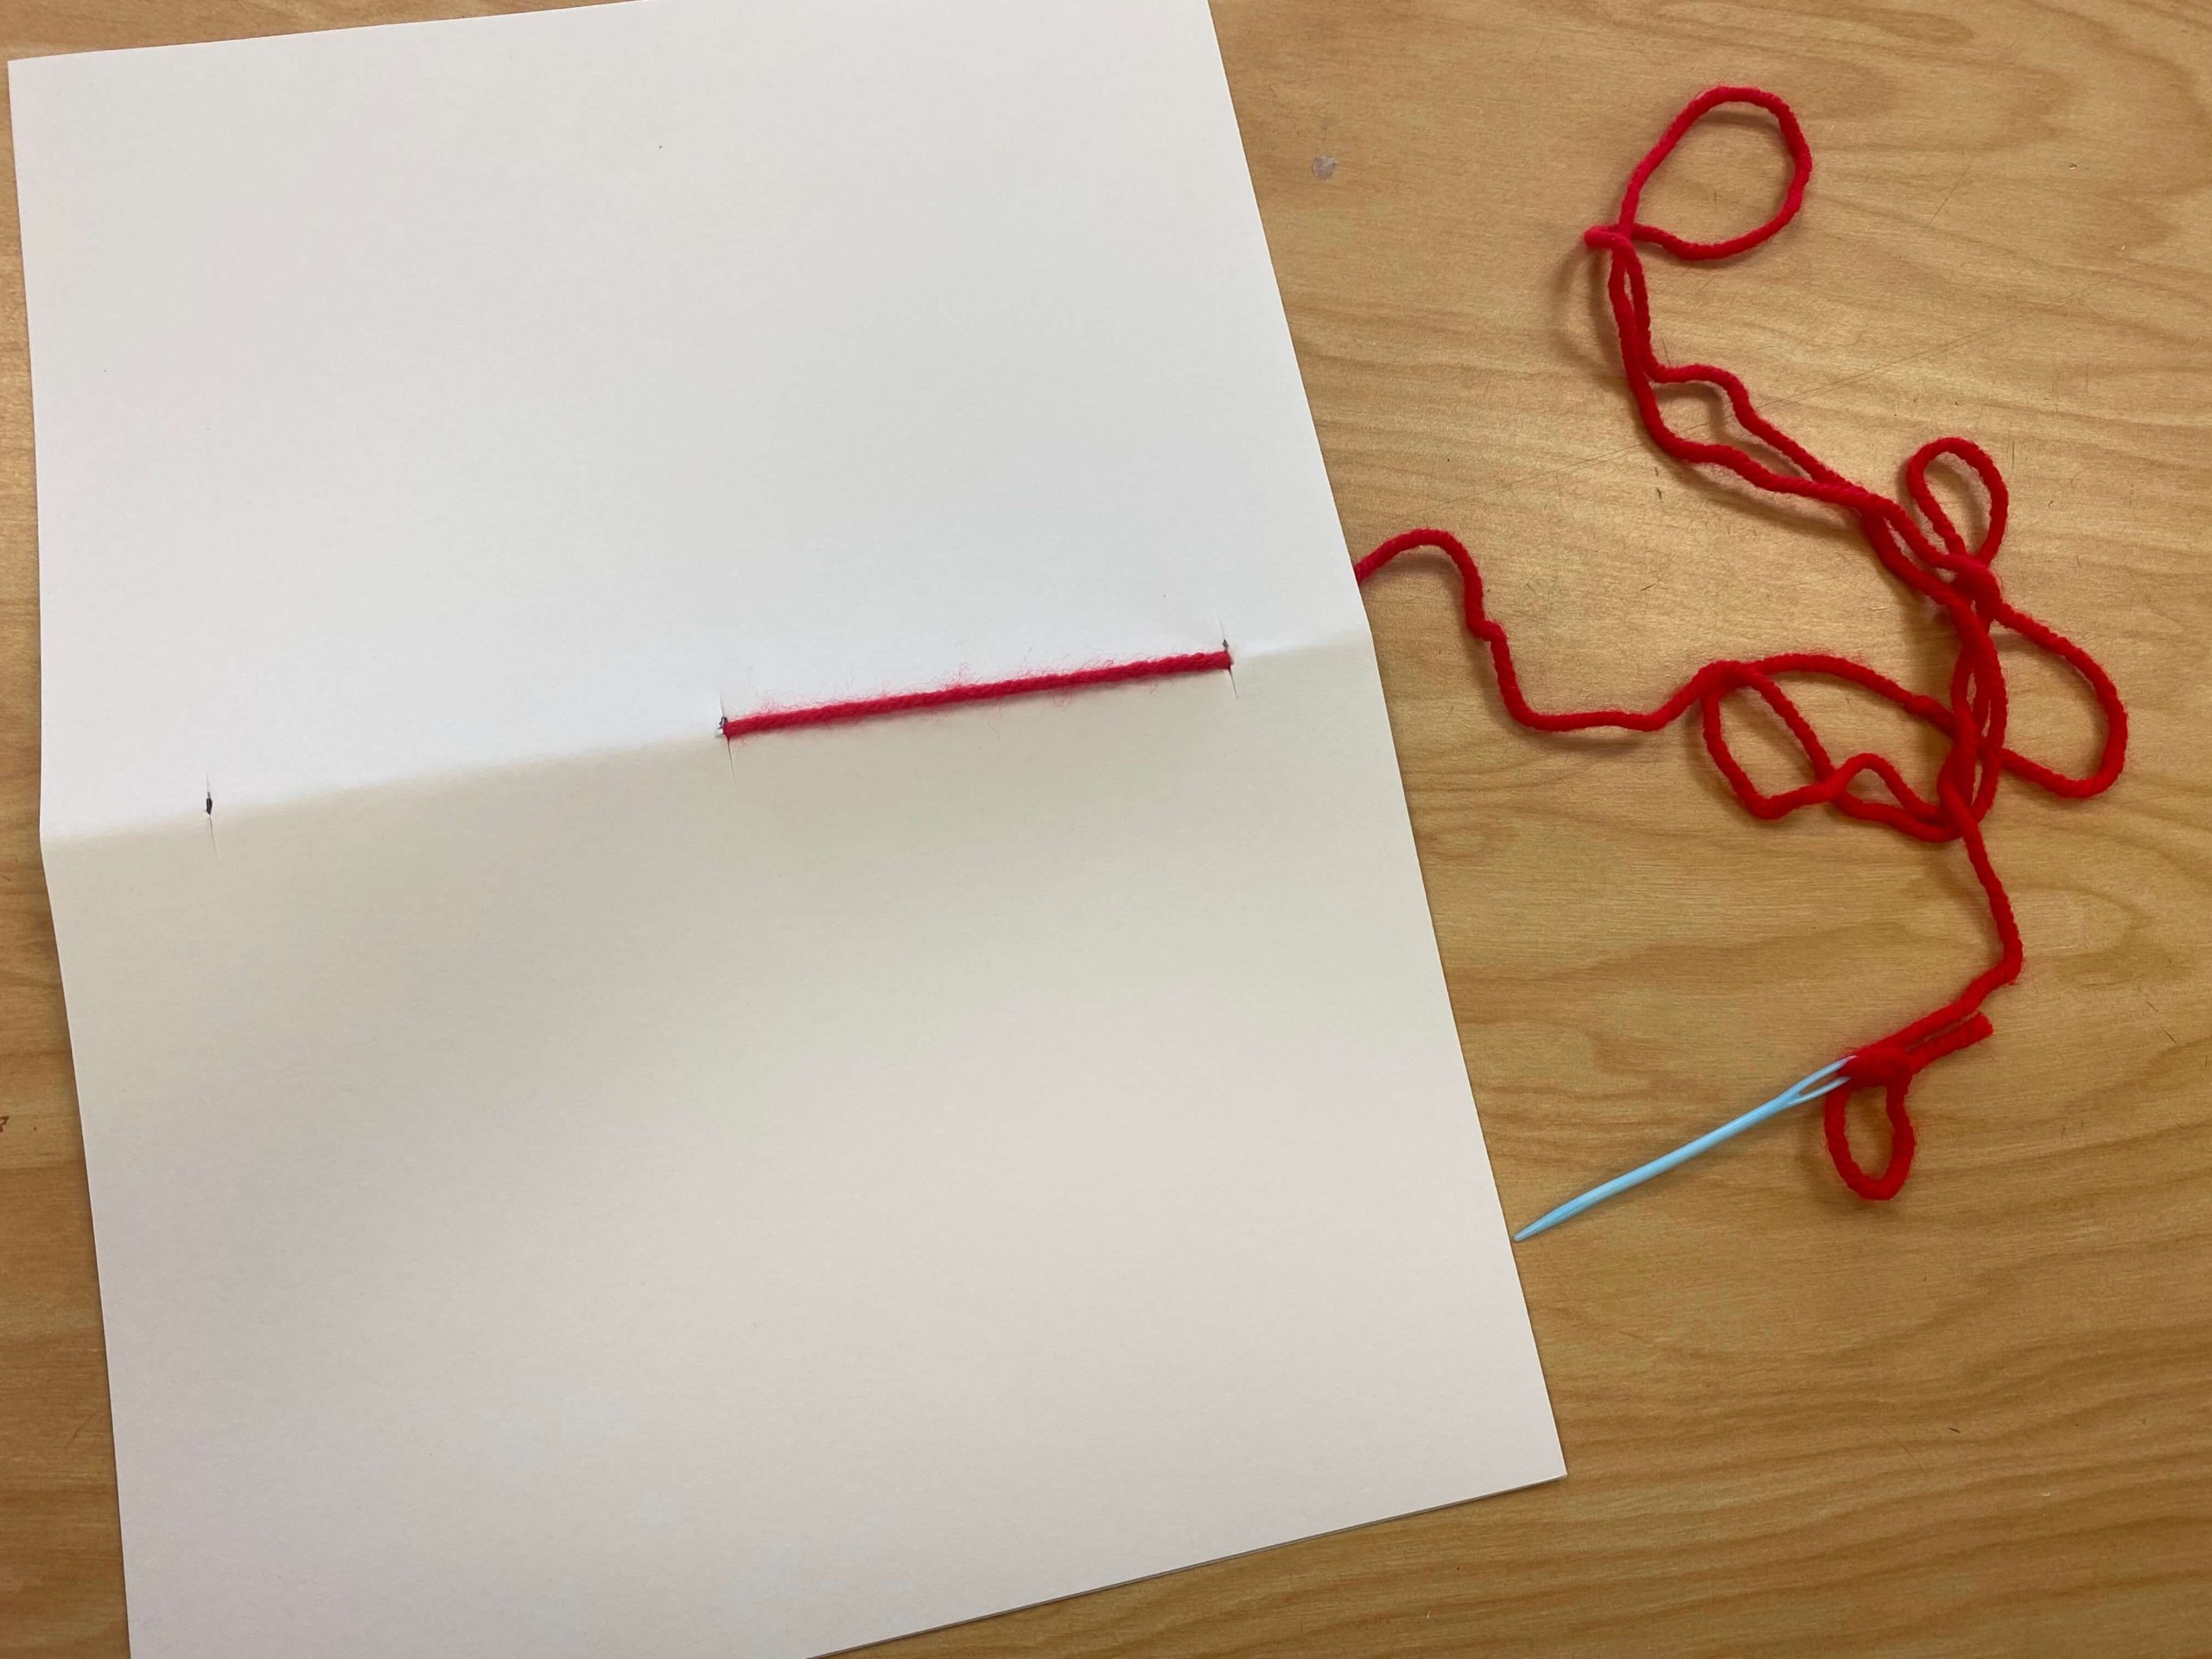
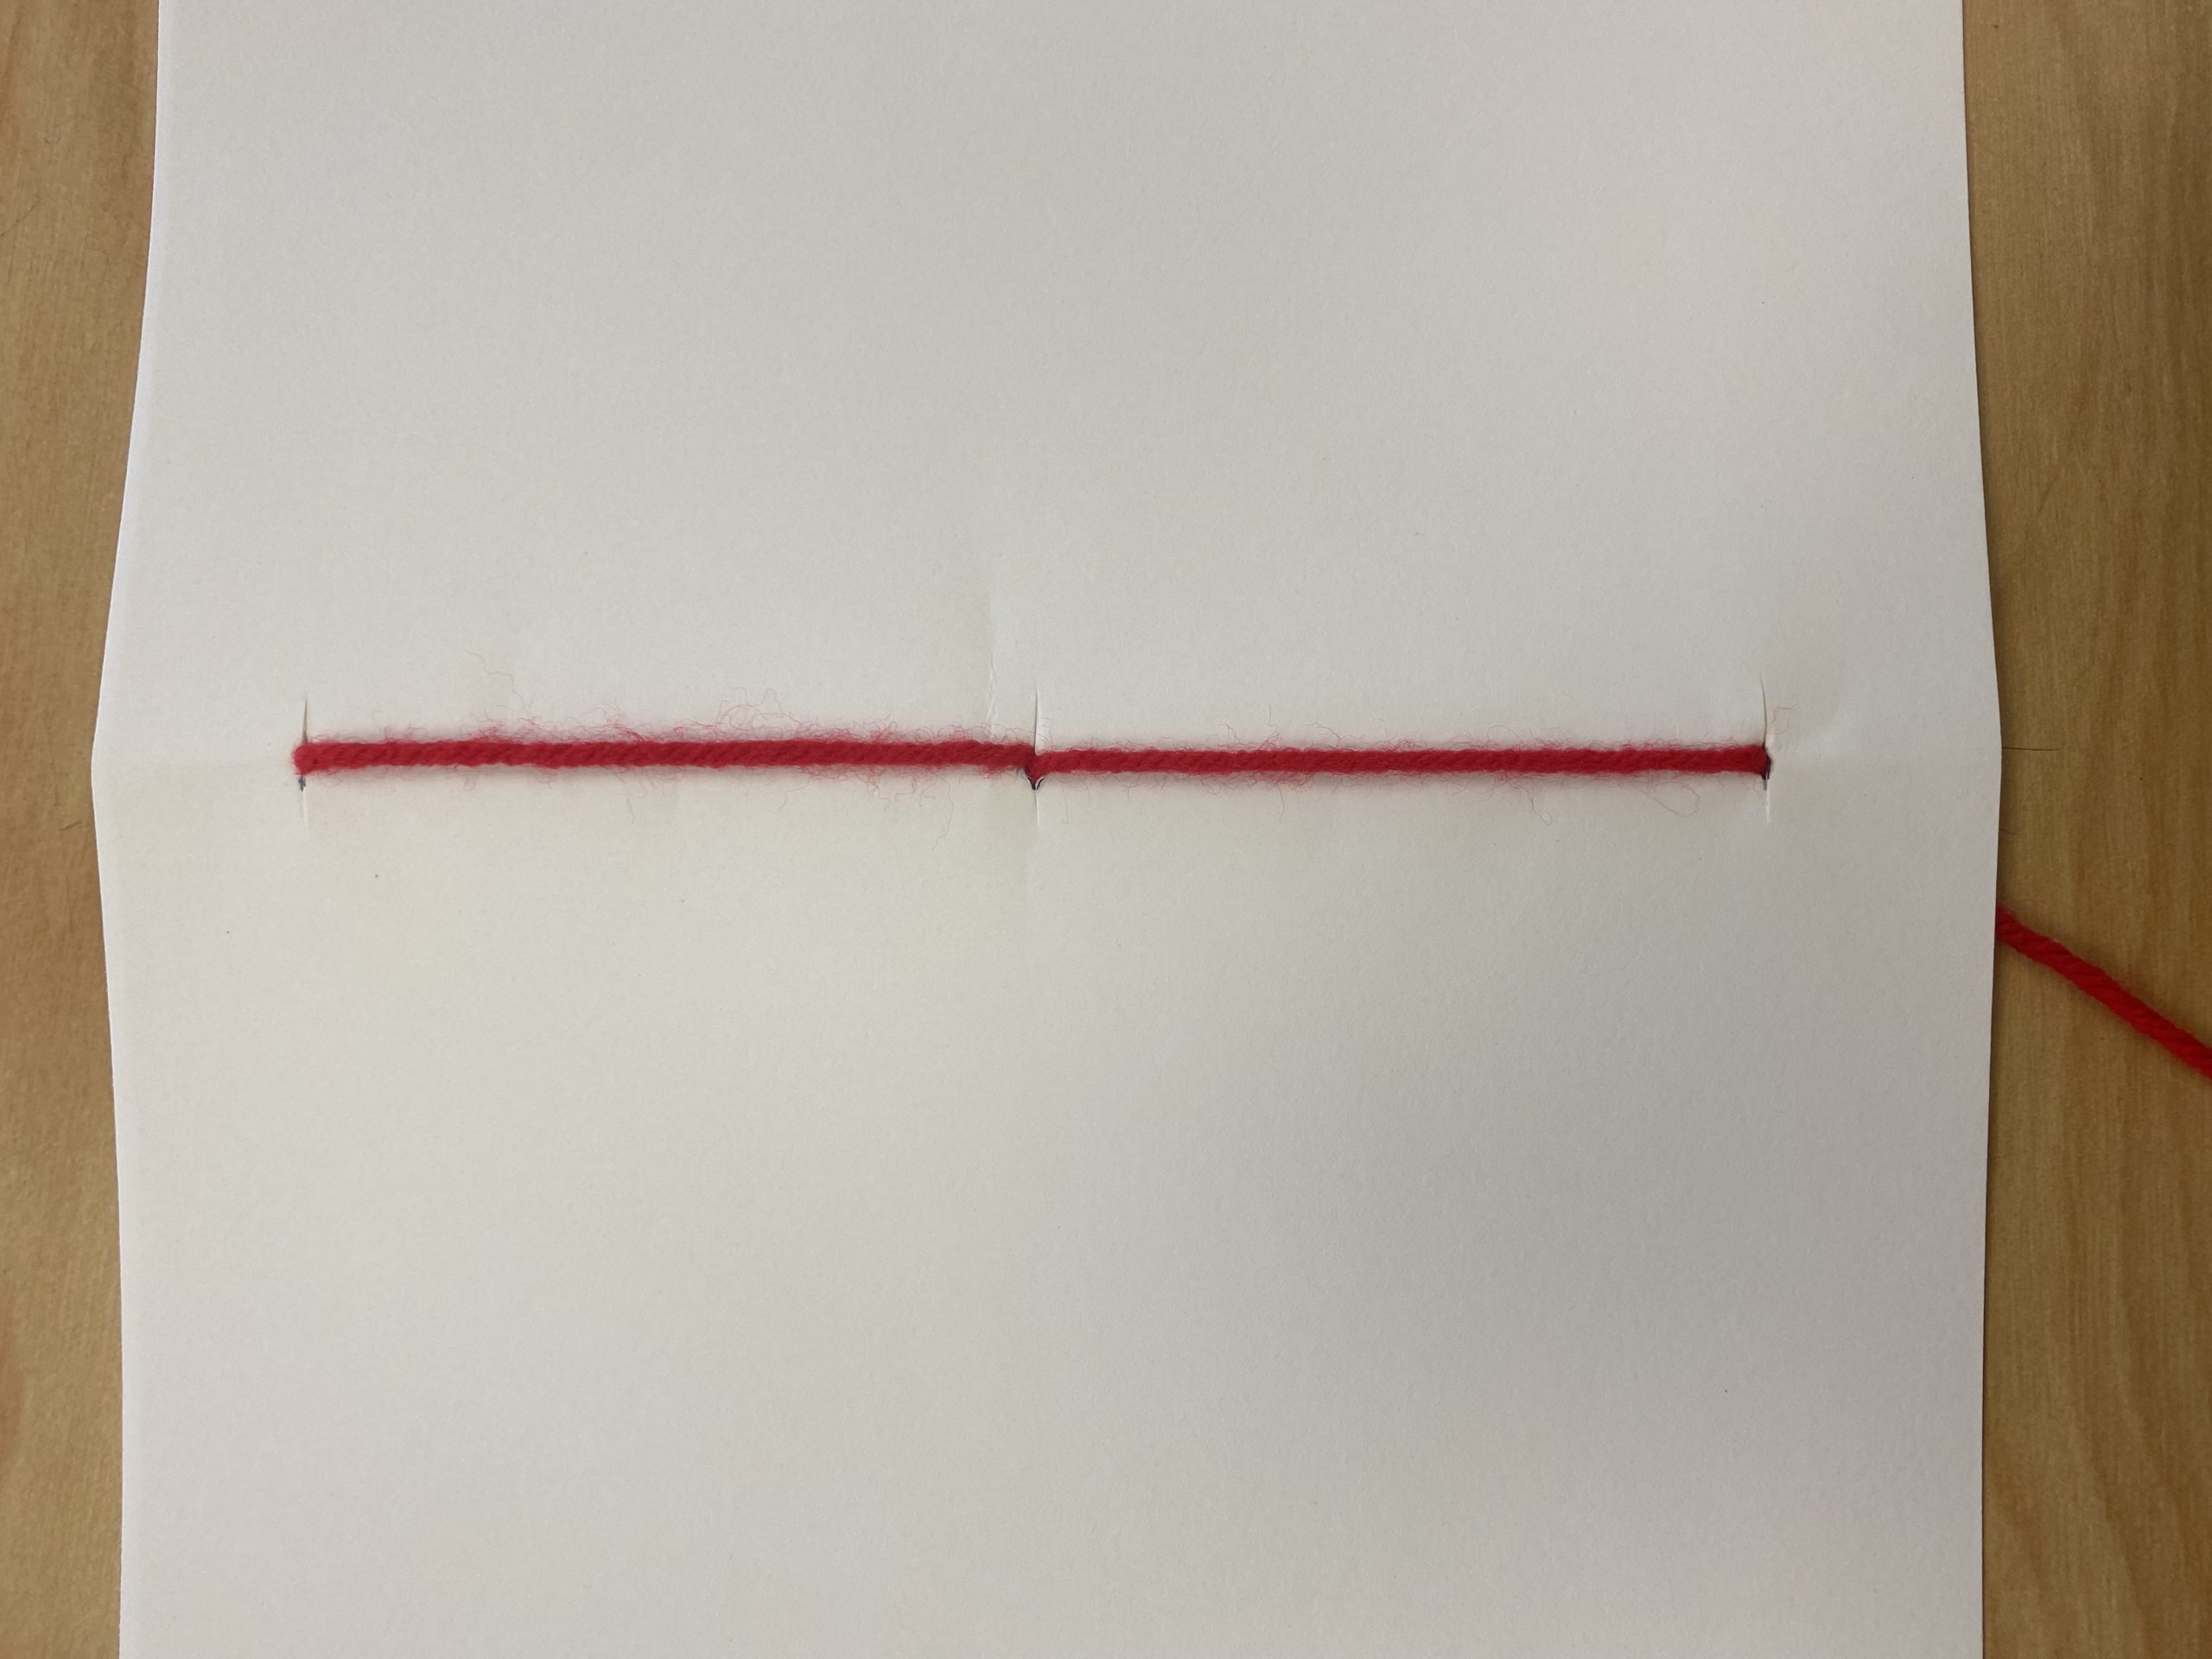
- Flip the book over so the inside is facing you. Push the needle back through the middle hole to the outside of the book.
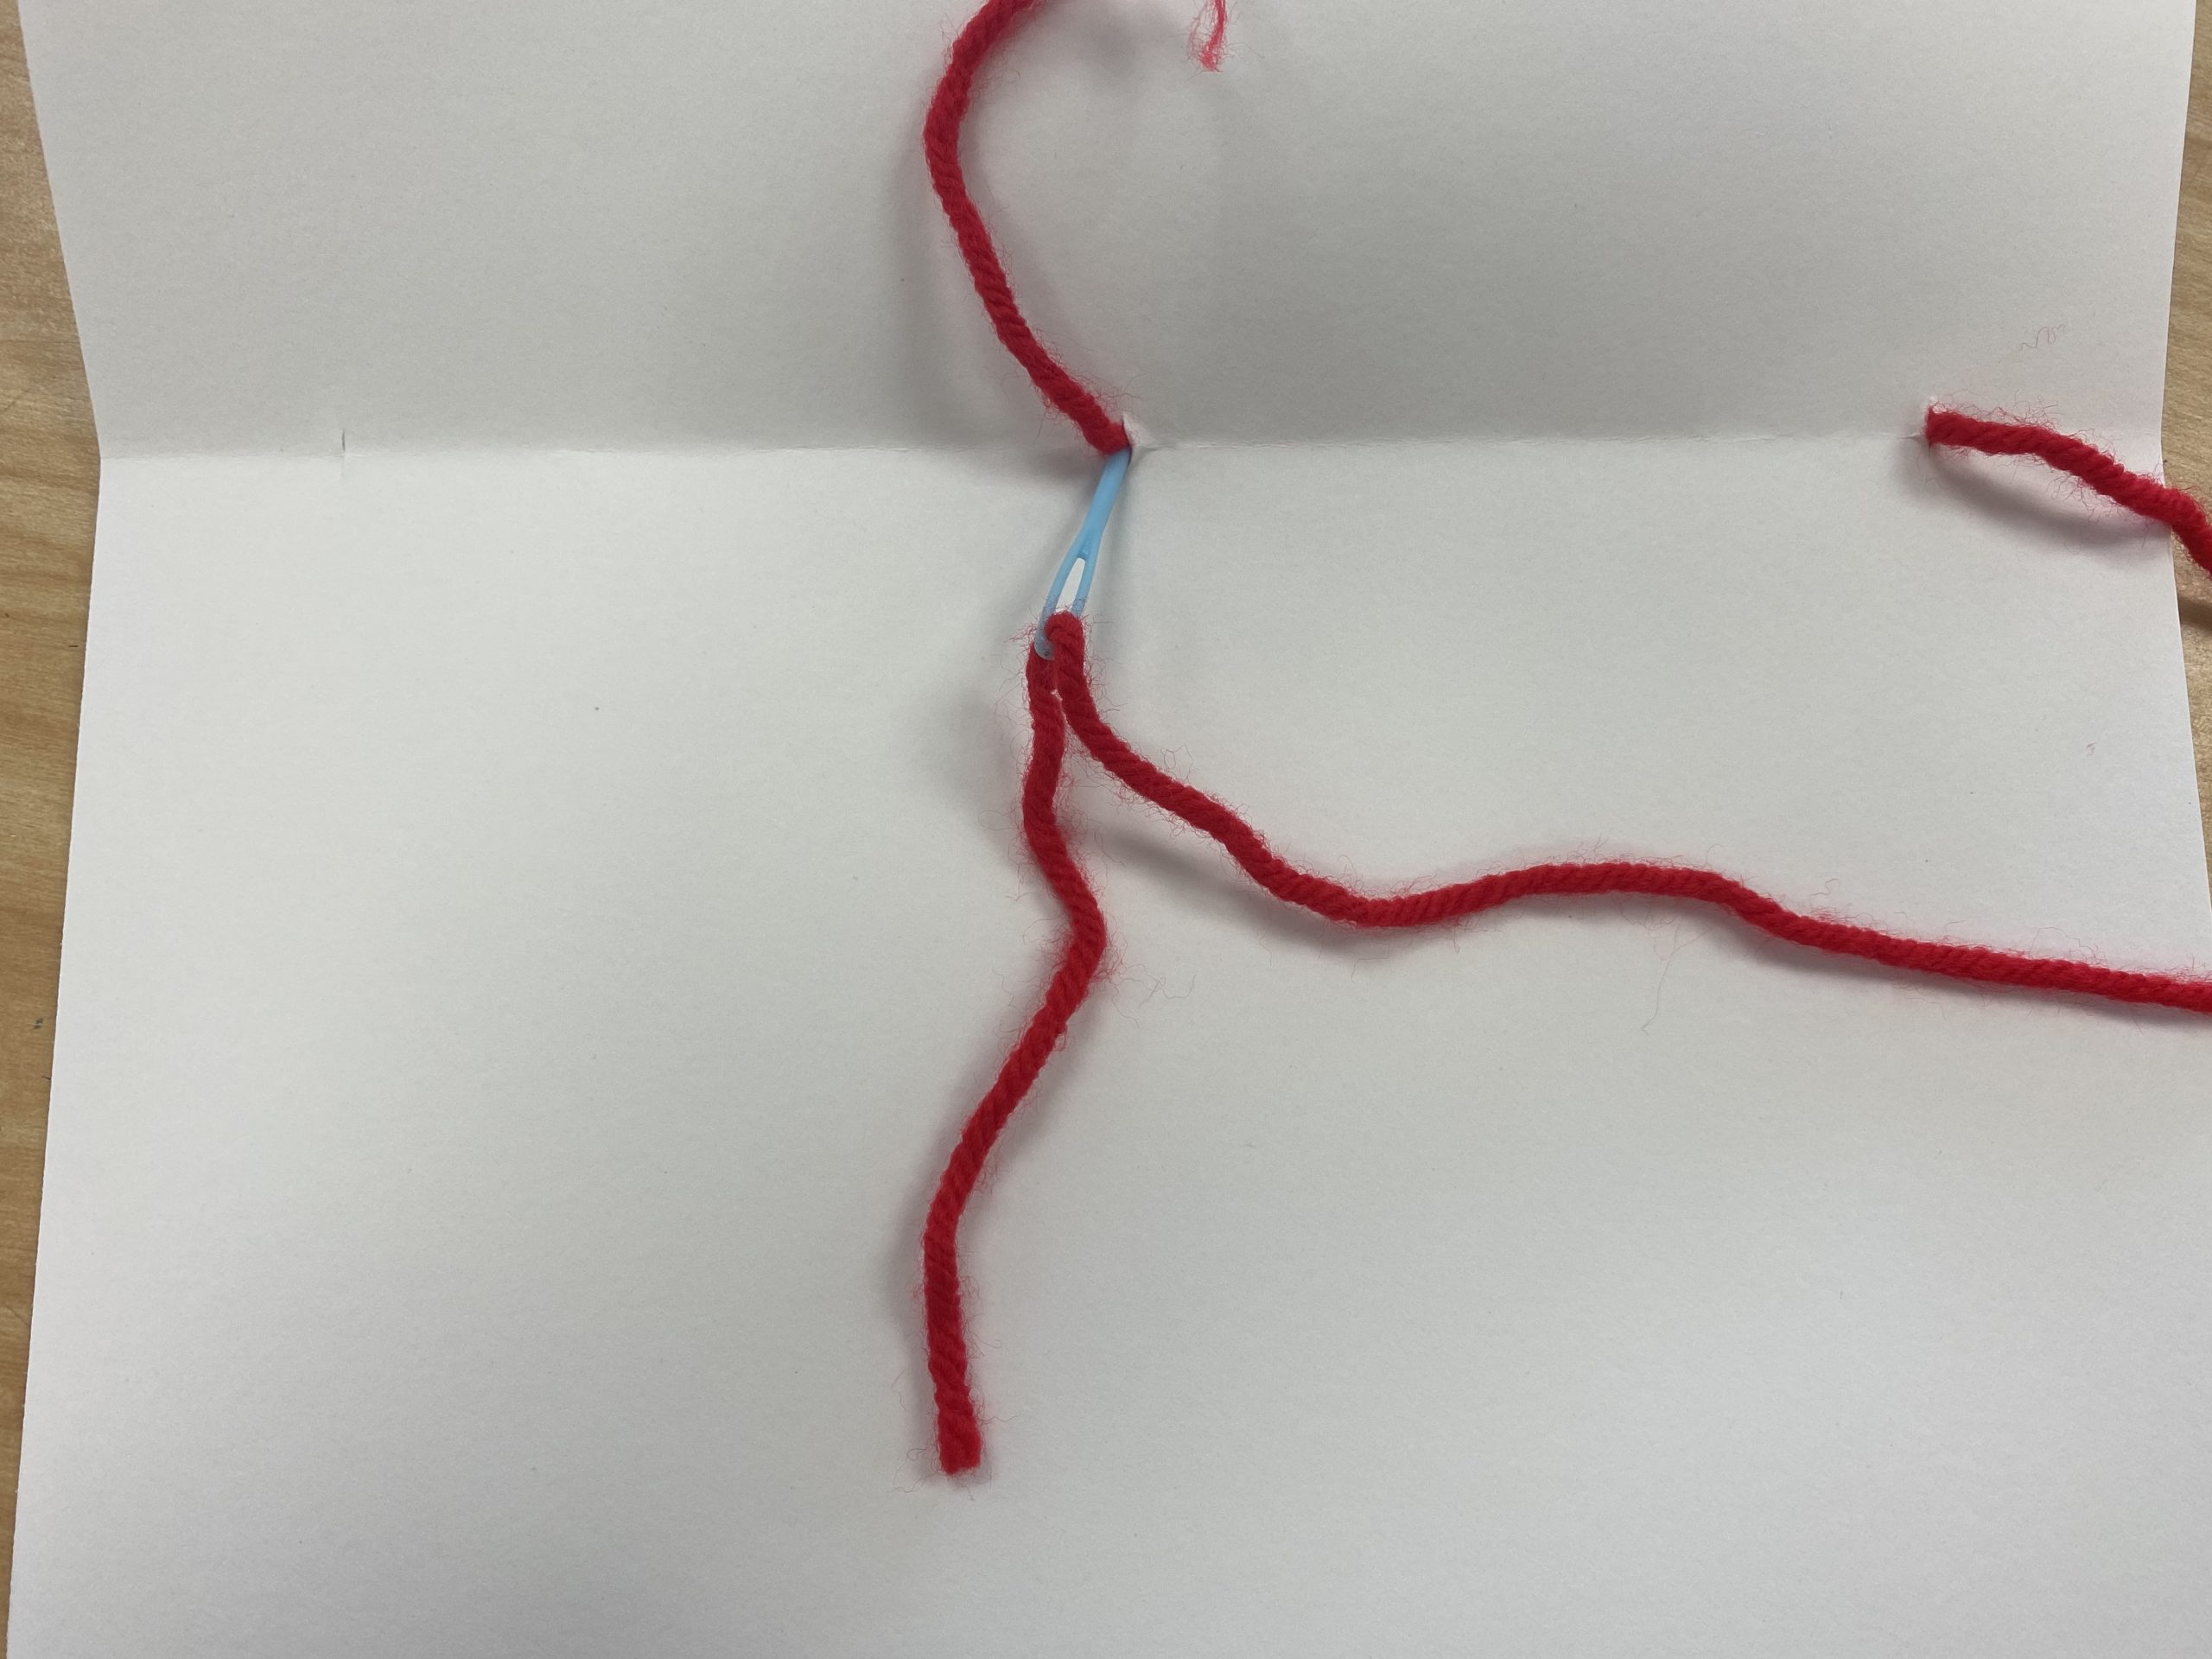
- Pull the yarn taught.
- Flip the book over so the outside is facing you. Push the needle through the top hole so it goes inside the book.
- Pull the yarn taught.
- Insert the needle under the yarn between the bottom and middle holes.
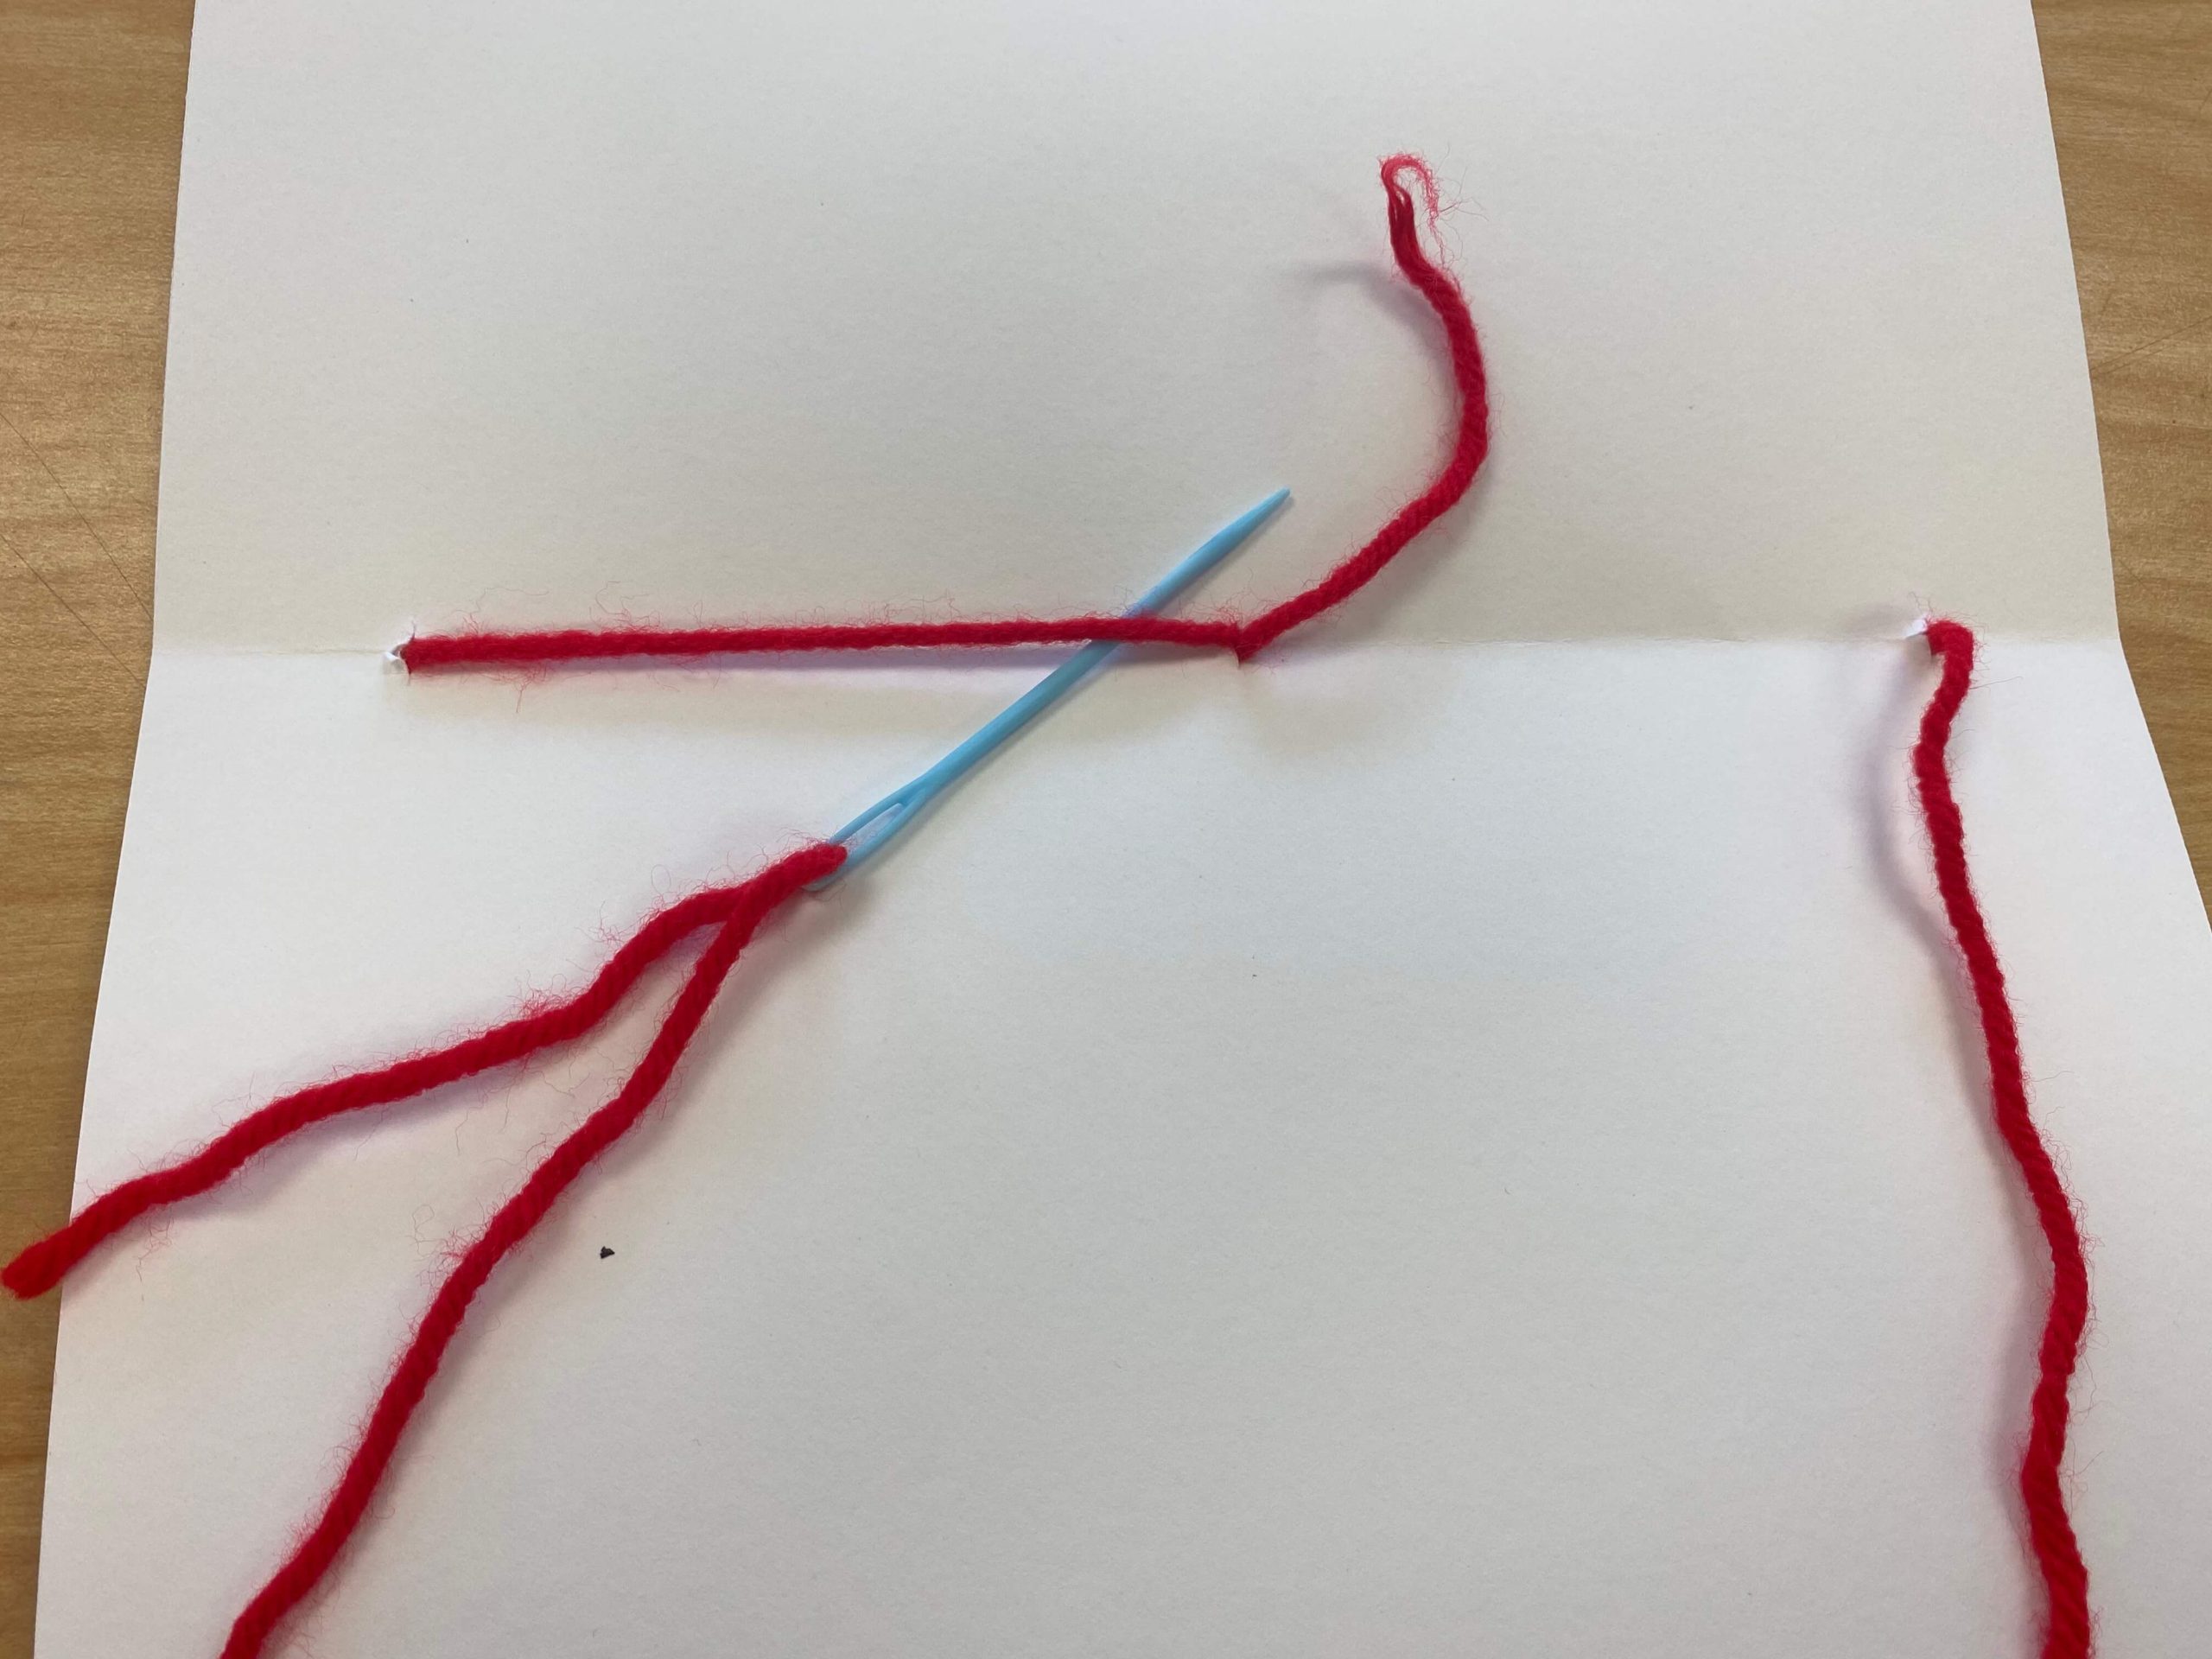
- Pull the yarn taught.
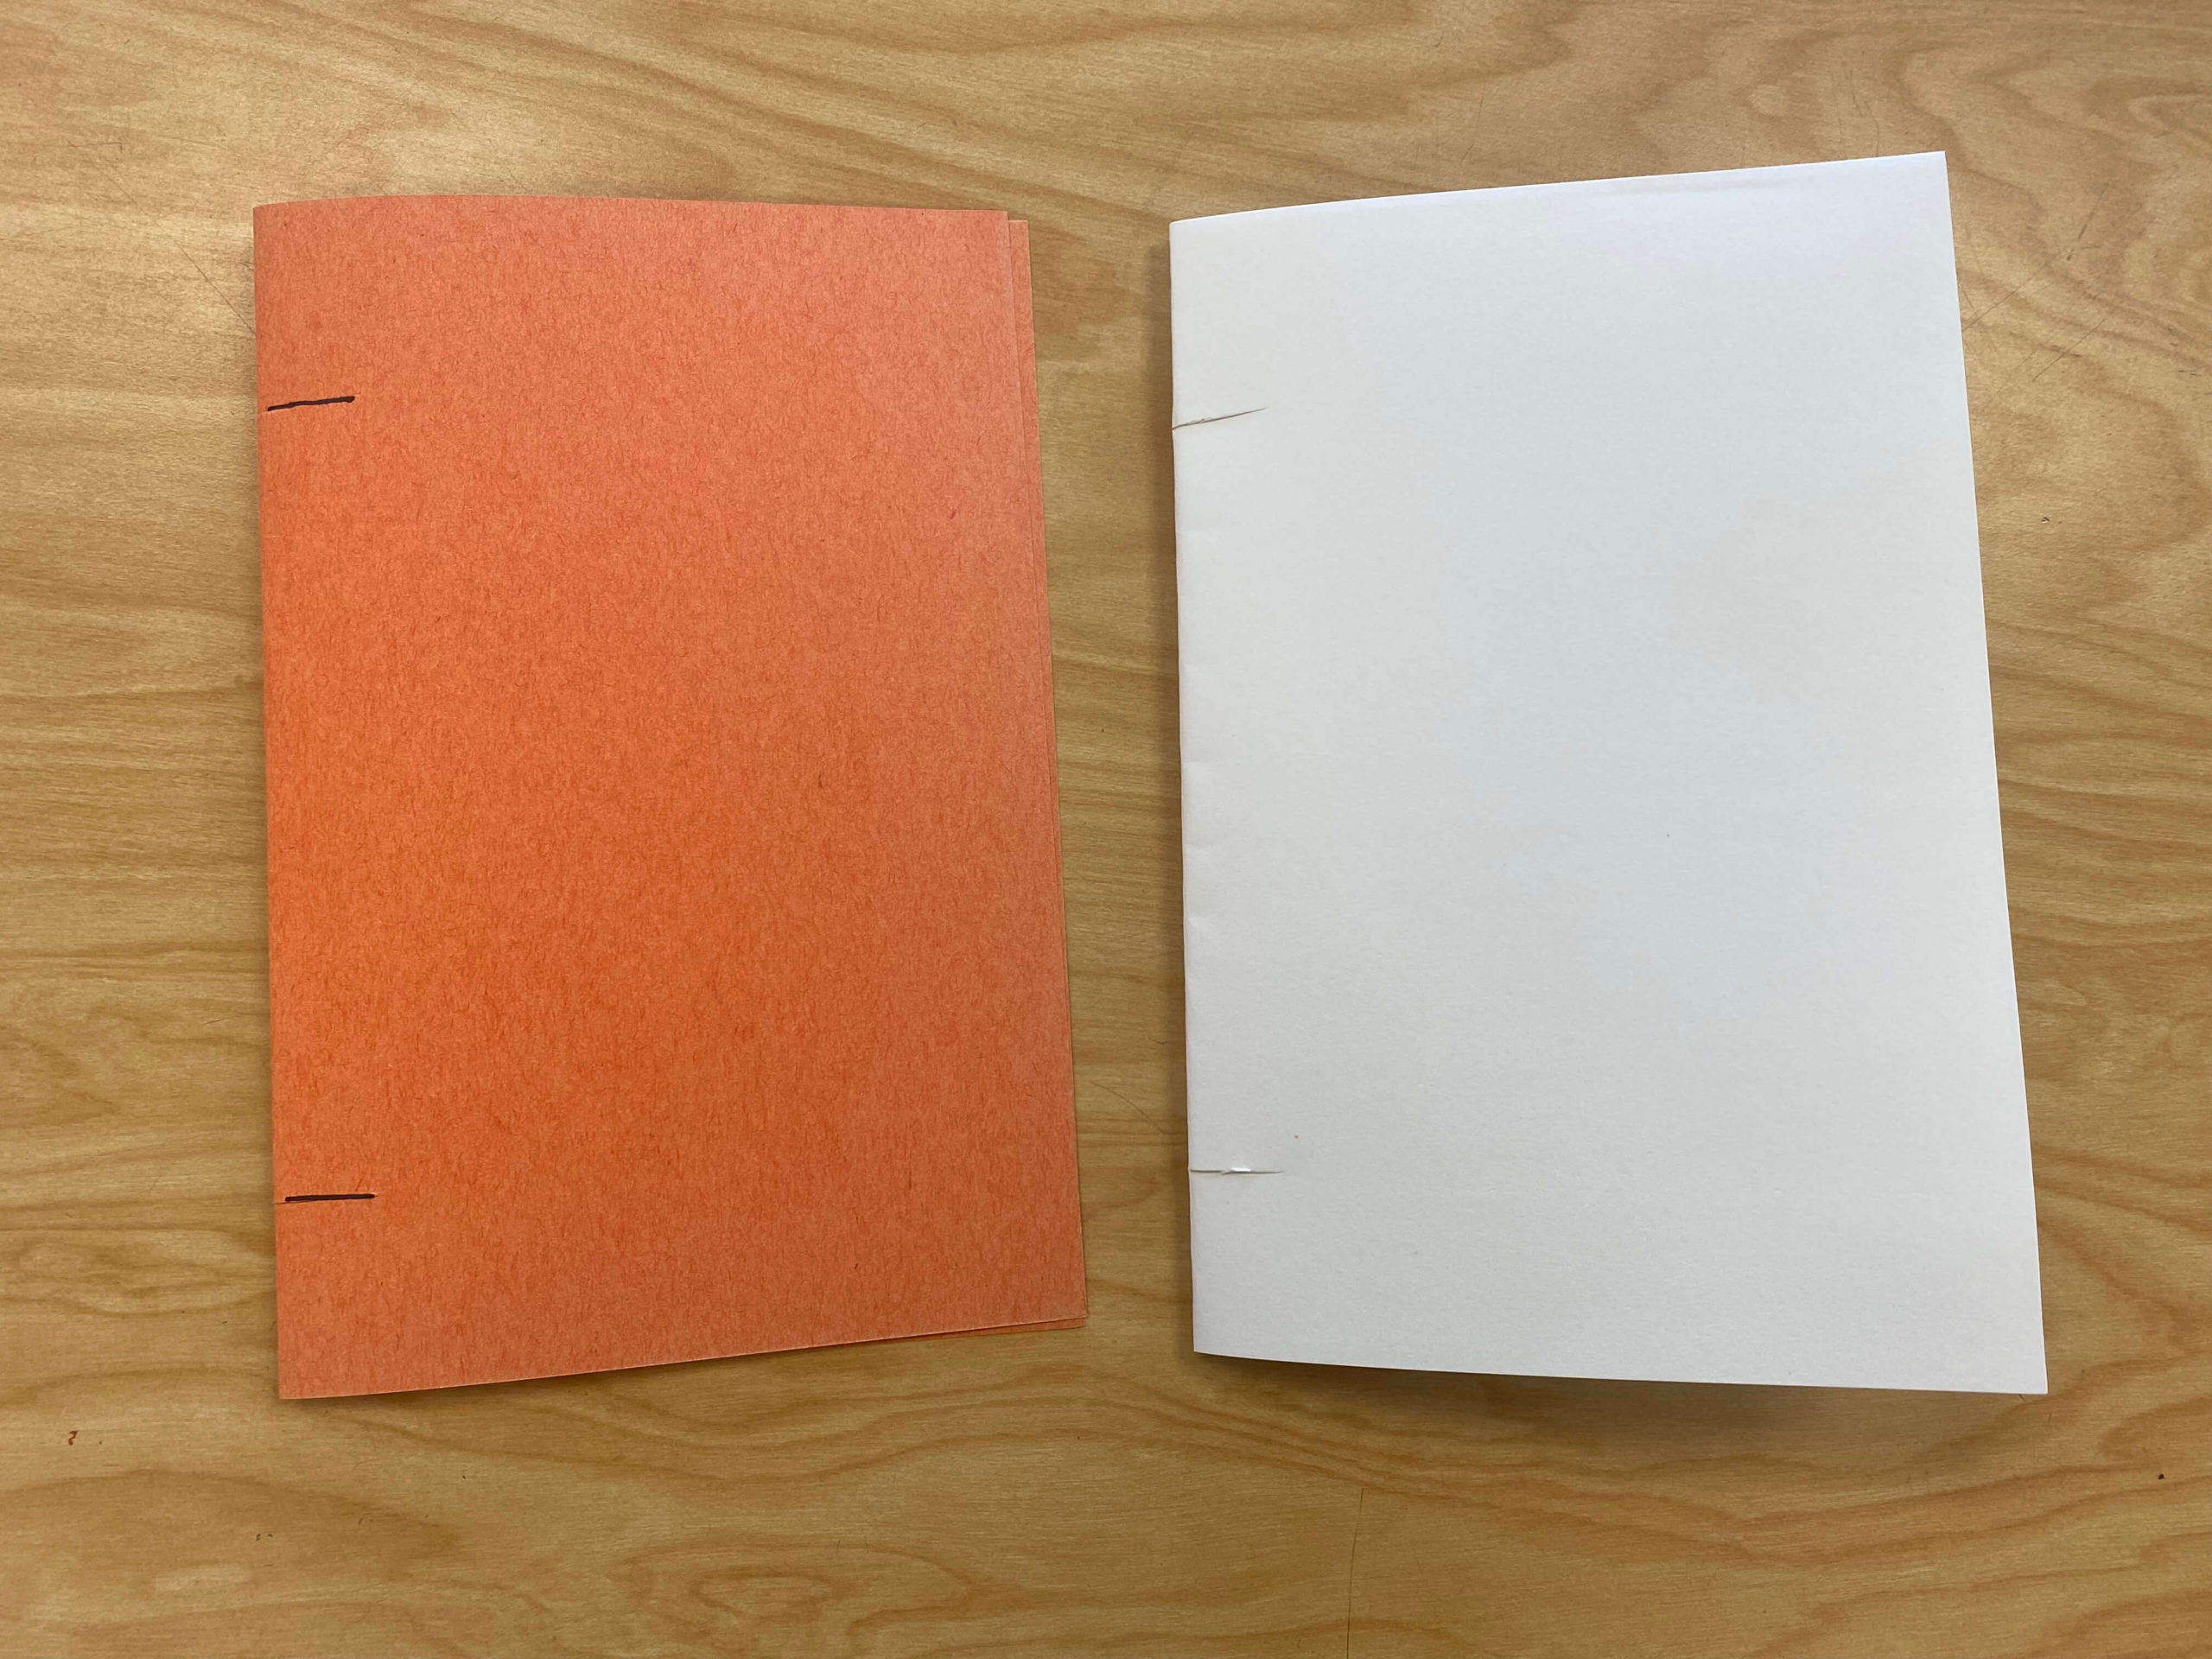
- Tie off the yarn with a double knot.
- Cut off the excess yarn.
- Voila! You have a sketchbook!
Optional Extension for the Sewn Pamphlet Sketchbook:
Overall, I’ve gotten away from utilizing worksheets in my classroom and I opt mostly for online resources. However, every now and then there are miscellaneous papers I like my students to have readily available. The best solution for this? Pockets!
Optional Extension for the Sewn Pamphlet Sketchbook:
Overall, I’ve gotten away from utilizing worksheets in my classroom and I opt mostly for online resources. However, now and then I do use worksheets I need my students to keep track of. The best solution for this? Pockets!
To create pockets with the Sewn Pamphlet Sketchbook, you will need:
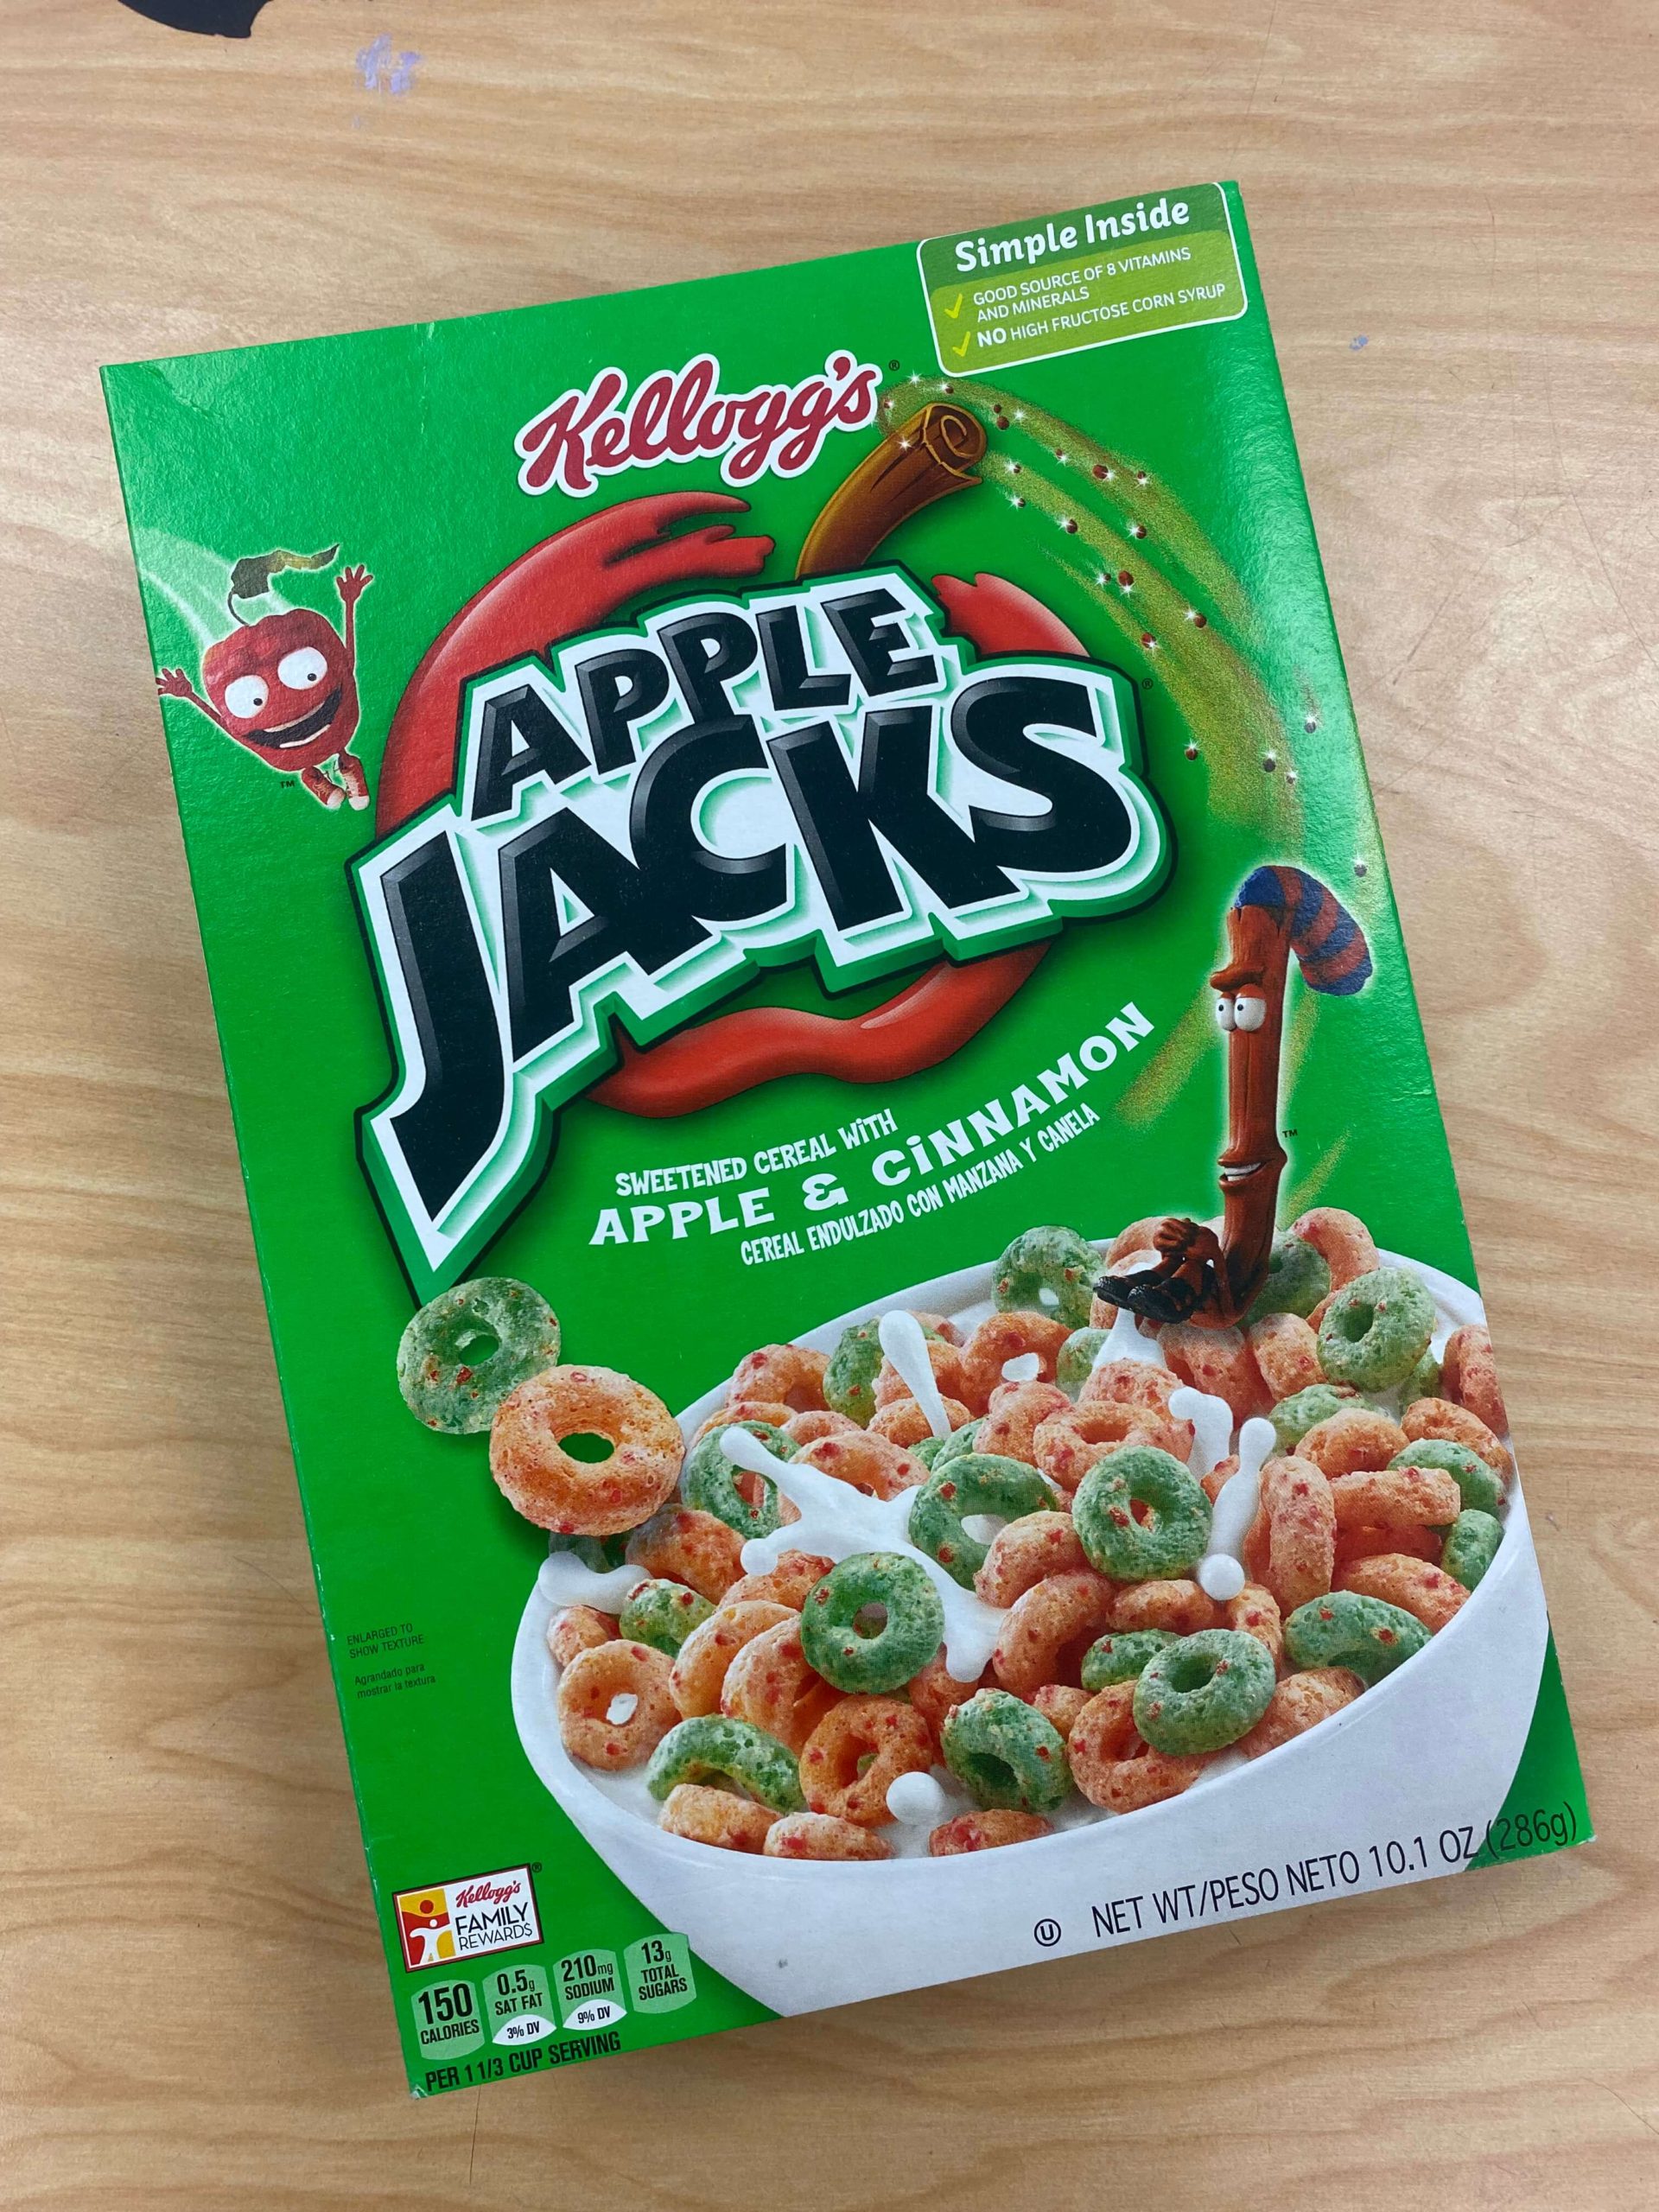
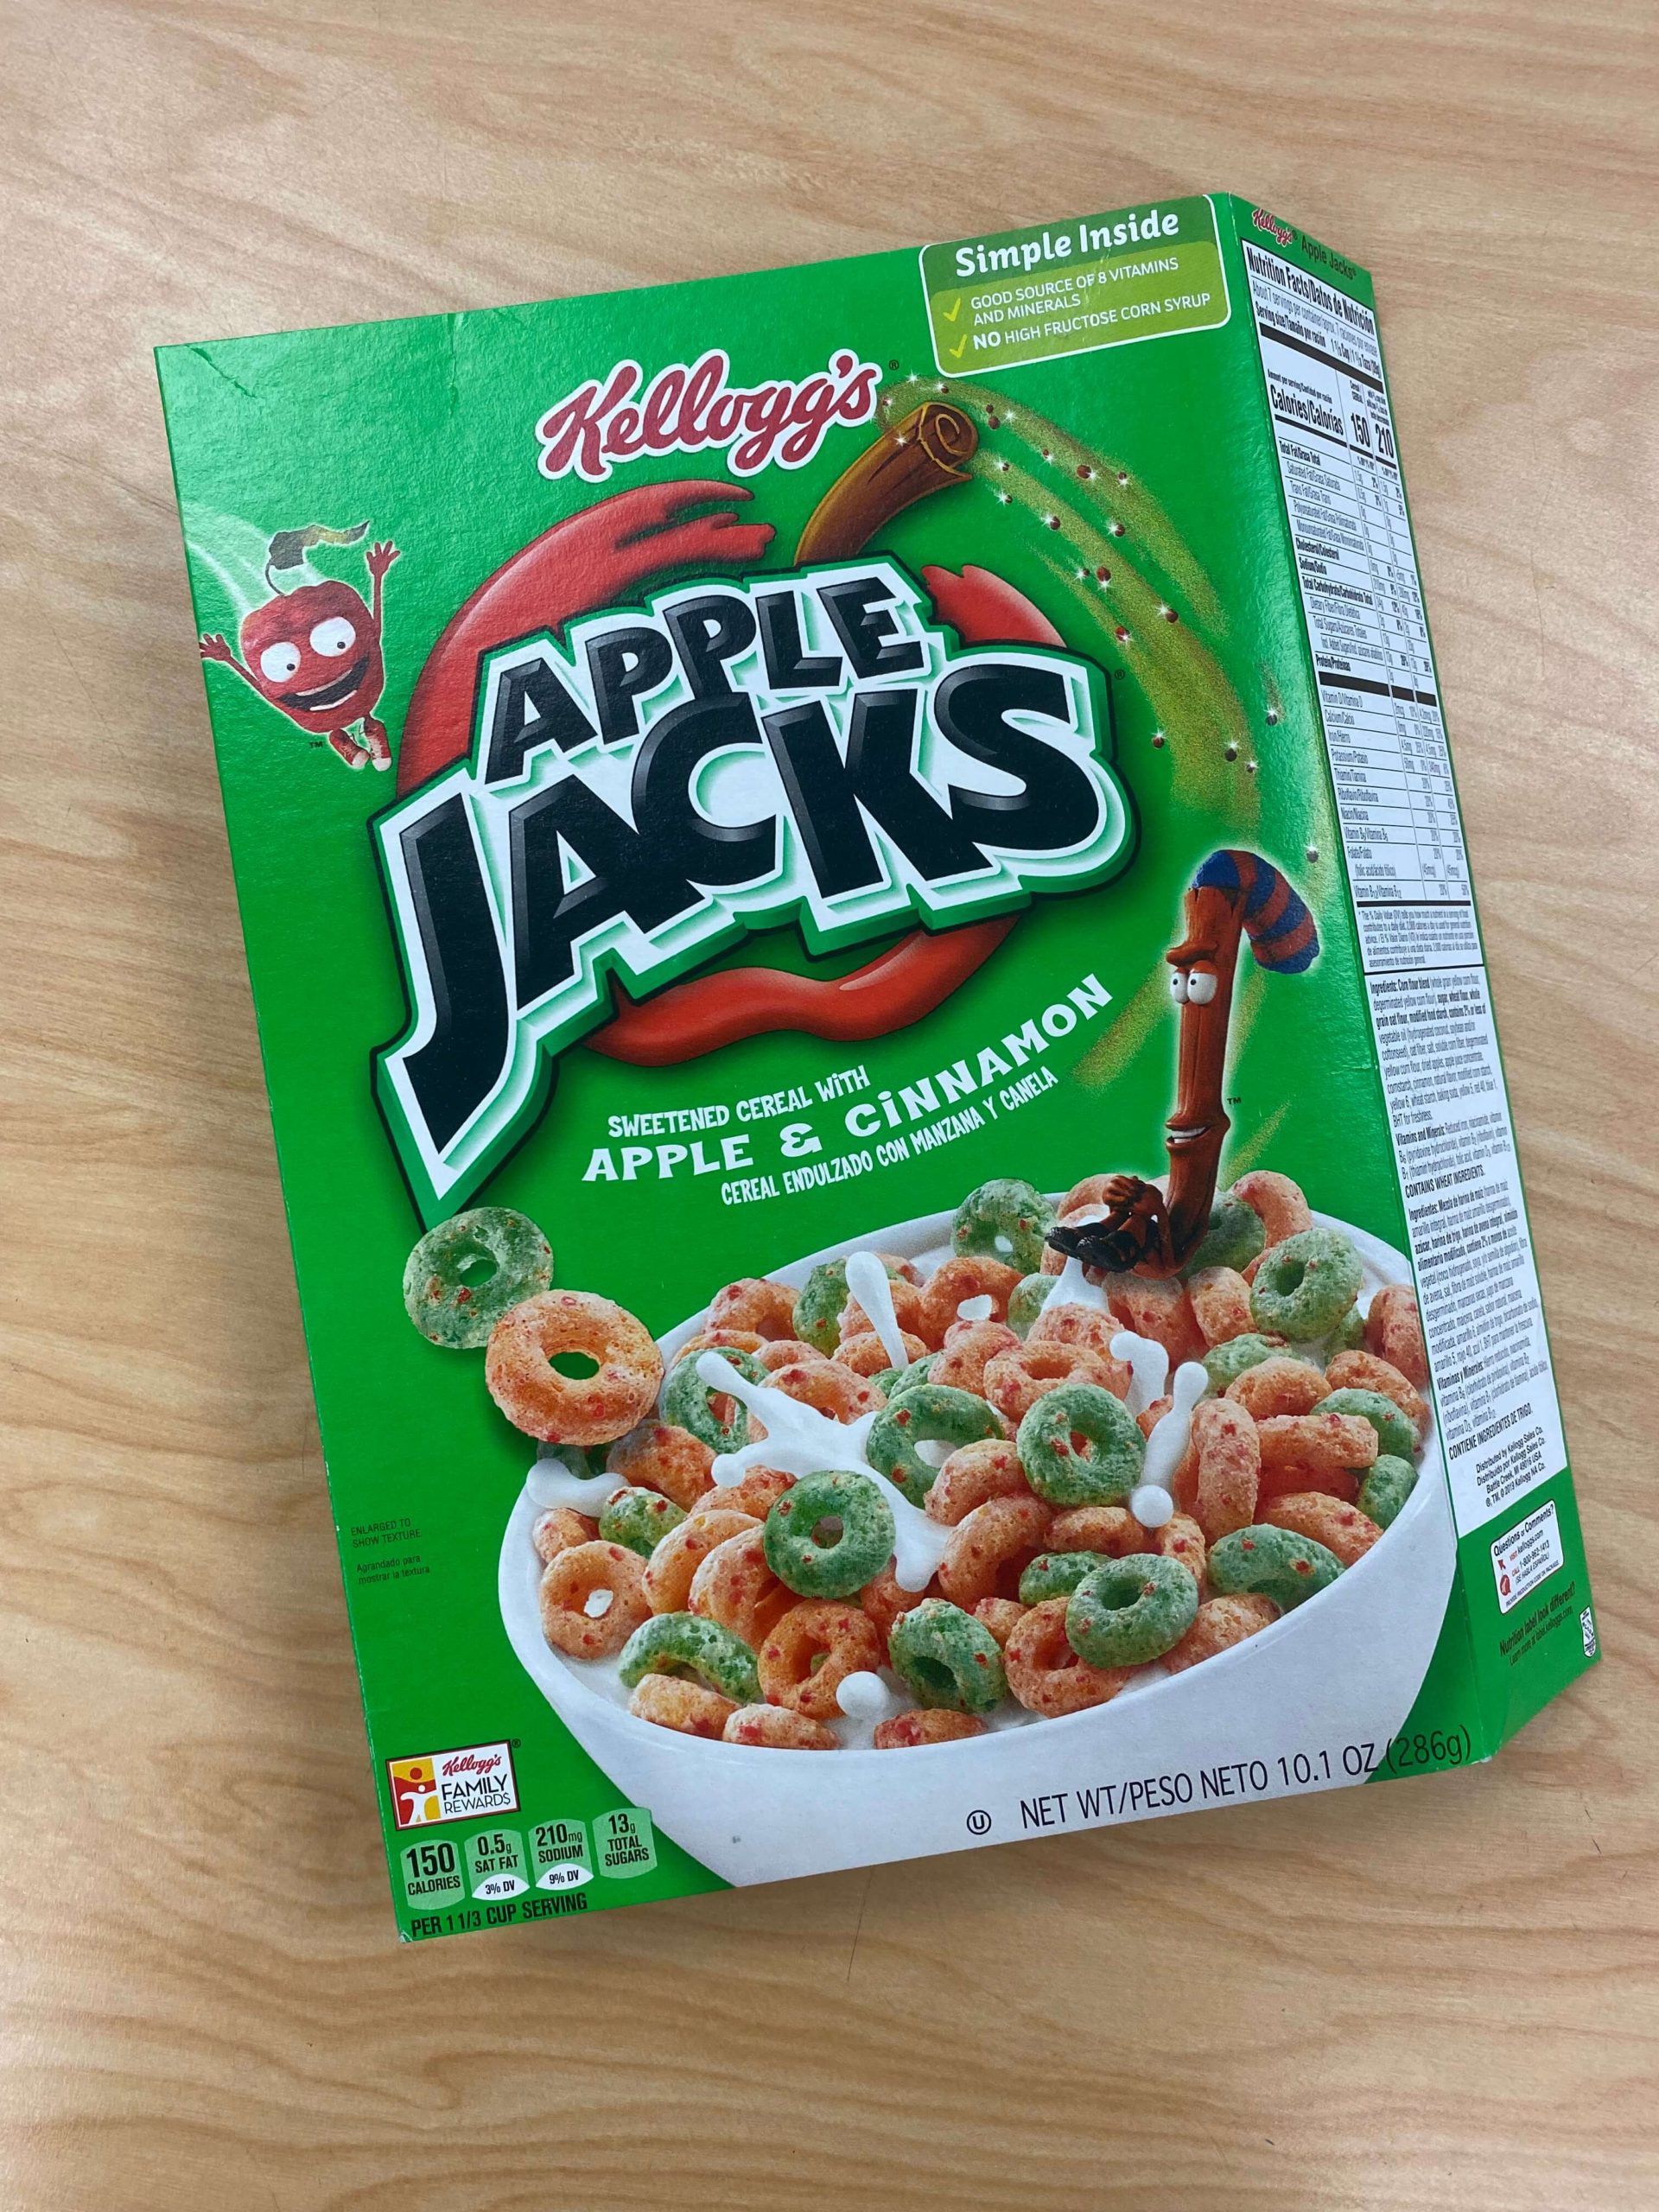
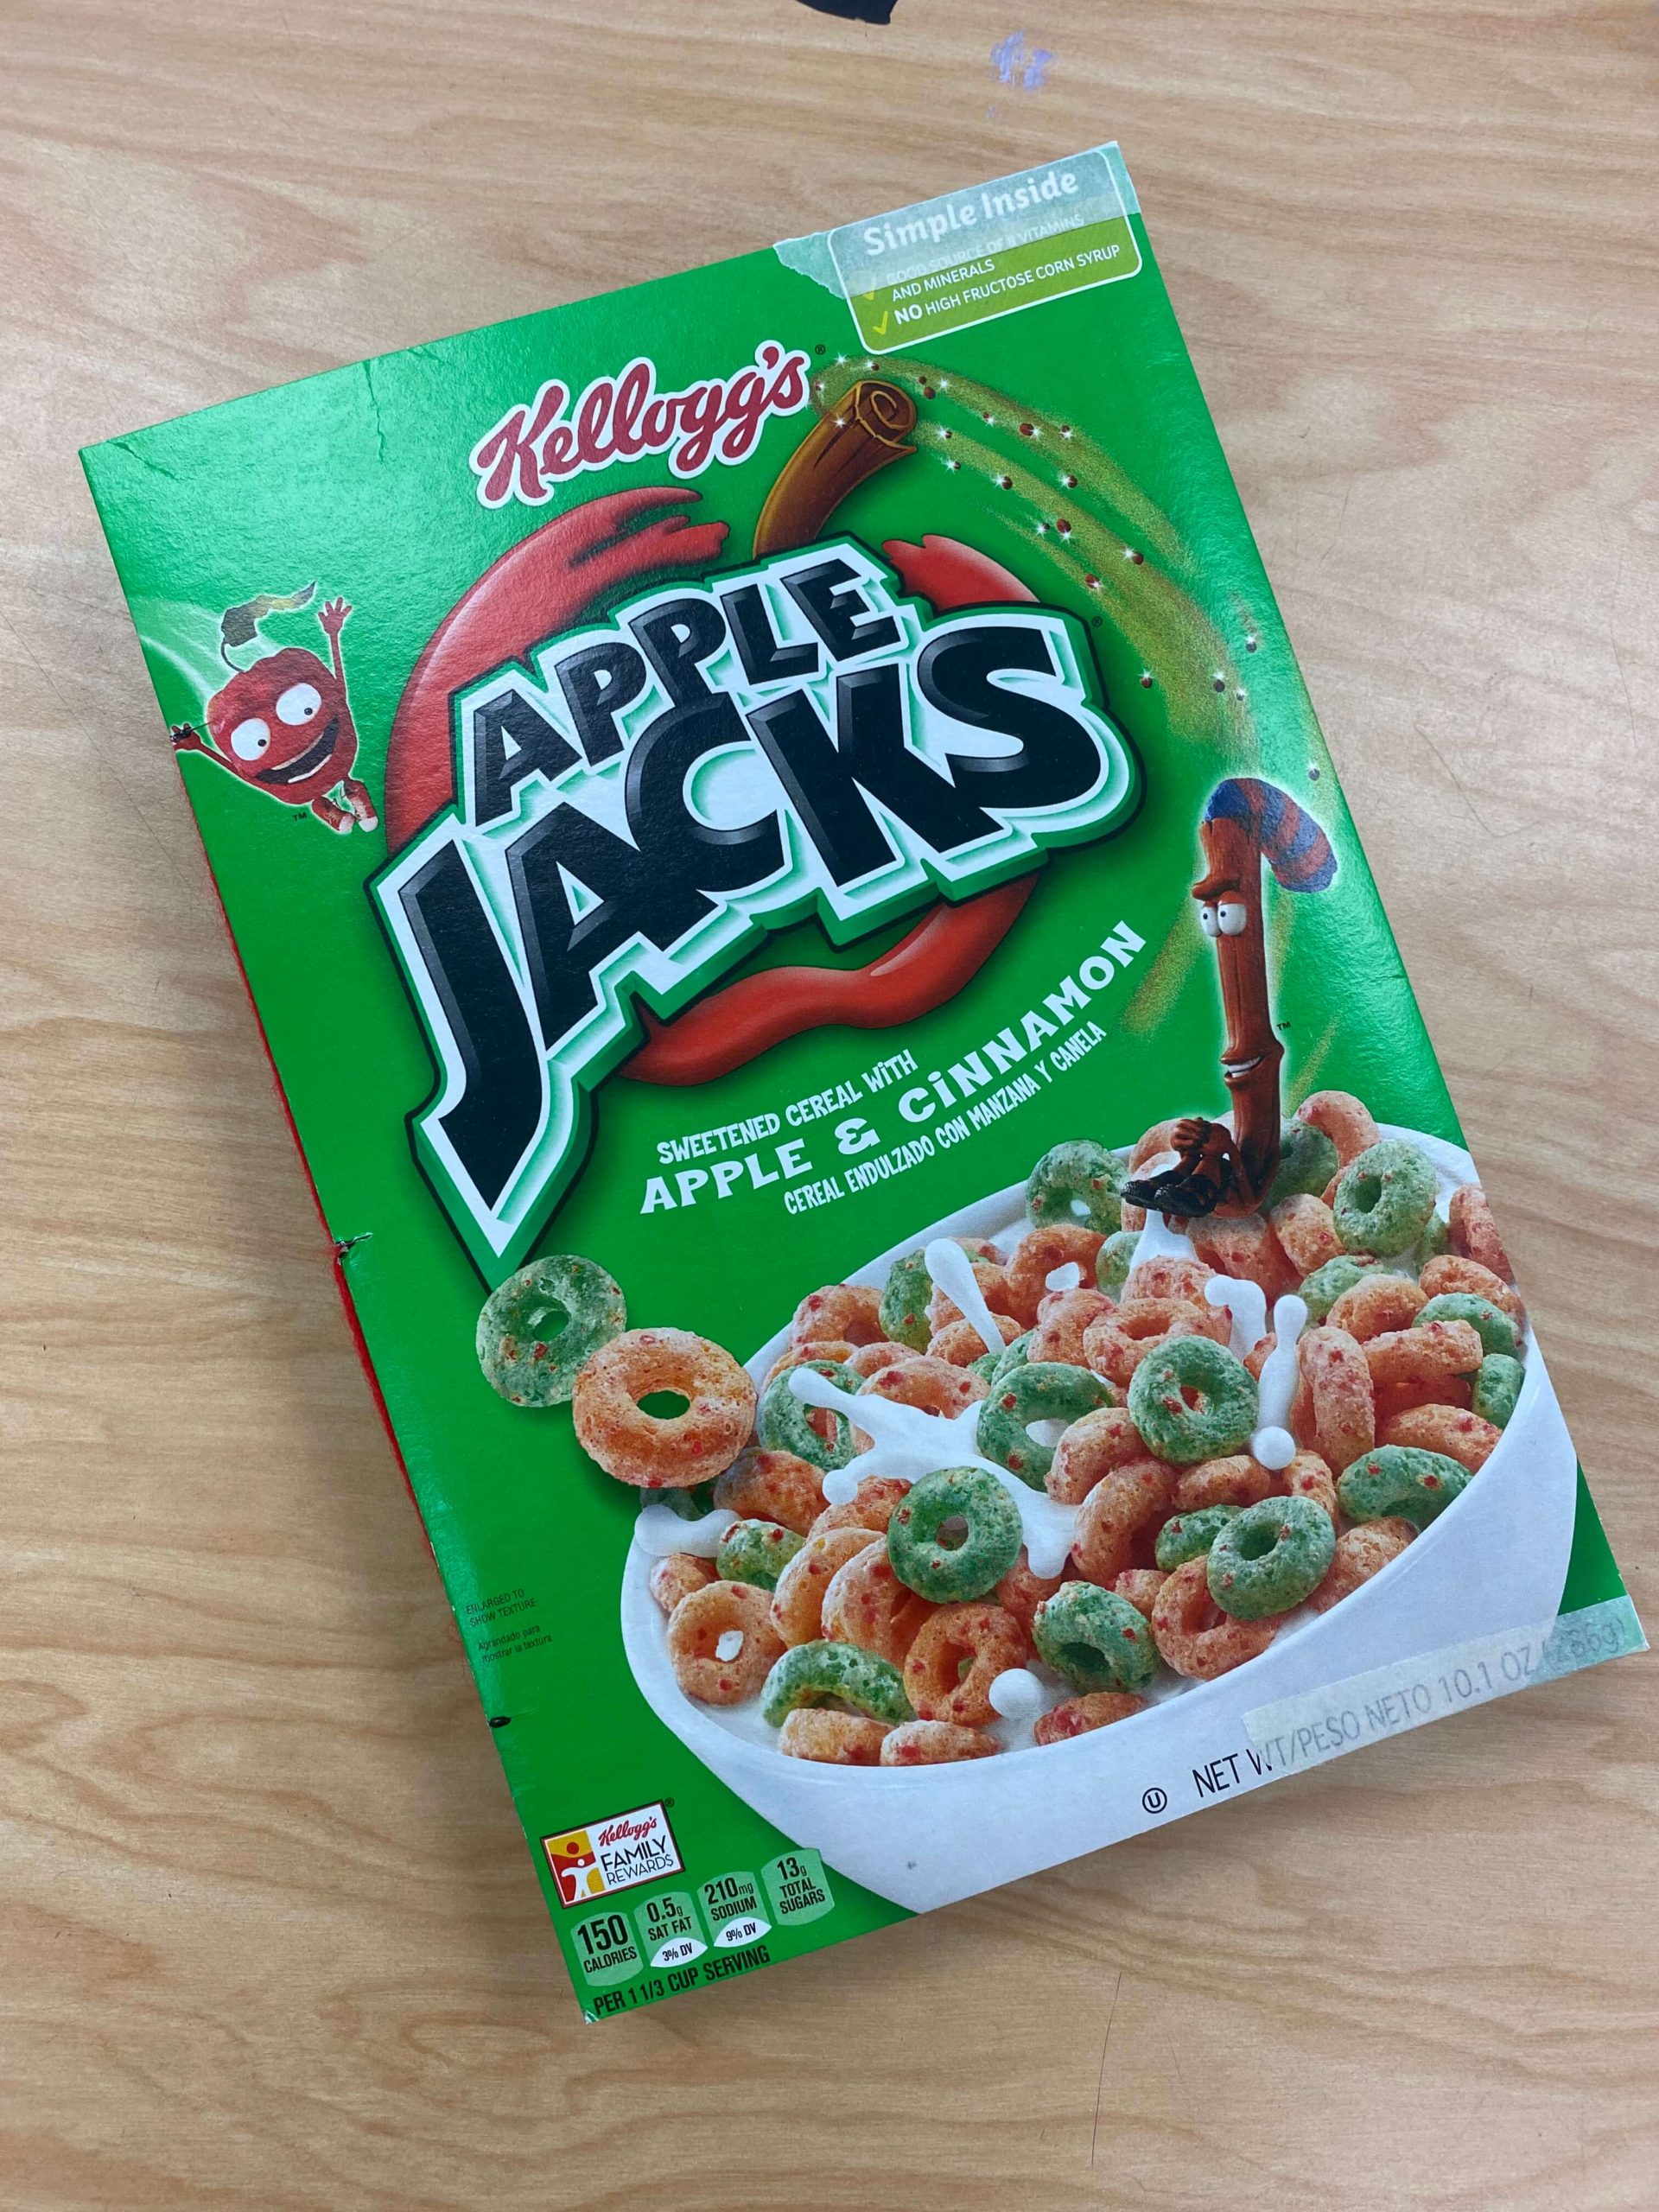
- A cereal box (To gather enough boxes for my students, I simply asked my colleagues to donate any used cereal boxes. Be sure to request that they are collapsed! It will save you the hassle and make them easier to store until you need them.)
- Tape/Glue (I prefer masking tape for this. I find it holds up better than glue and eliminates the need for drying time!)
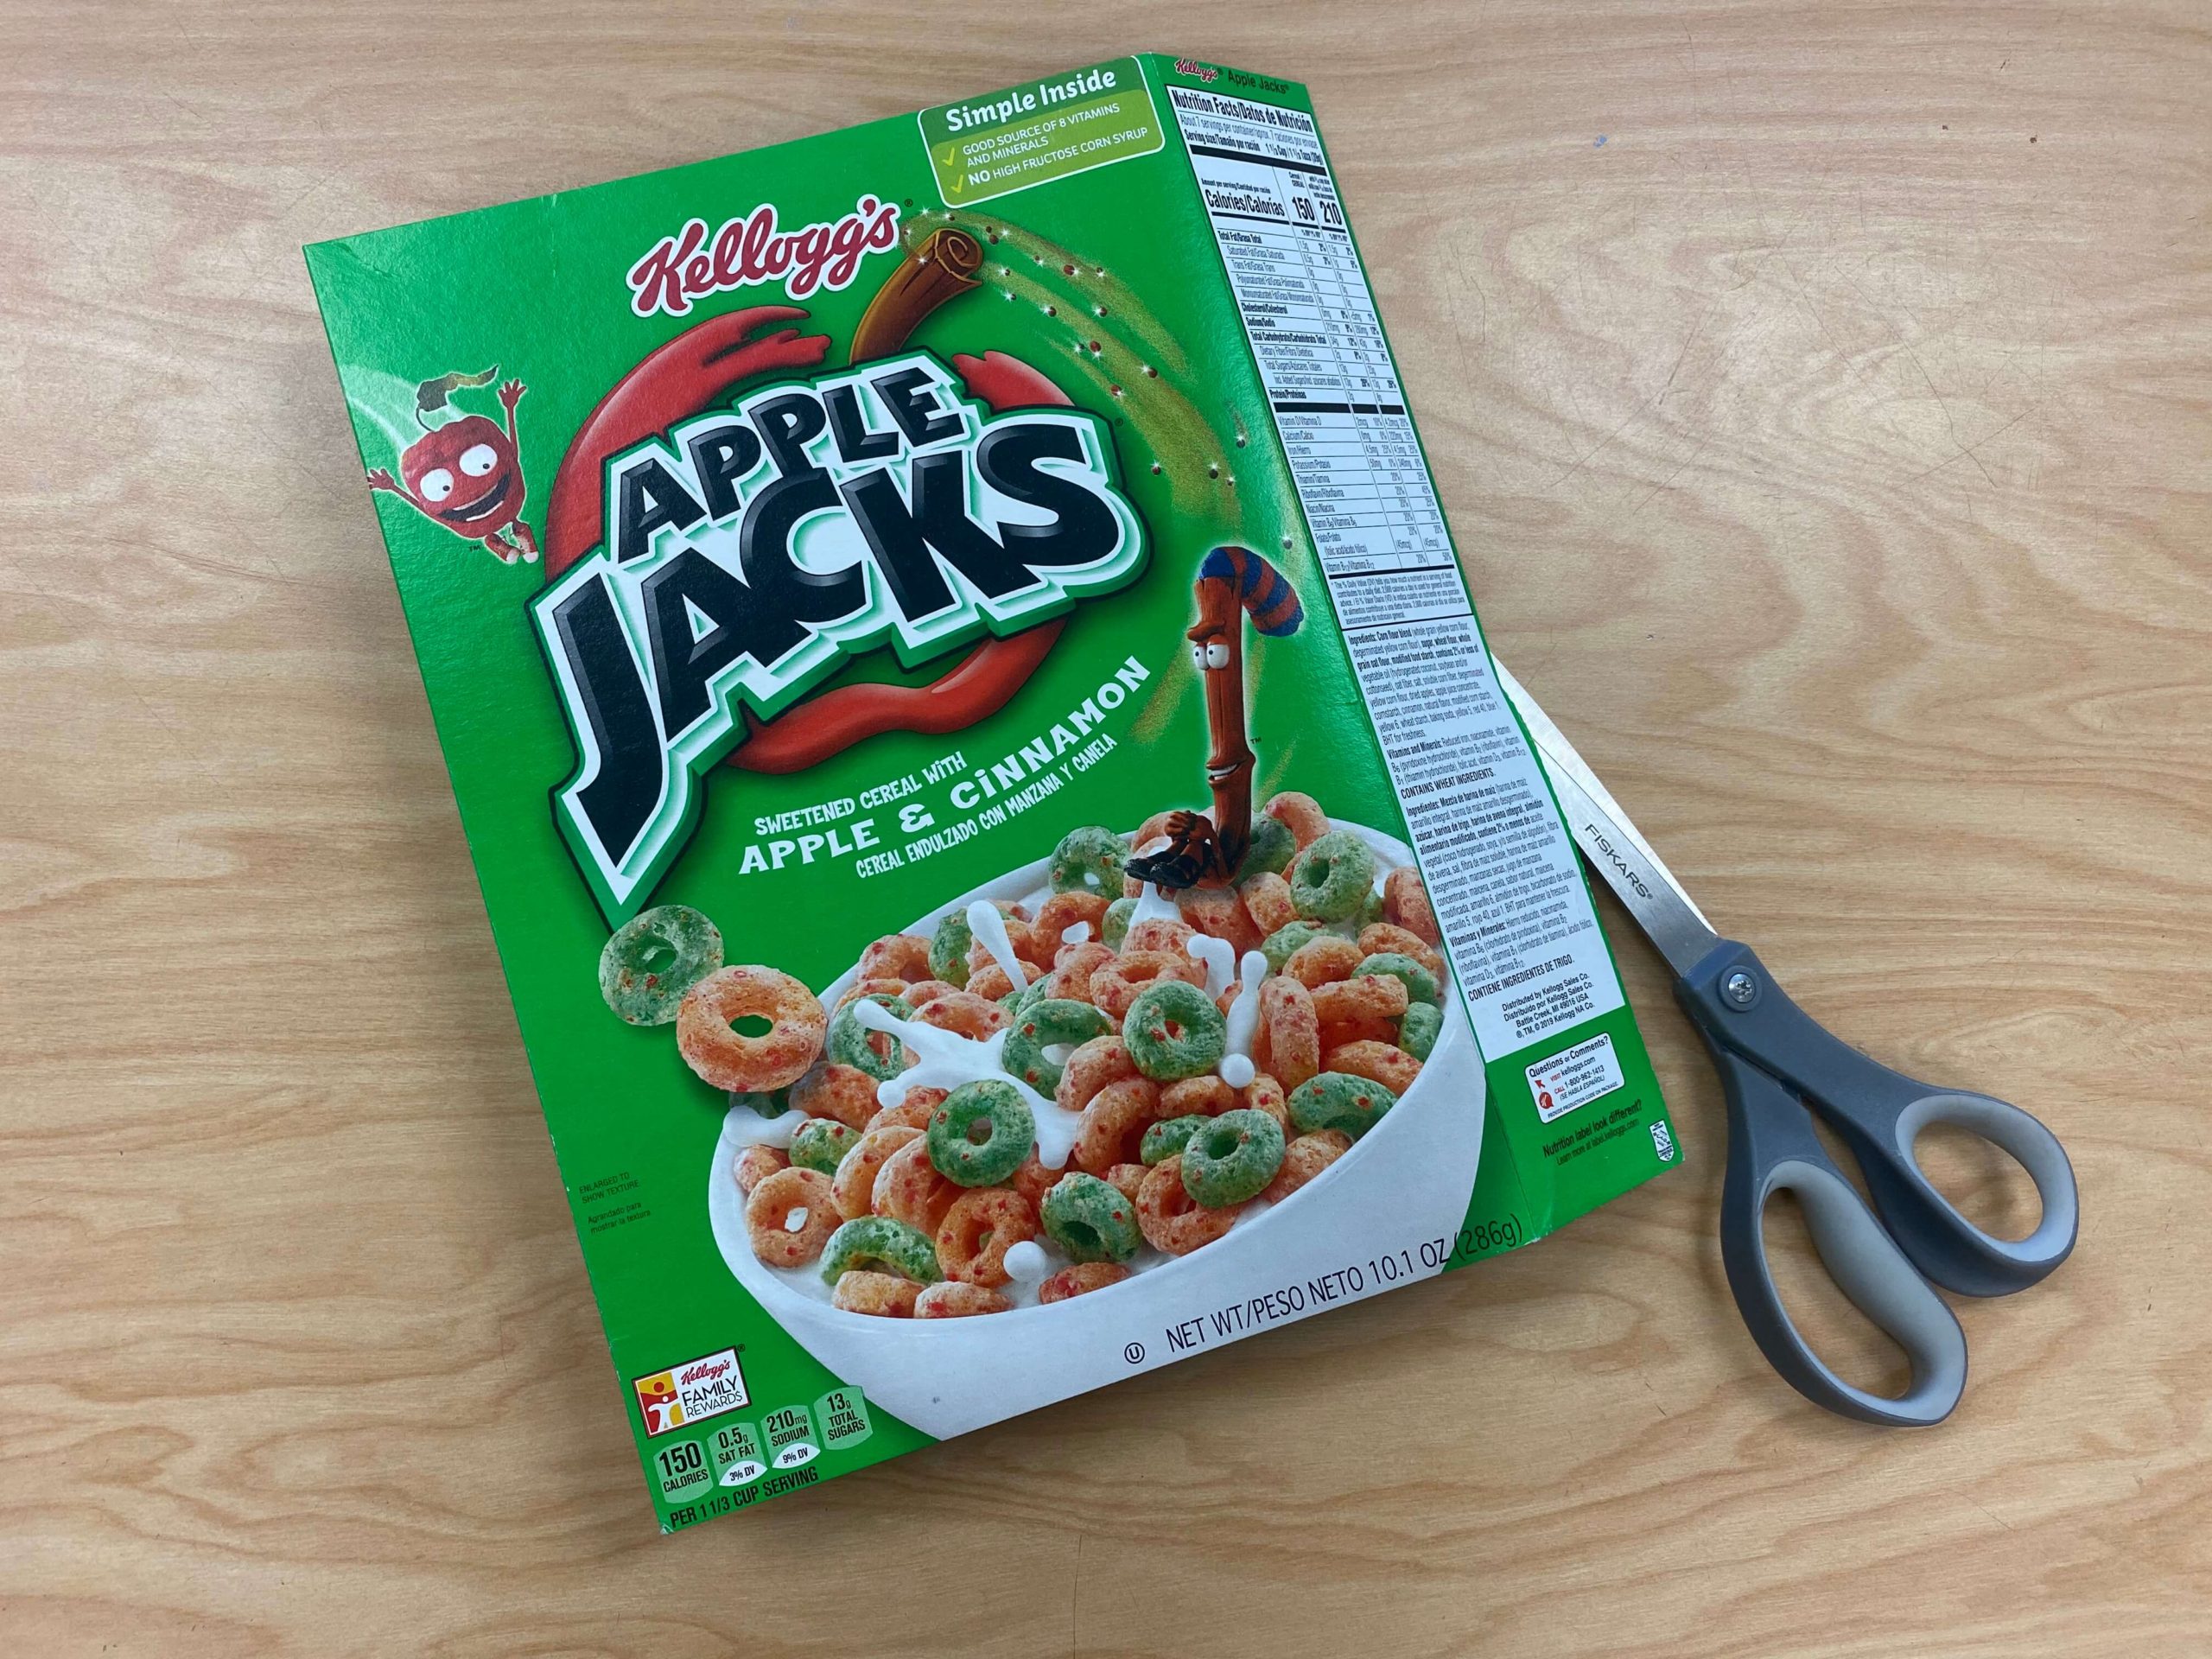
- Scissors
Steps:
- Cut off all the tabs on the top and bottom of the box.
- Collapse the box.
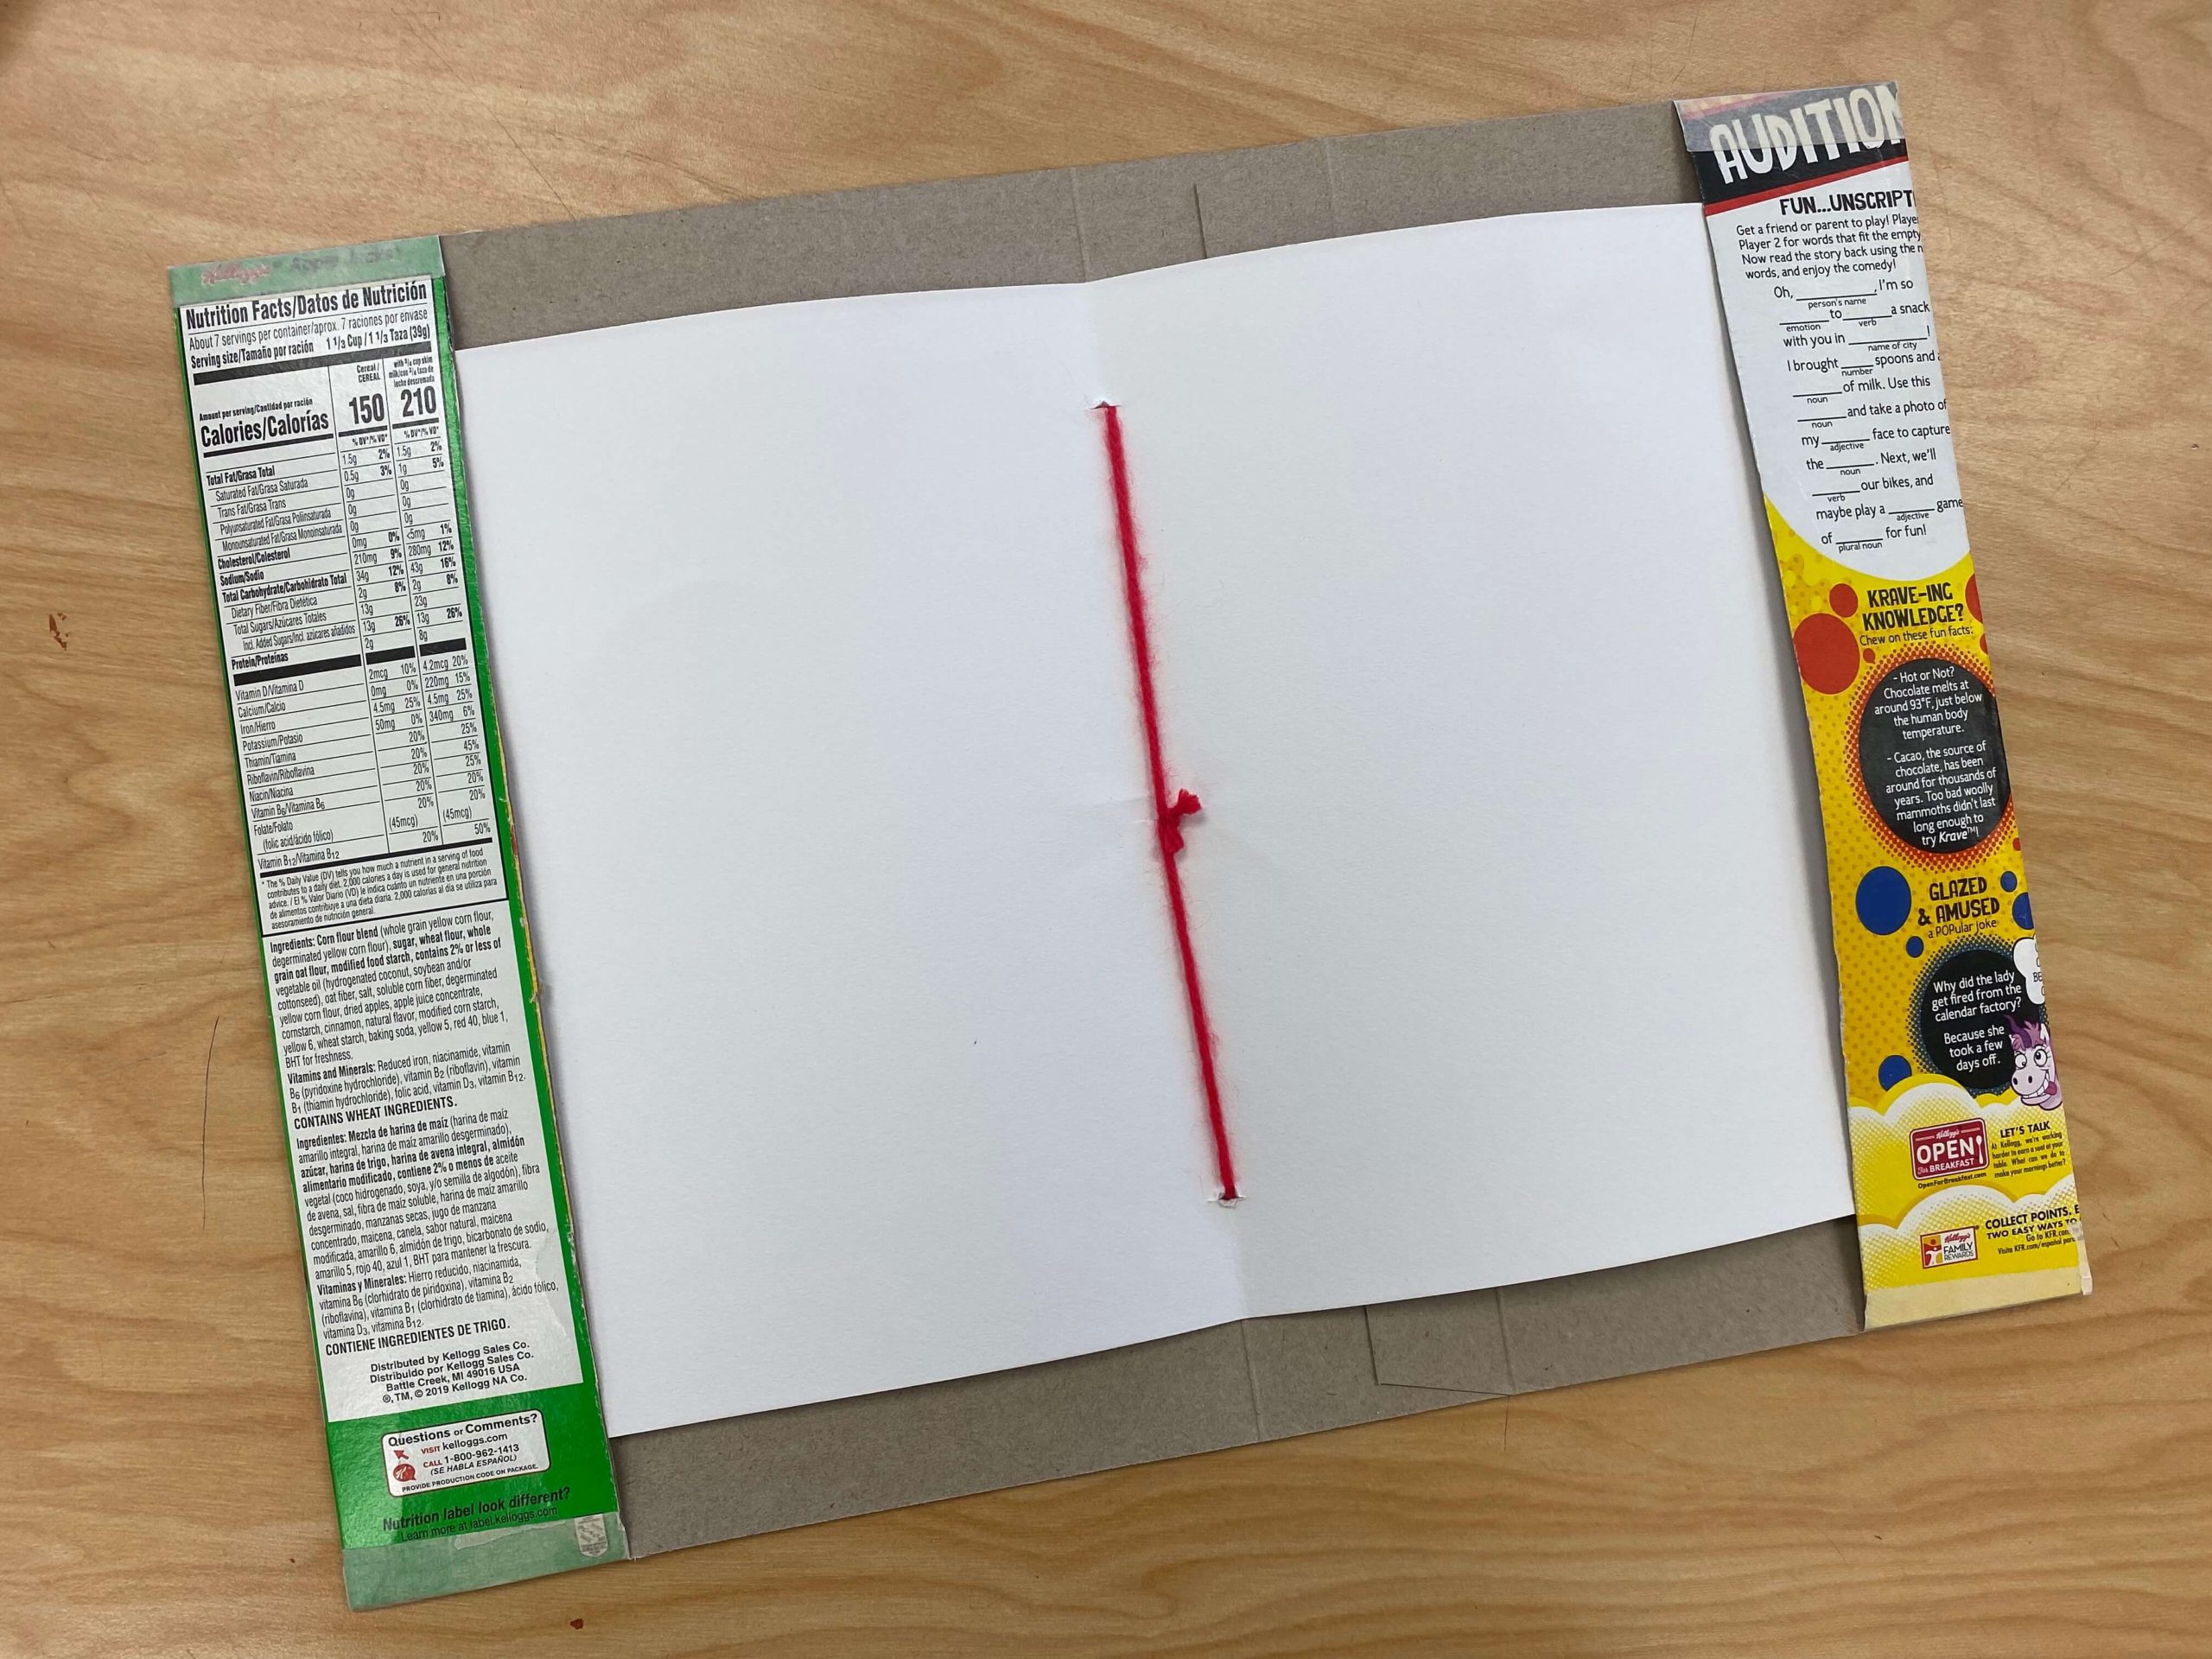
- Locate the right-side panel of the box and cut along the crease separating the side panel from the back panel.
- Flip the box over. Fold side A. This will be easy because there is already a crease there. Fold side B to match side A. You have now created two flaps.
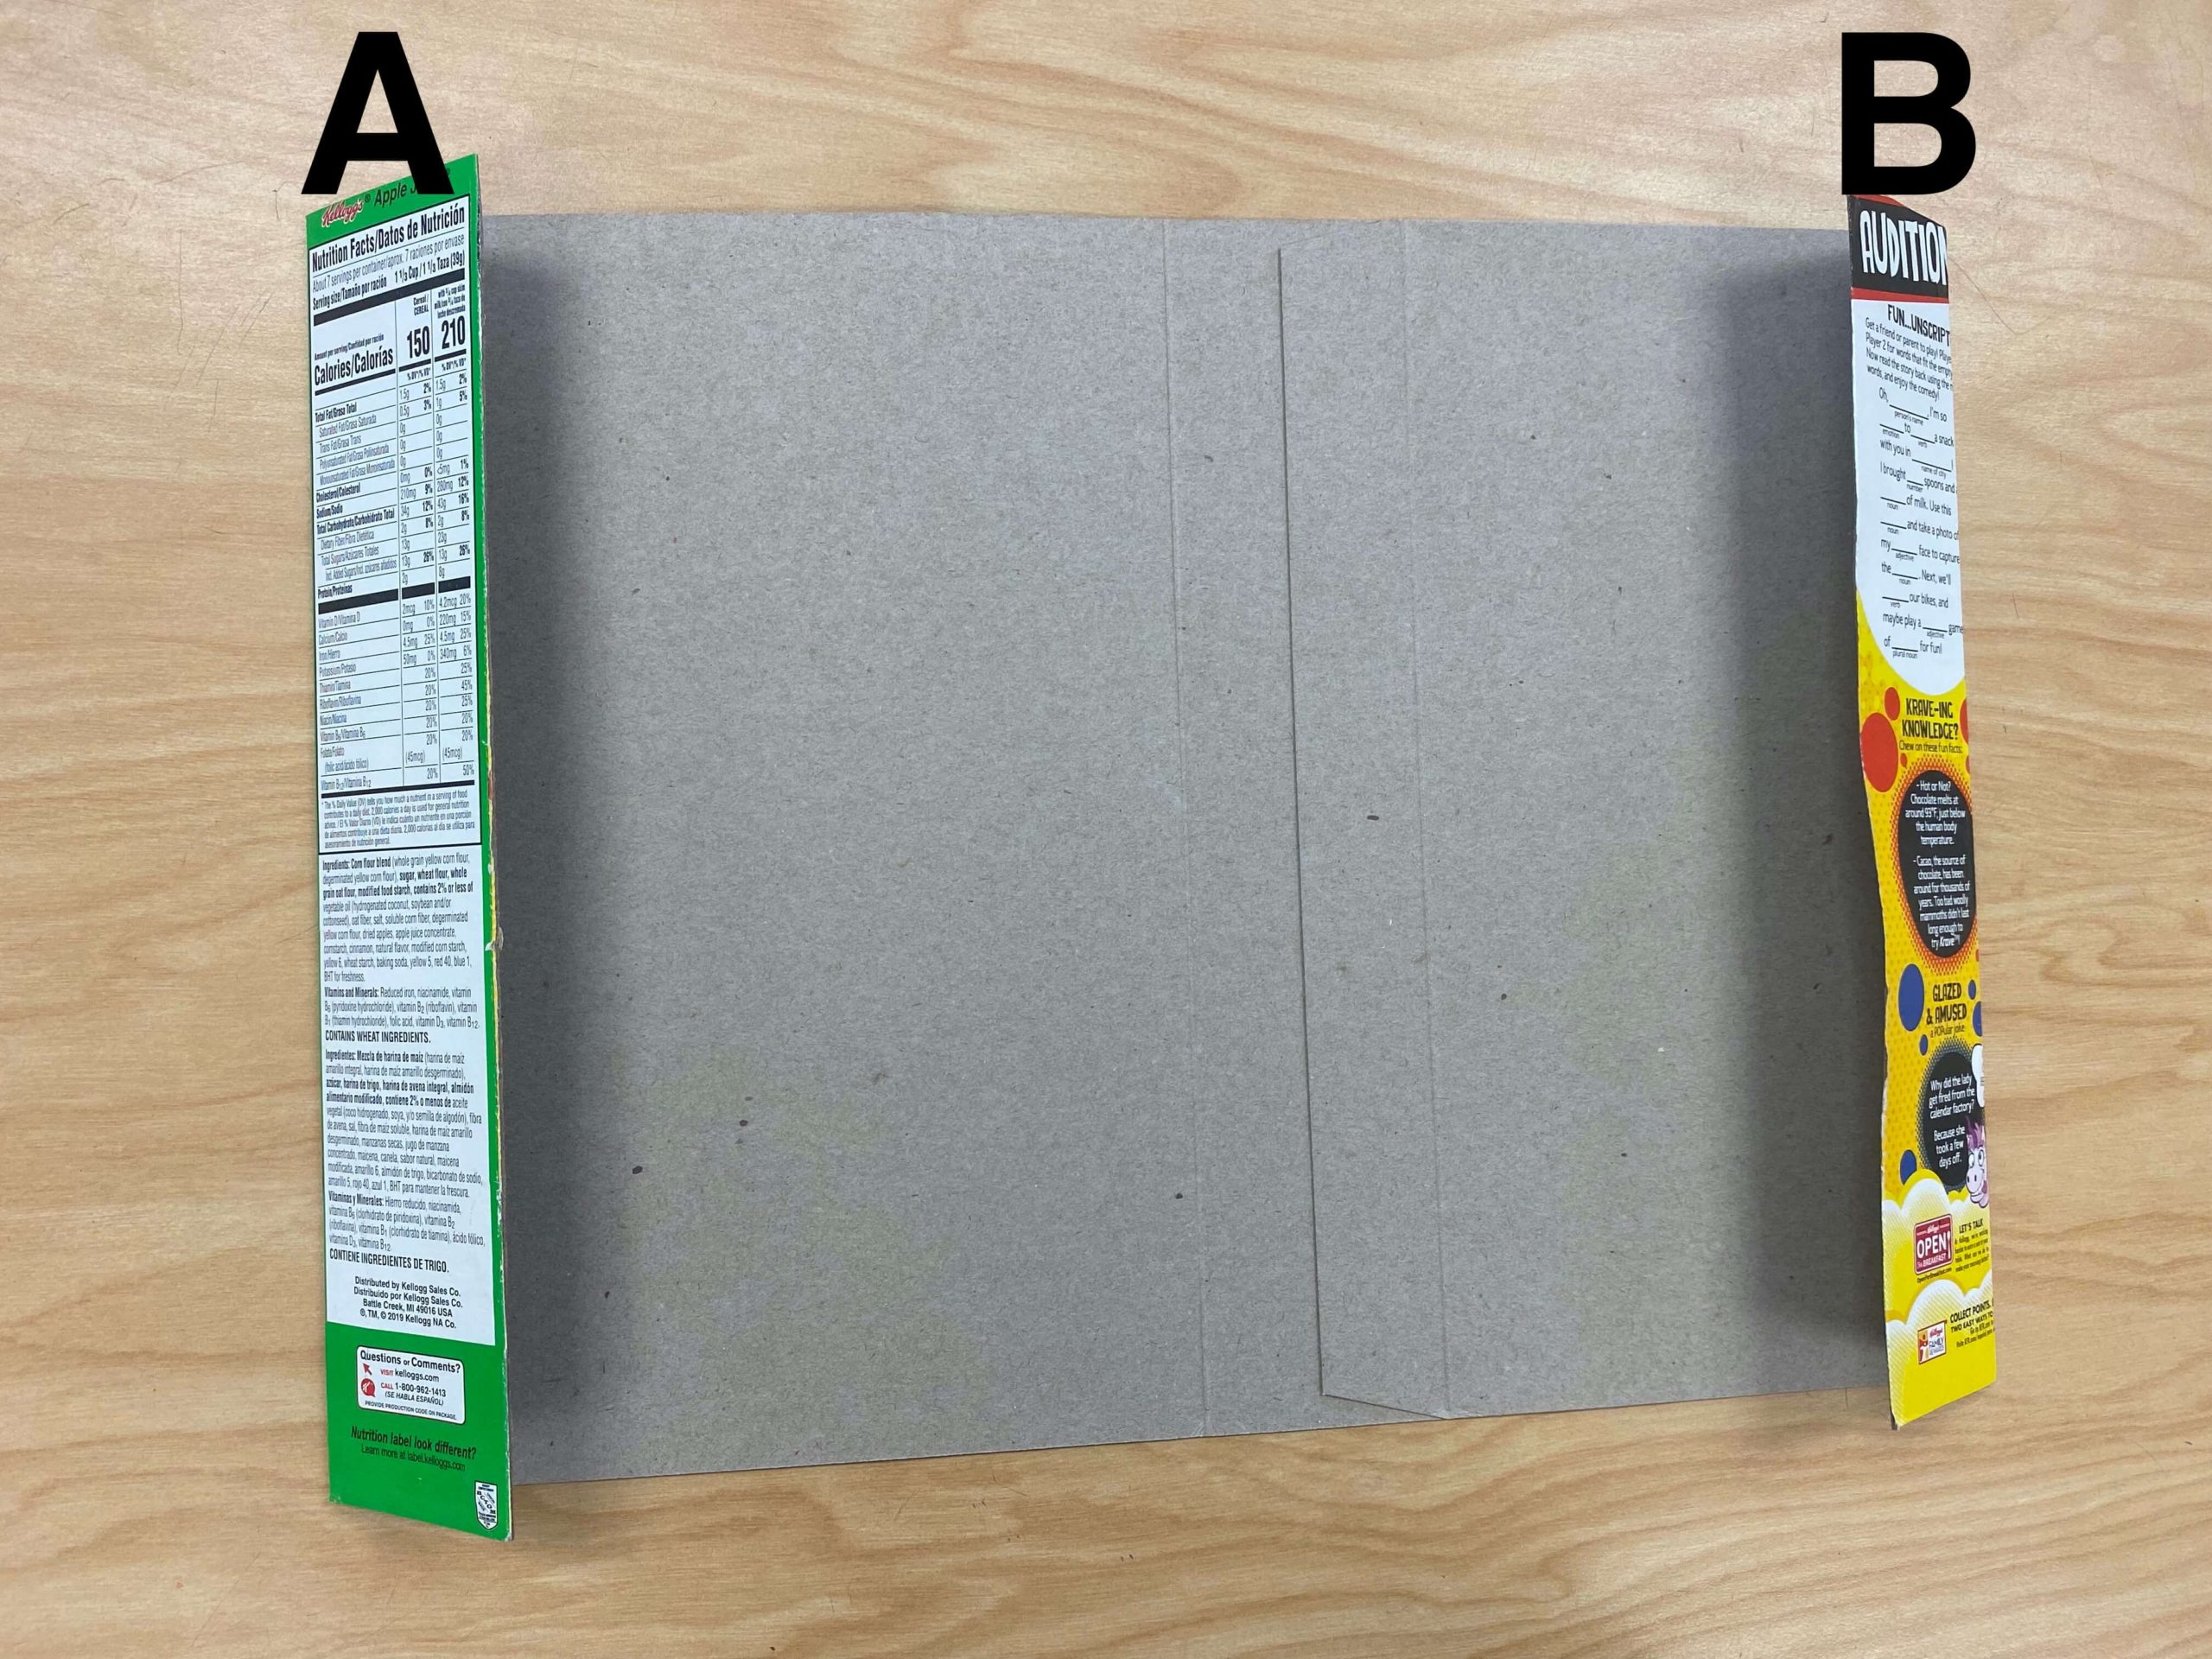
- Tape the top and bottom of each flap. This will create pockets.
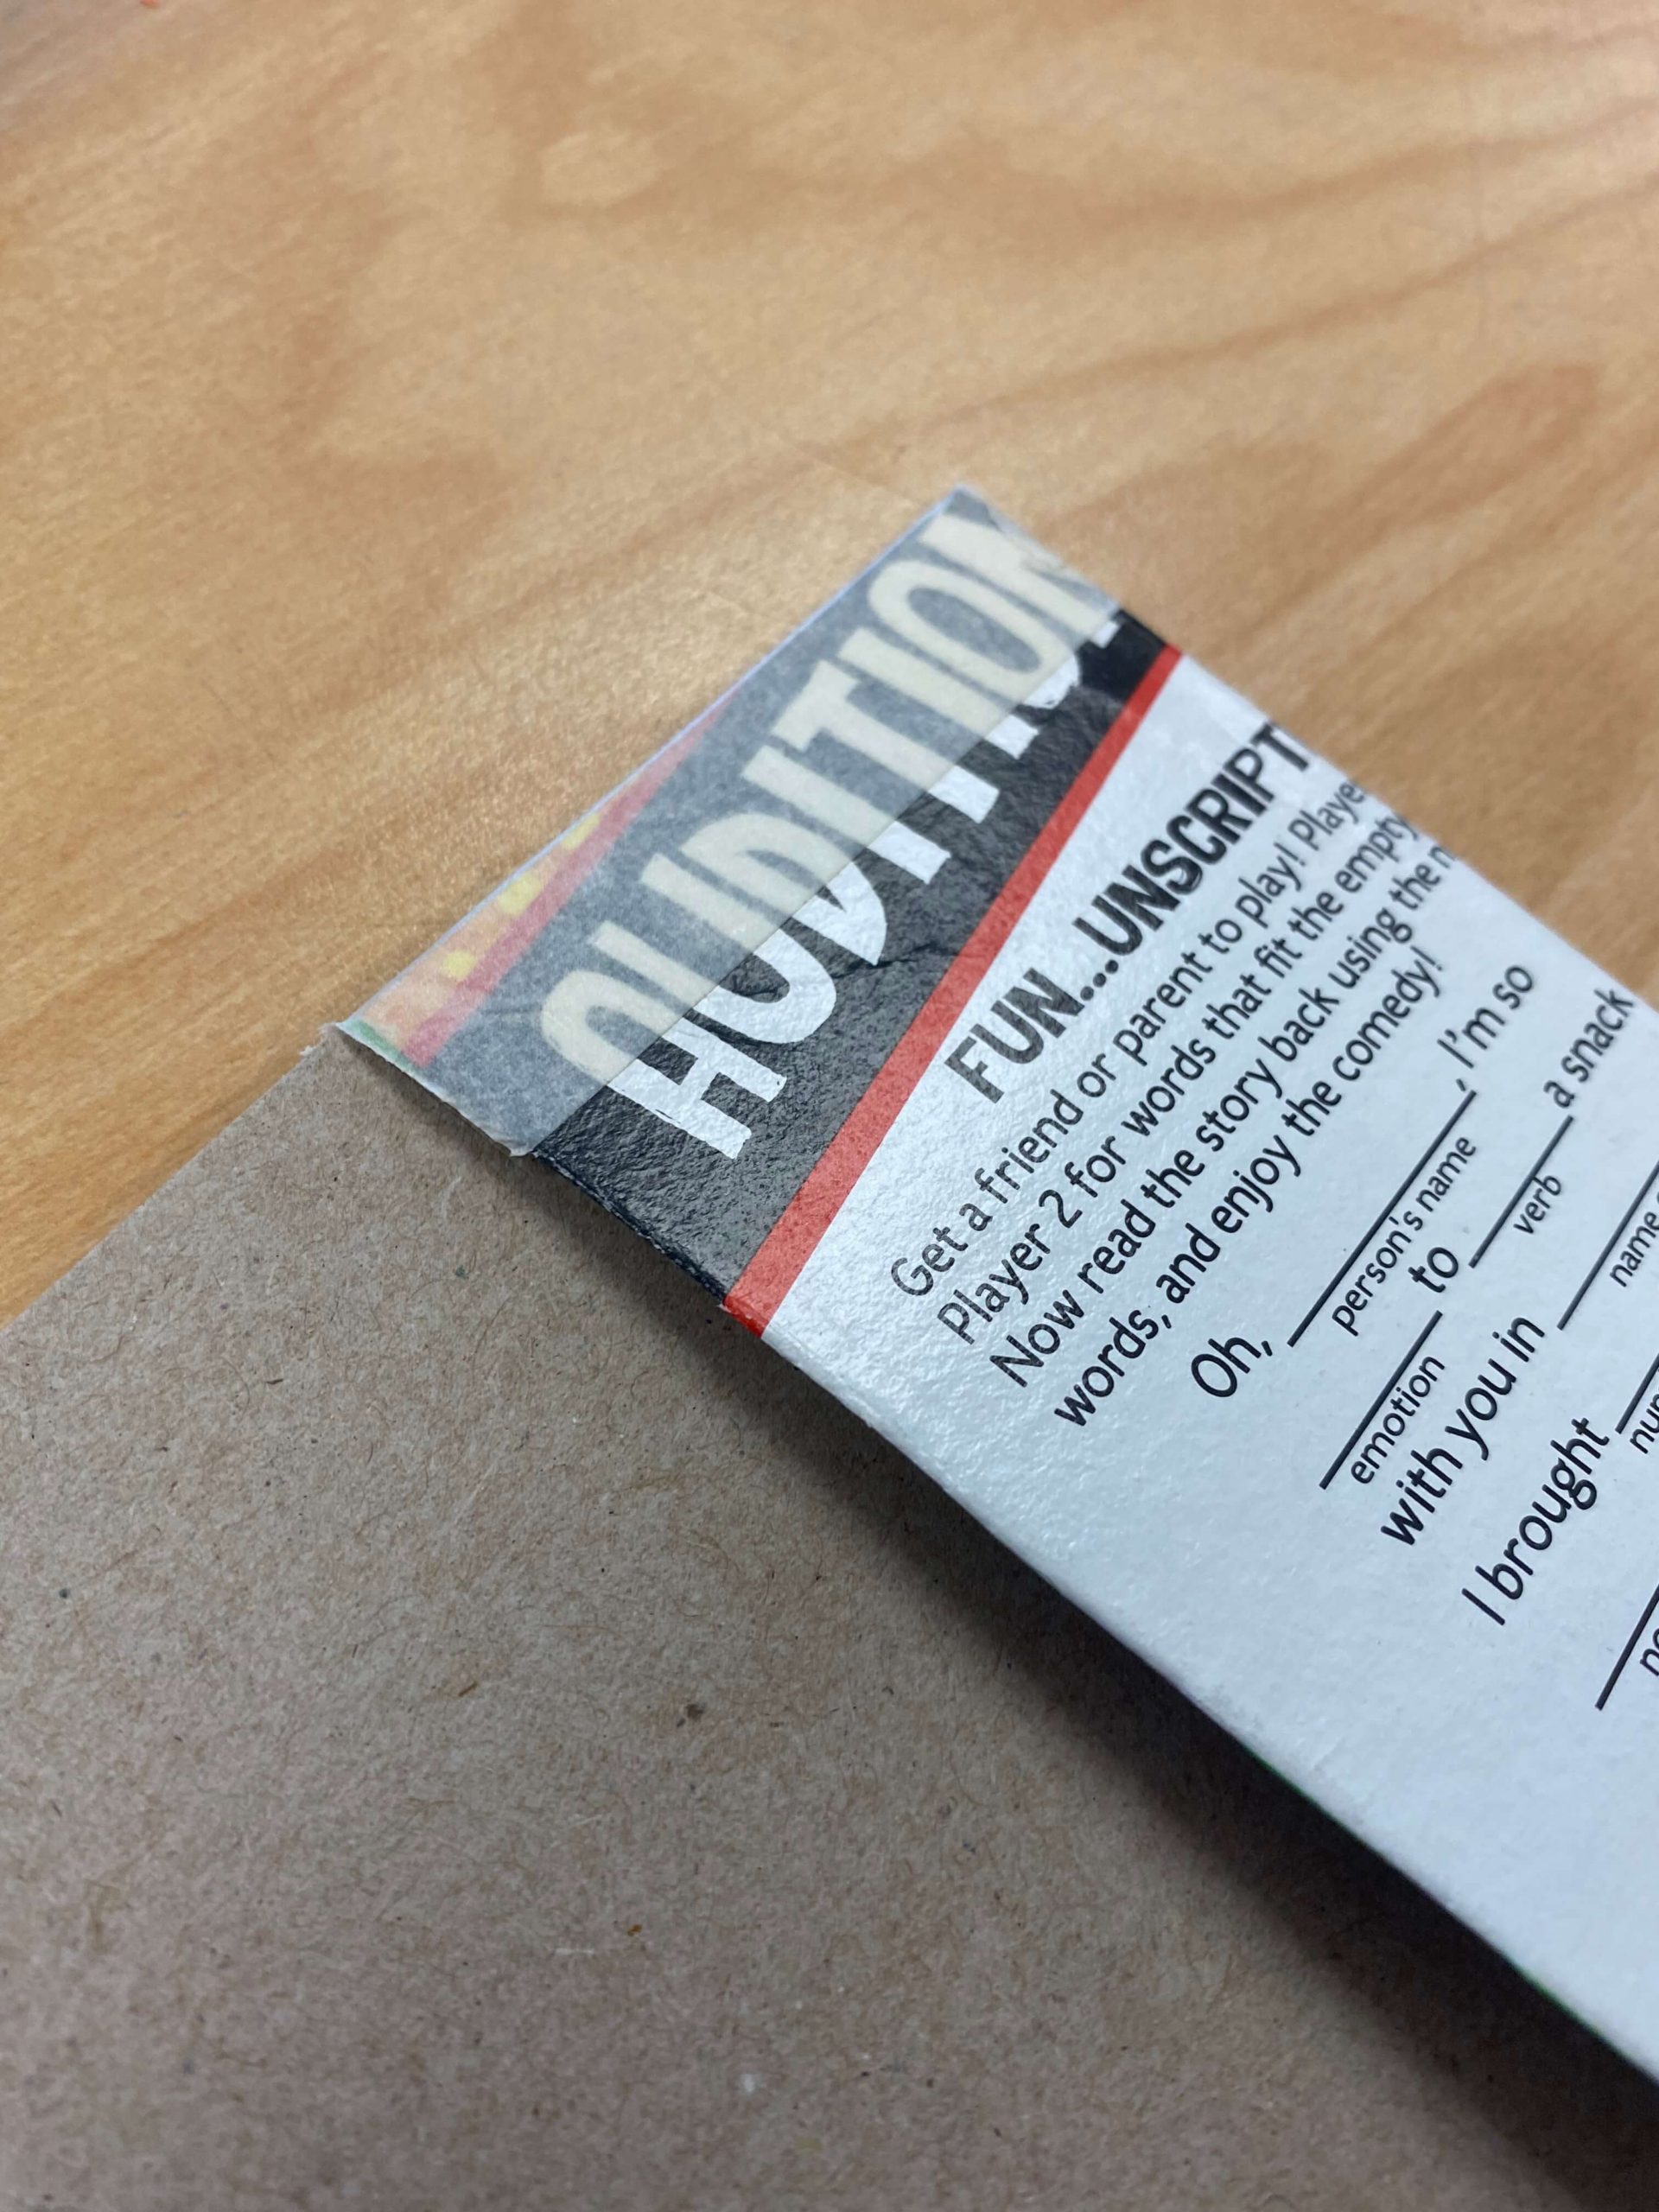
- Close the box.
- Line up the pages of the sketchbook and mark where you are going to make the holes. The box will be sticking out on the side, top, and bottom. You can cut it down if you want, but I like the way it looks and so does my students.
- Cut little slits where you are going to make holes.
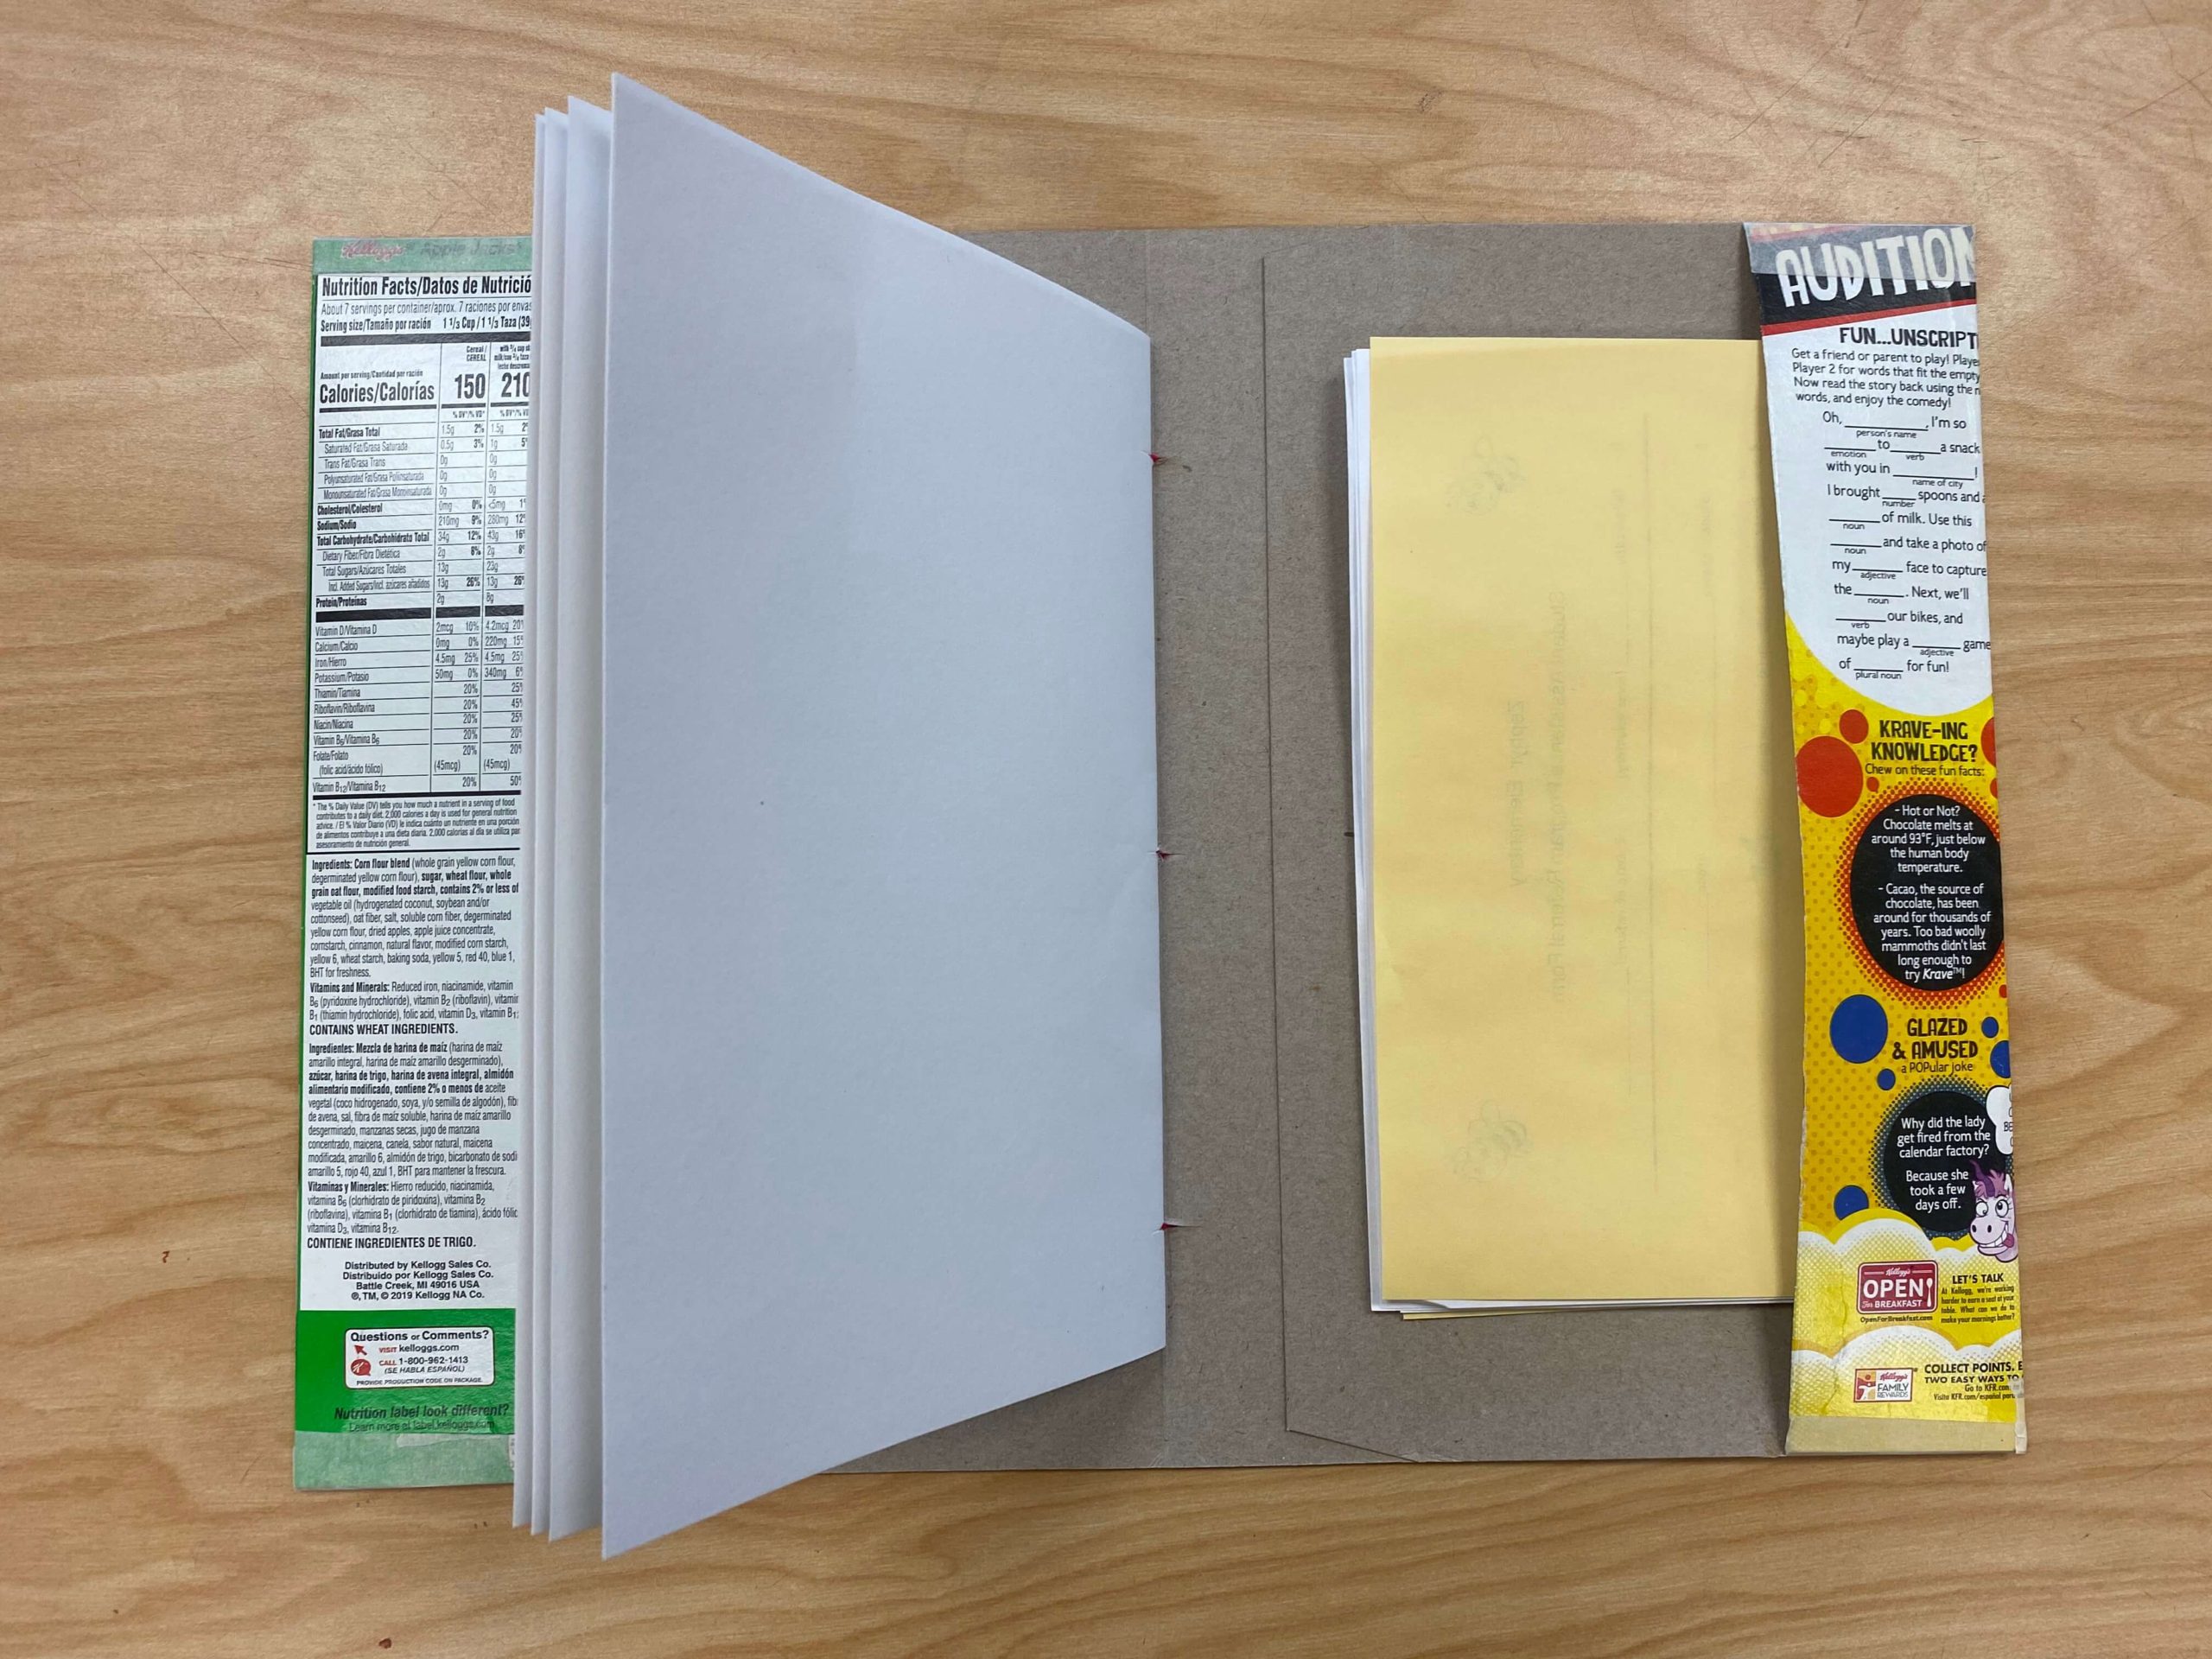
- Insert the papers into the box making sure the slits match up.

- Follow the instructions from the Sewn Pamphlet Sketchbook to sew the book together.
- Voila! You now have a Sewn Pamphlet Sketchbook with a cover that has pockets!
 D5 Creation